So, a few years back I took a holster making class from Tim Start of High Desert Leather.
I saved a bundle making me and my two oldest kids their own gun-belt and holsters for Cowboy Action Shooting.
Well, the 3 young’n needed a holster too. So, I decided to take what I learned from building 6 CAS holsters and over 100 “Foxy Tucks” and build two “Ruger Bearcat” Holsters.
REQUIREMENTS:
1) Have a drop on the holster so the younger females (females have shorter torsos than males) in the family can present and holster without leaning or without developing bad habits.
2) Have a belt that would work for super young/small youth…as well as larger youth.
Summary of lessons learned:
I learned that I don’t need kydex lined holsters to have a perfect fit holster. Having a leather liner and adding a bit of leather when forming, makes a perfect fit and stiffness.
Oil dye with neatsfoot oil makes an amazing finish that doesn’t ever bleed color dye.
Most people will skim the video, but for you die-hards out there, enjoy the full LONG video. Maybe just look at the photos below.
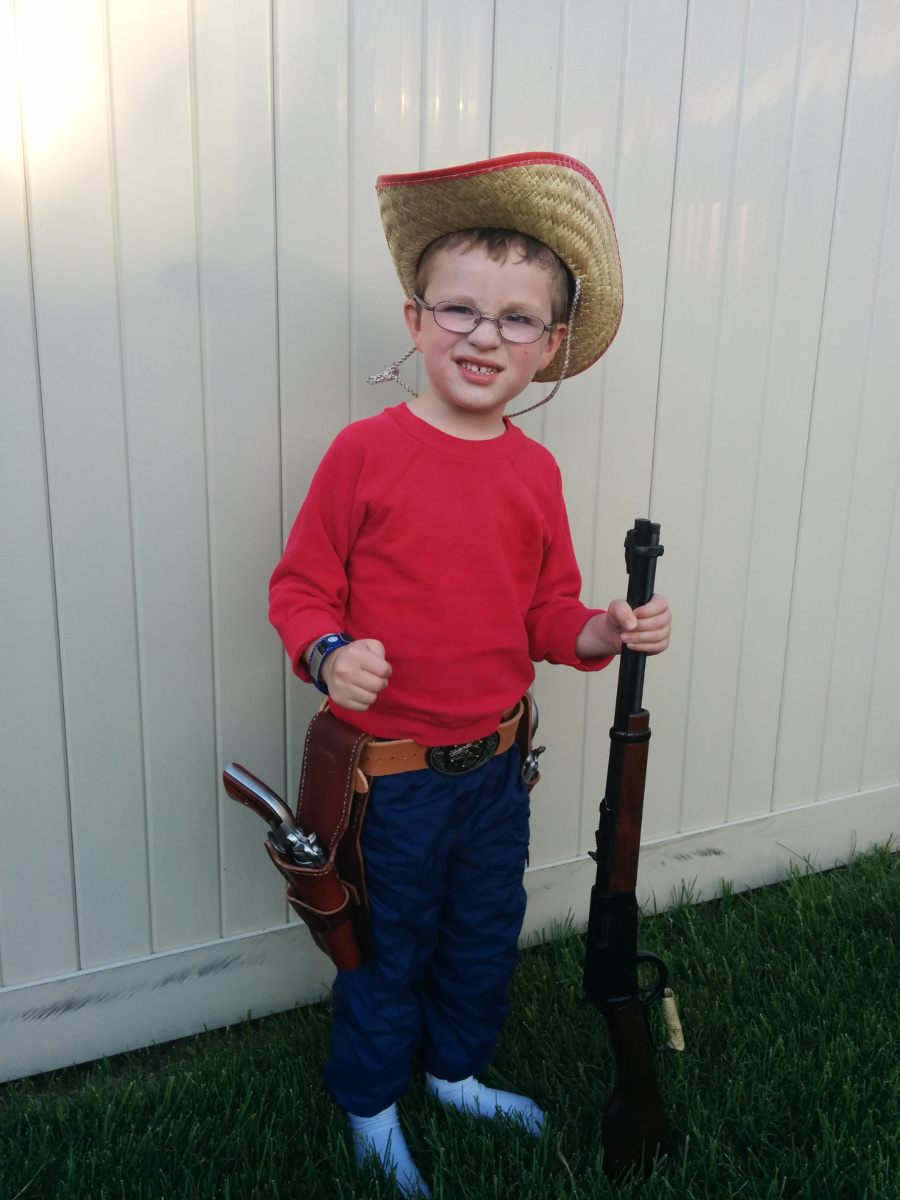
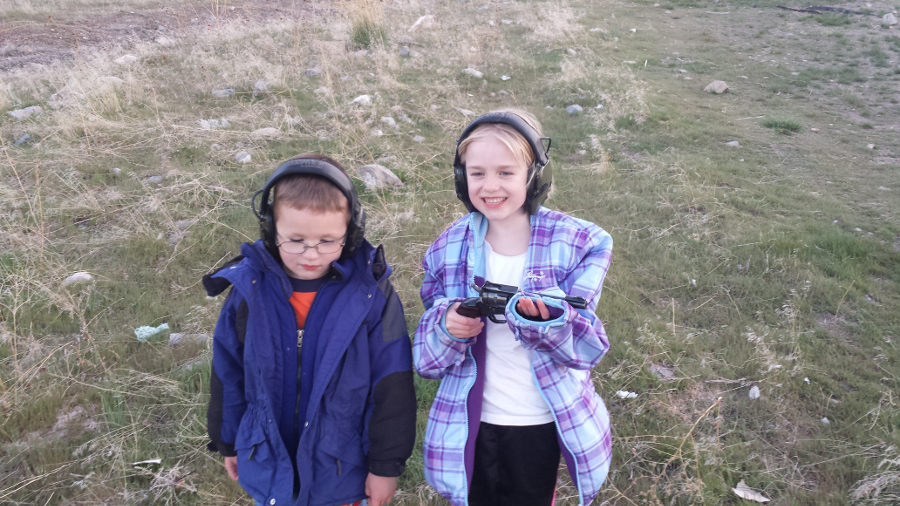
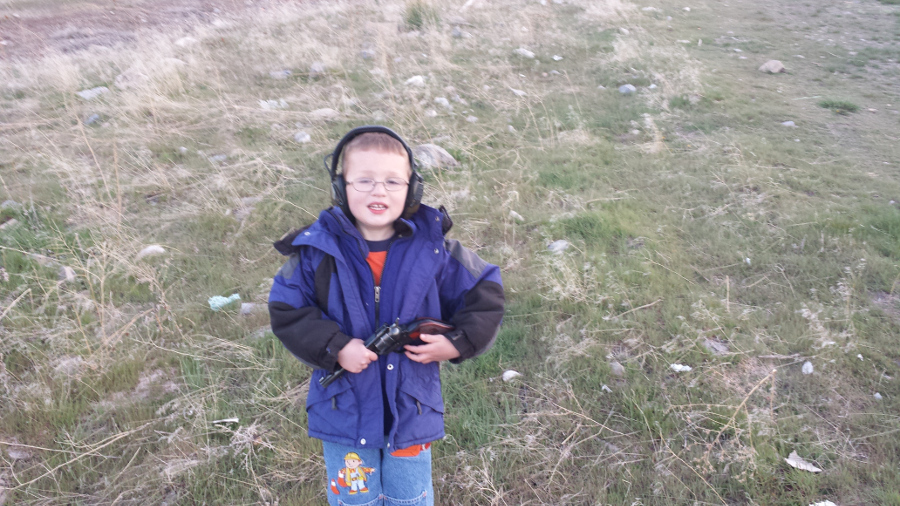
5 year old for wanted to go shooting for his bday.
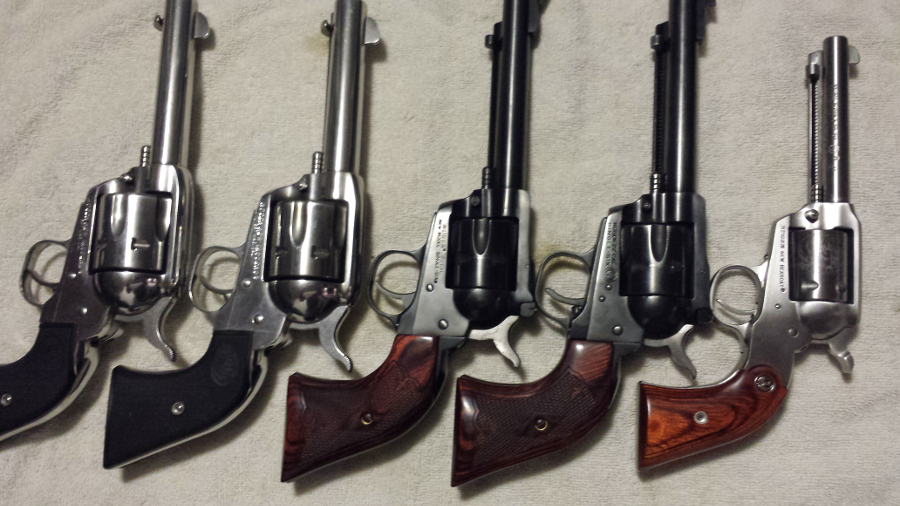
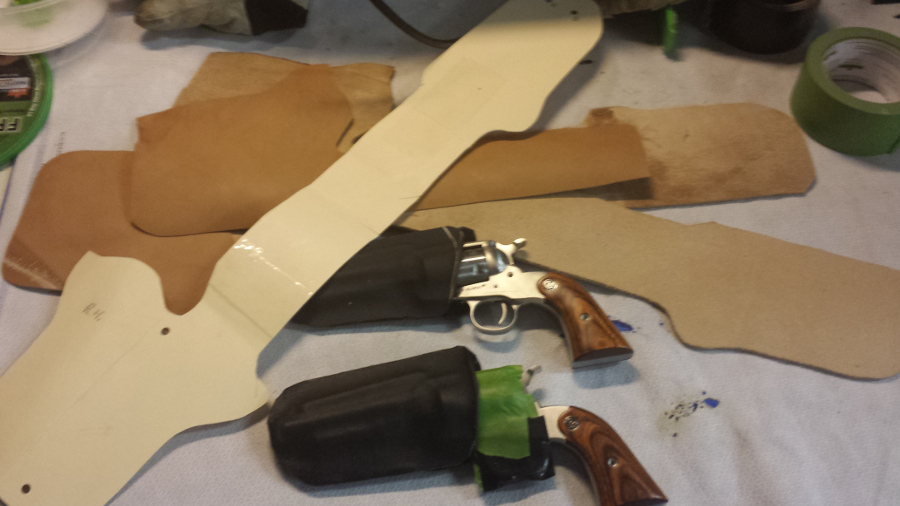
(left to right, Ruger Vaquero SS 357, Ruger single-six 22, Ruger Bearcat SS 22)
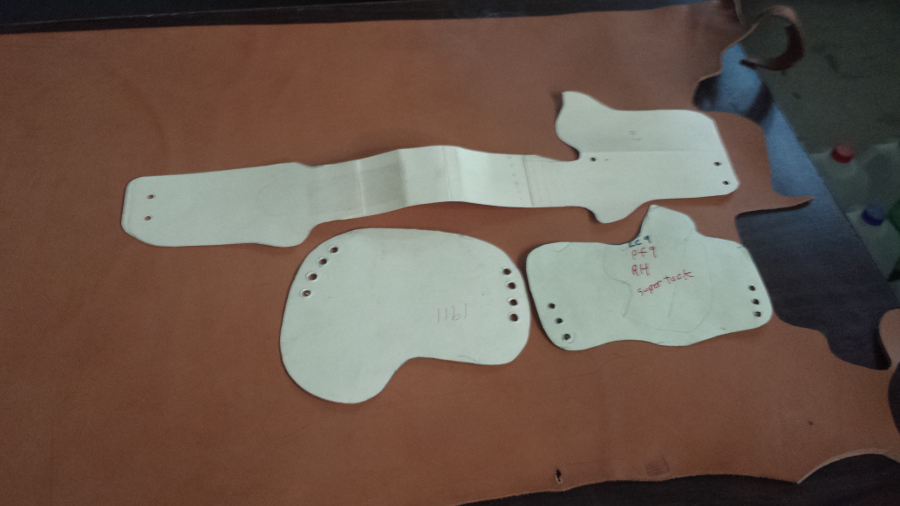
Bearcat home-made pattern along with Foxy Tuck Patterns. Wickett & Craig Leather (best leather on the planet IMO).
1st attempt at kydex for the bearcats. I scrapped this experiment after 90 minutes because it wouldn’t fit in my leather pattern.

Here is the liner, and leather.
I use contact cement to glue the liner onto the leather. I waited until the next day to stitch.

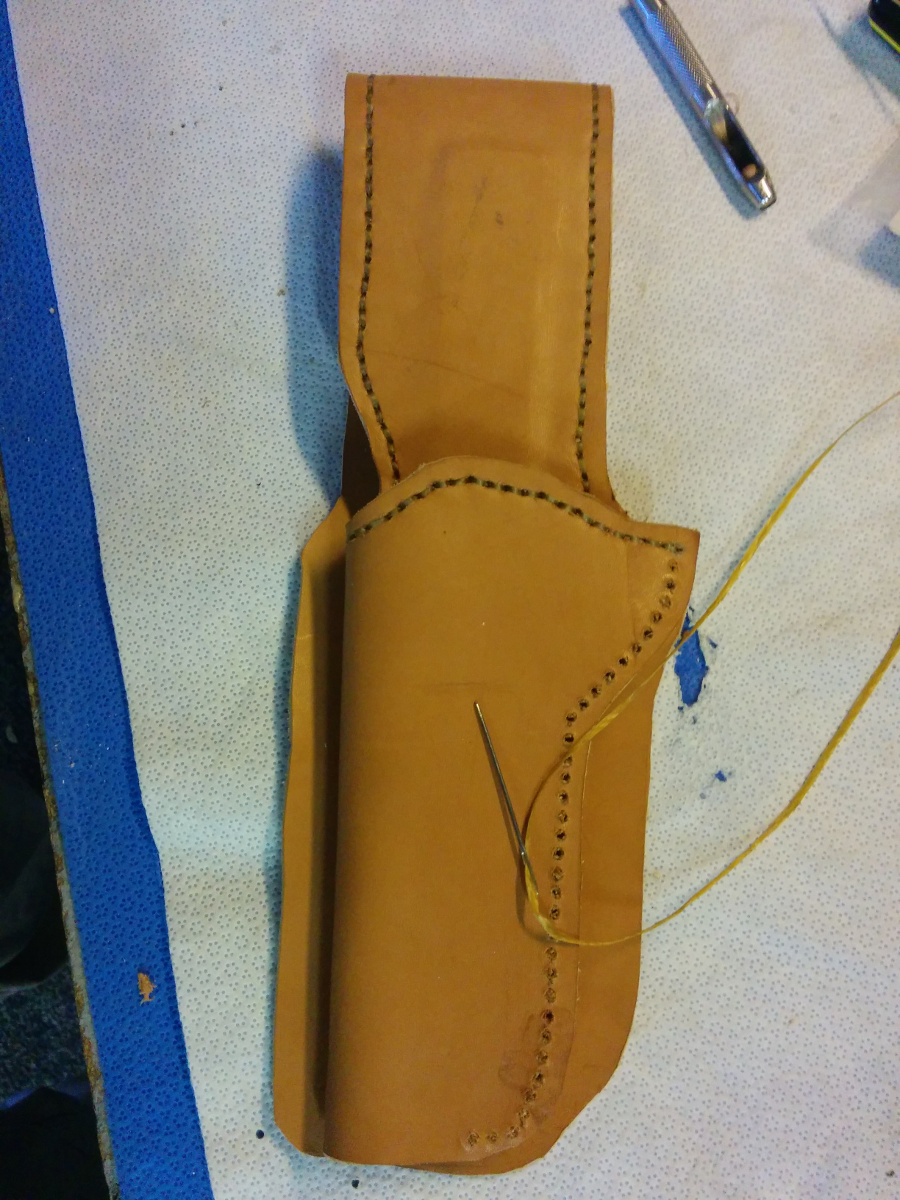
I use a punch to “mark/index” the spacing, then follow it with a drill. I like holes just big enough so I don’t have to use pliers to pull the needle through.
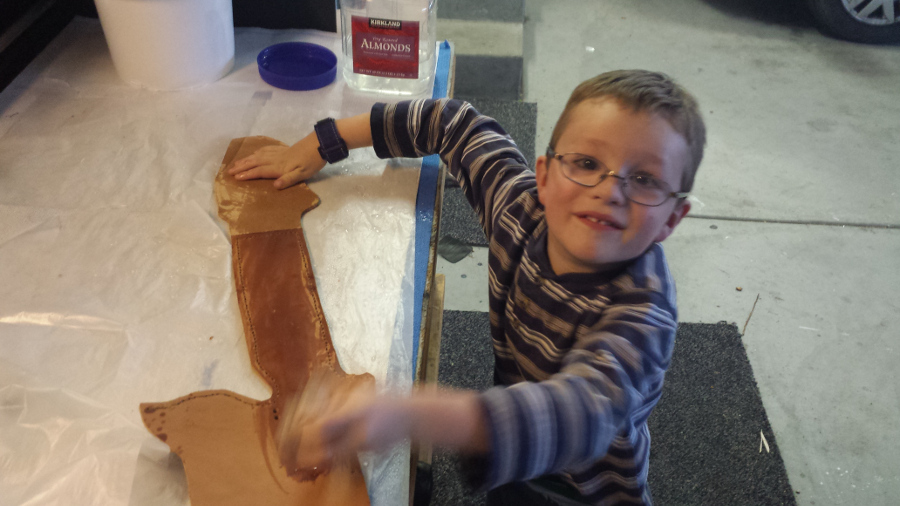
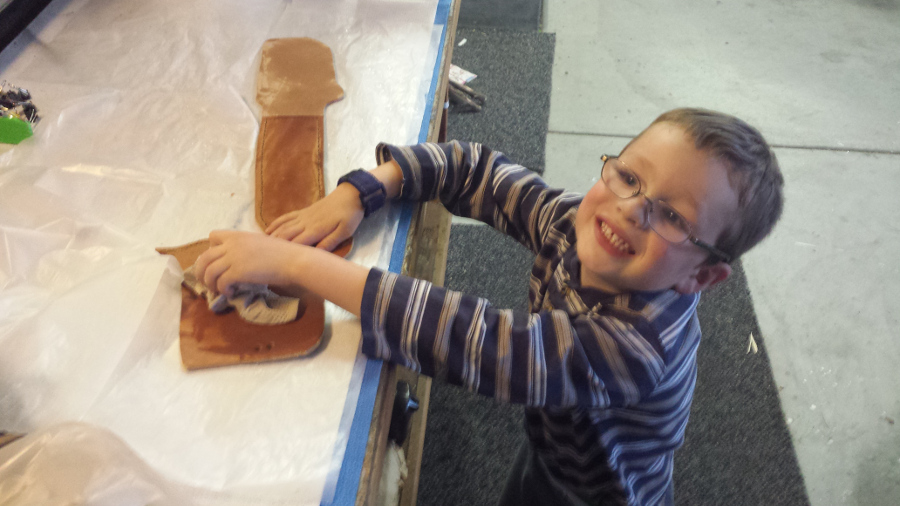
5y old helping wet the leather to fold, in preparation to stitch welt.
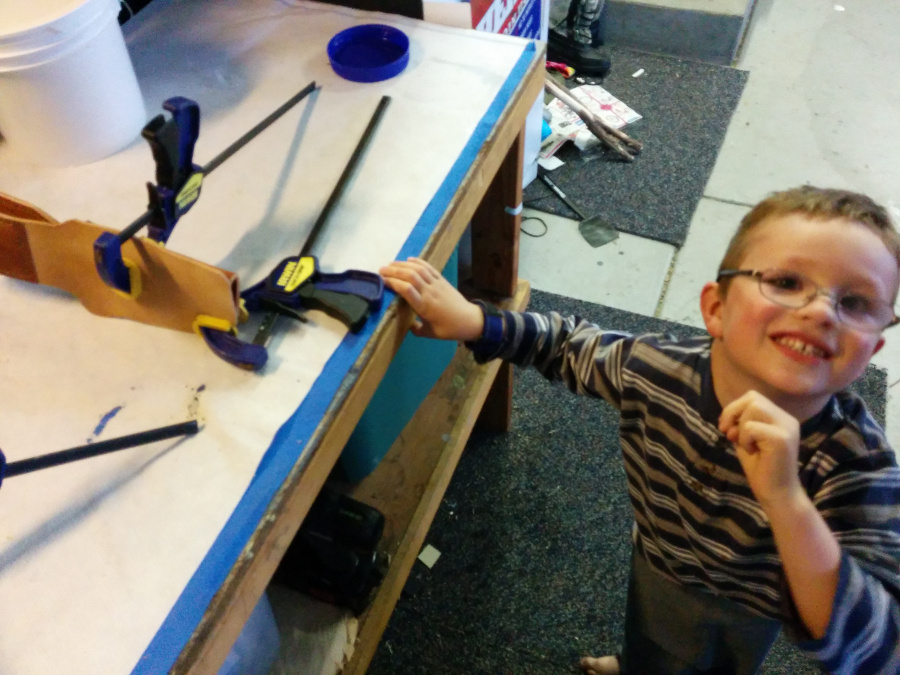
semi-loose holding of leather until it dries…for stitching welt.
one very excited customer!
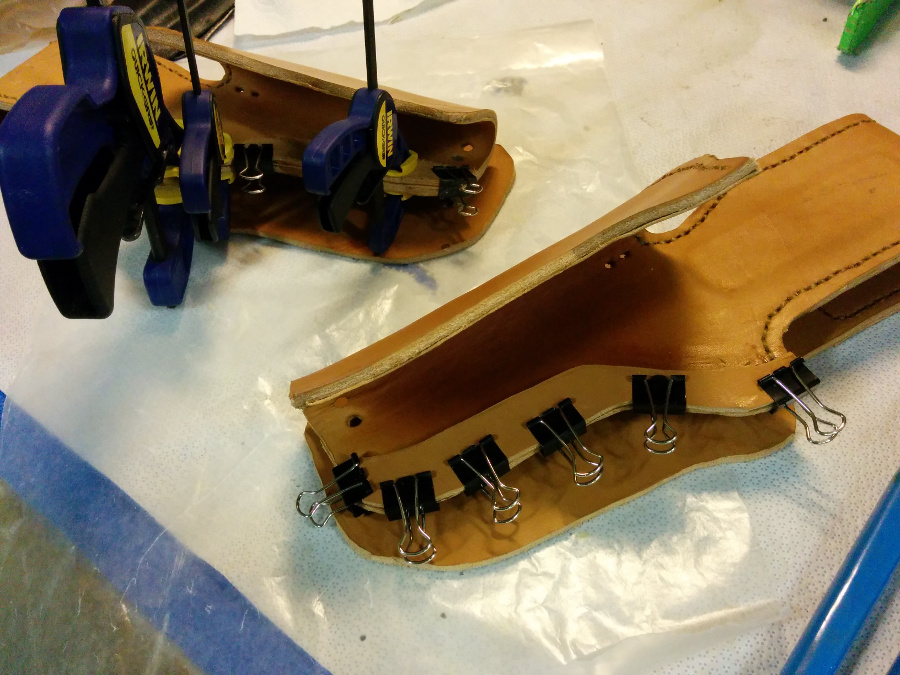
gluing welt, I waited about an hour before gluing the rest onto the welt.
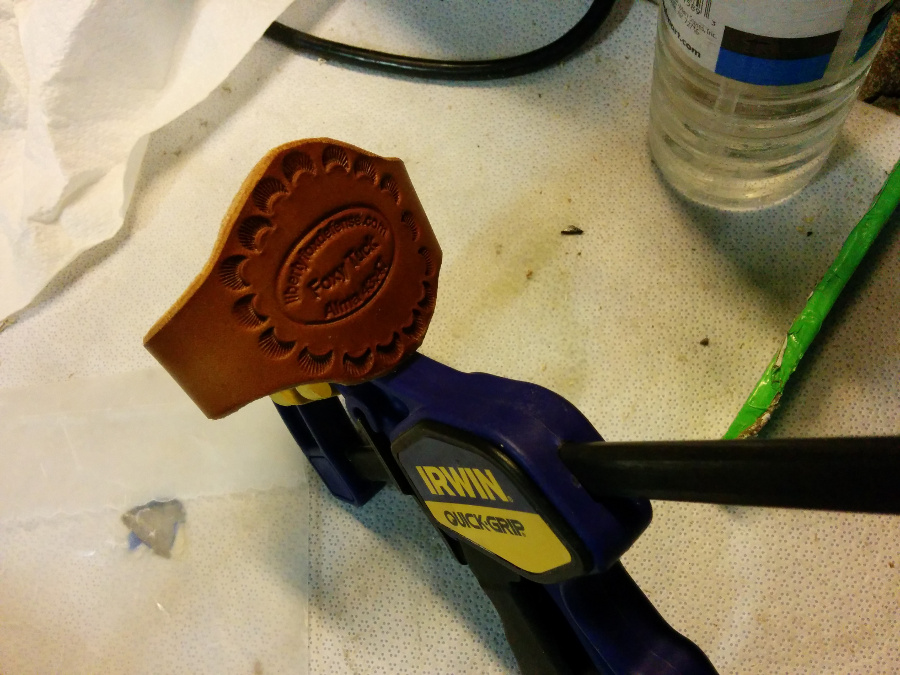
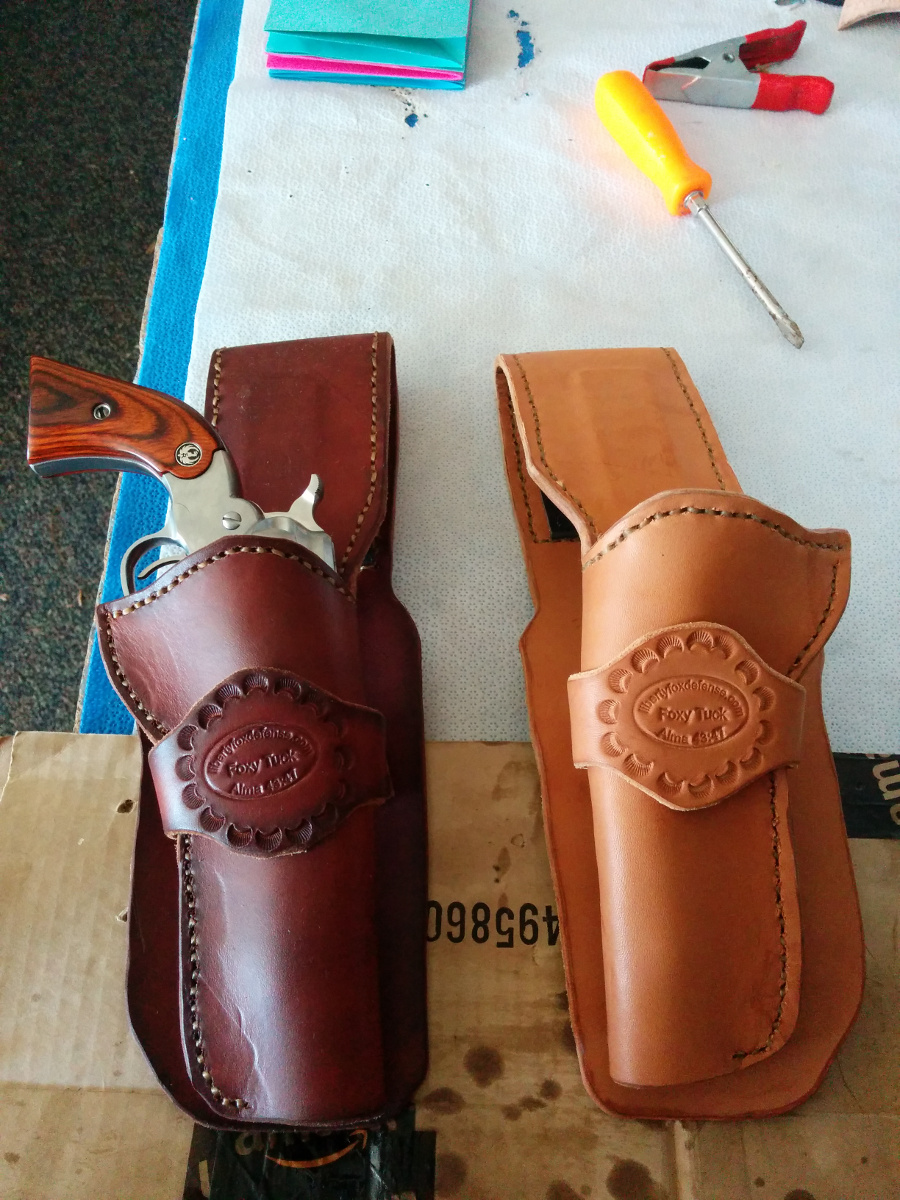
Here is the holster keeper, with our maker stamp on it. (Alma 43:47)
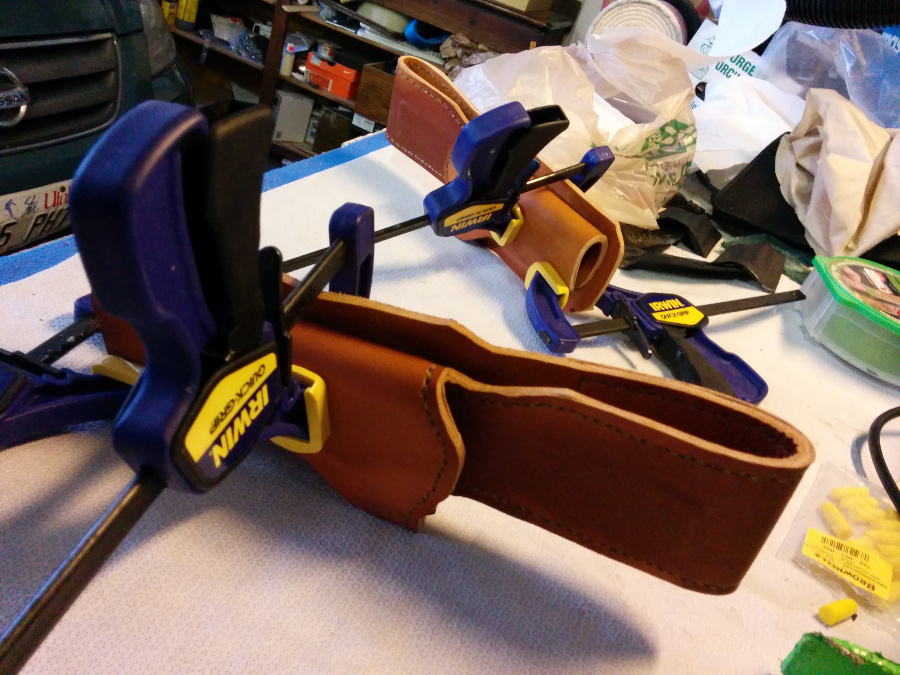
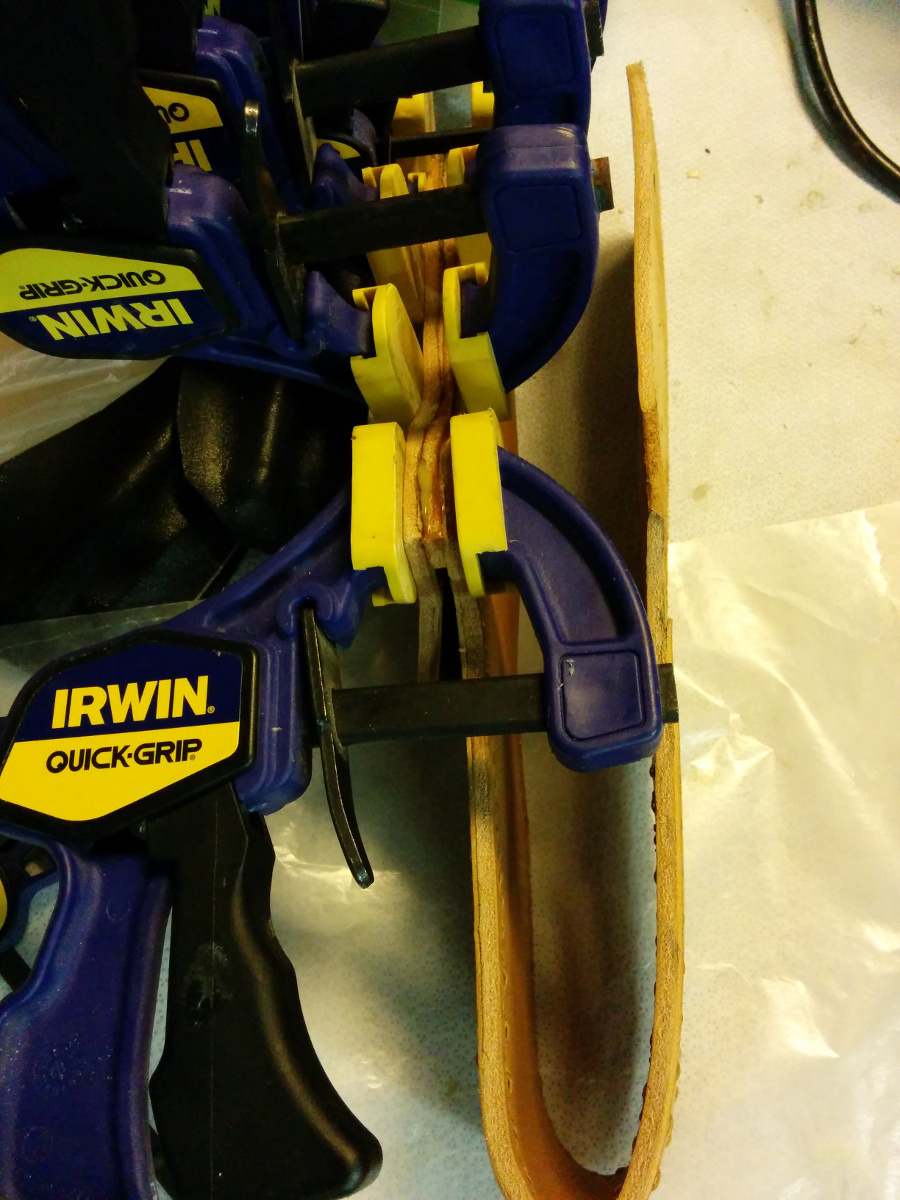
Gluing the rest onto the welt, note 3 layers of leather (plus liner)…pretty thick, so bigger clamps are needed.
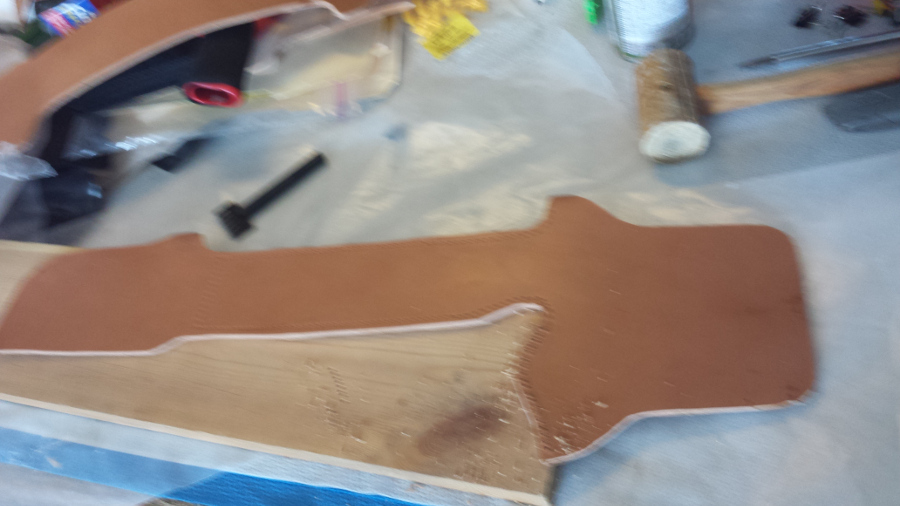
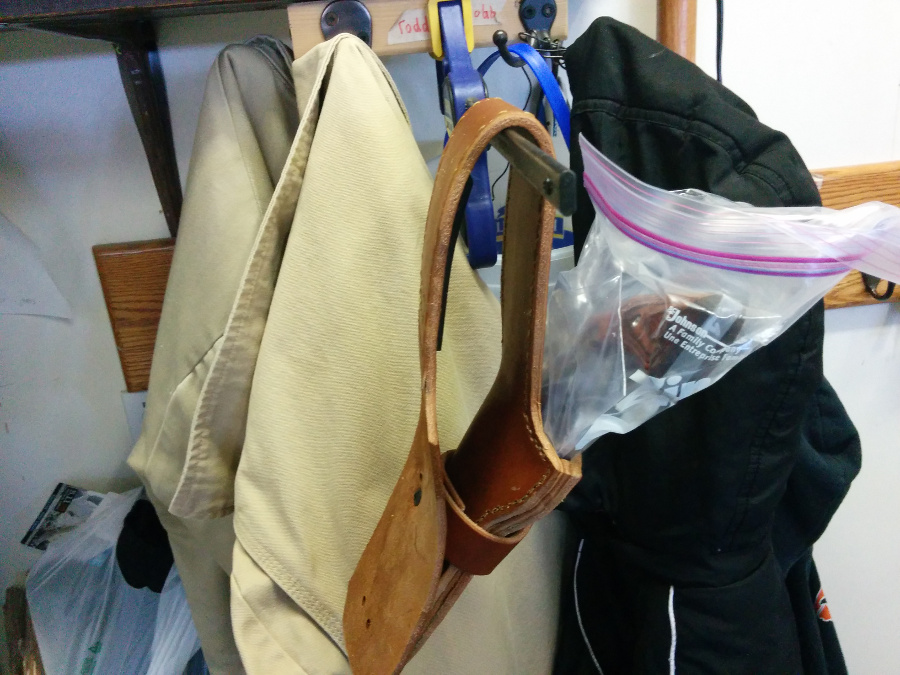
Forming and drying the holster.
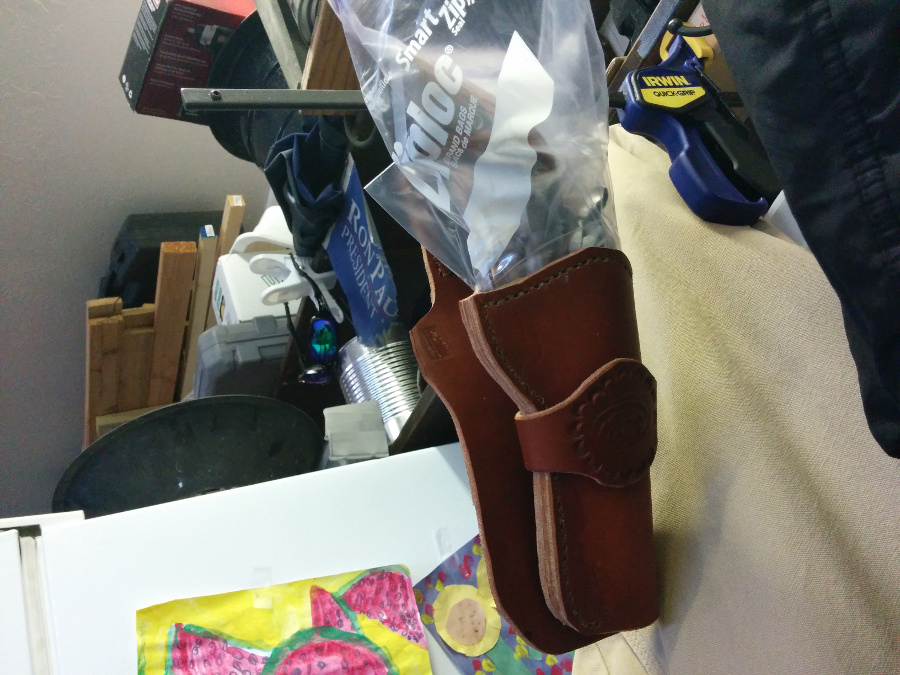
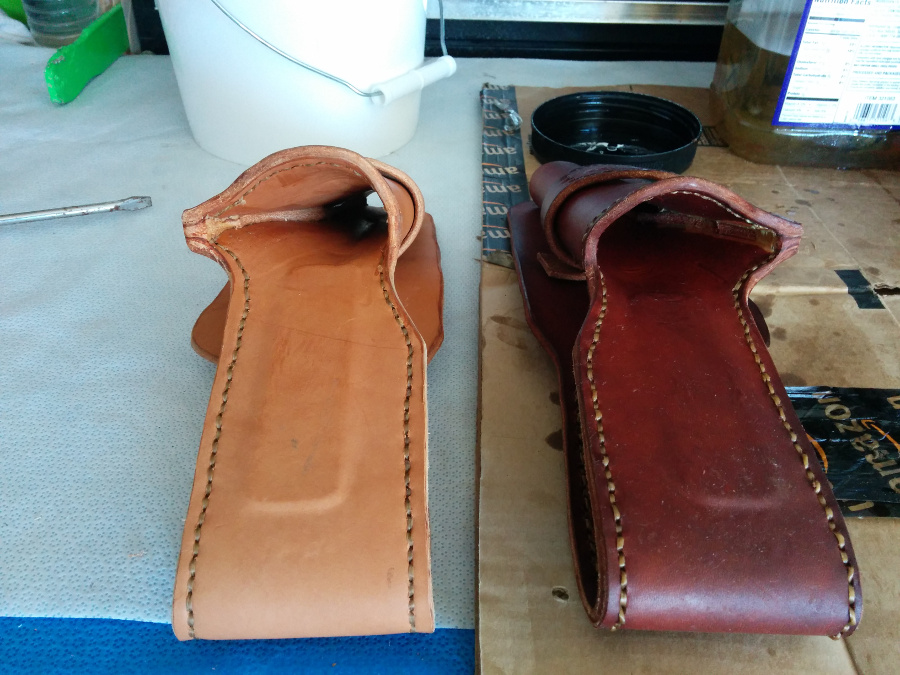
Oil dyed holster on right. Non-dyed on the left.
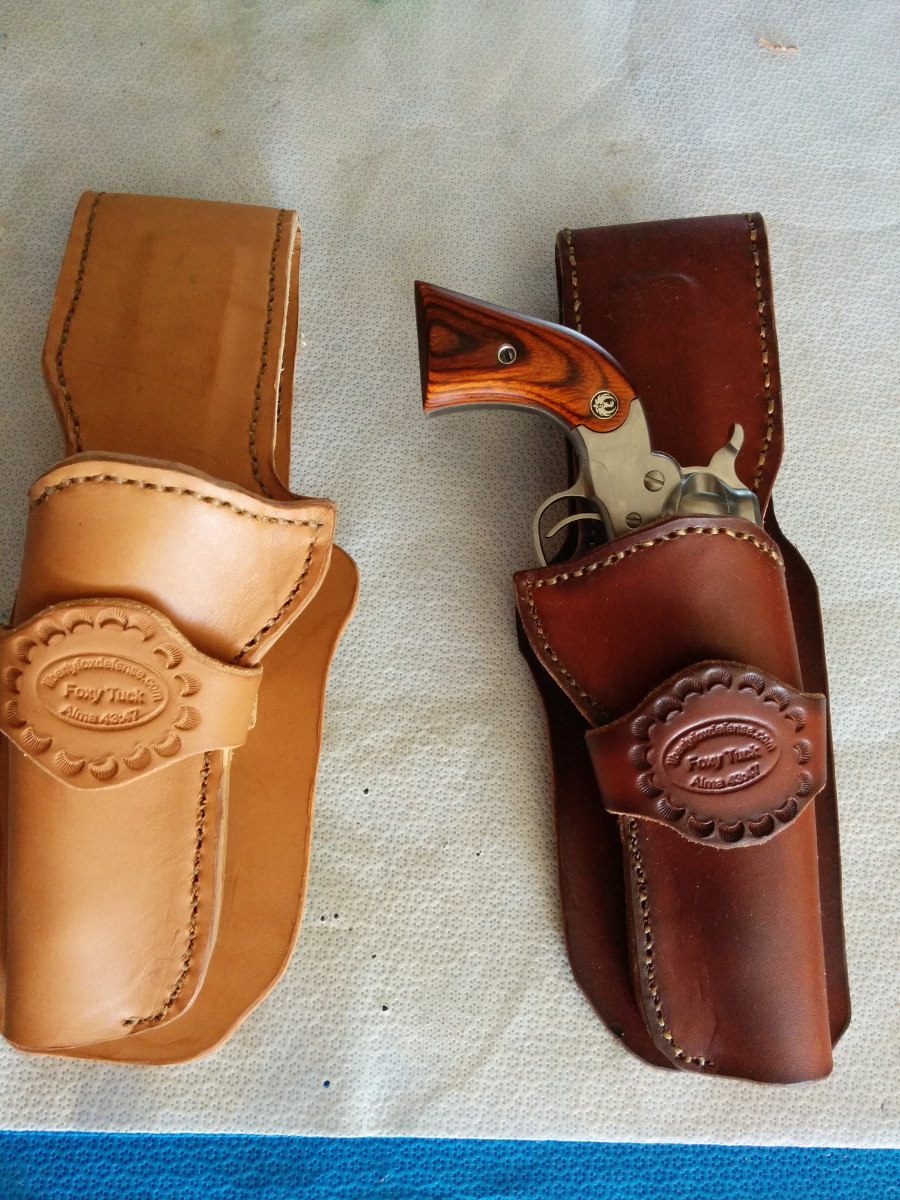

One very happy customer!