
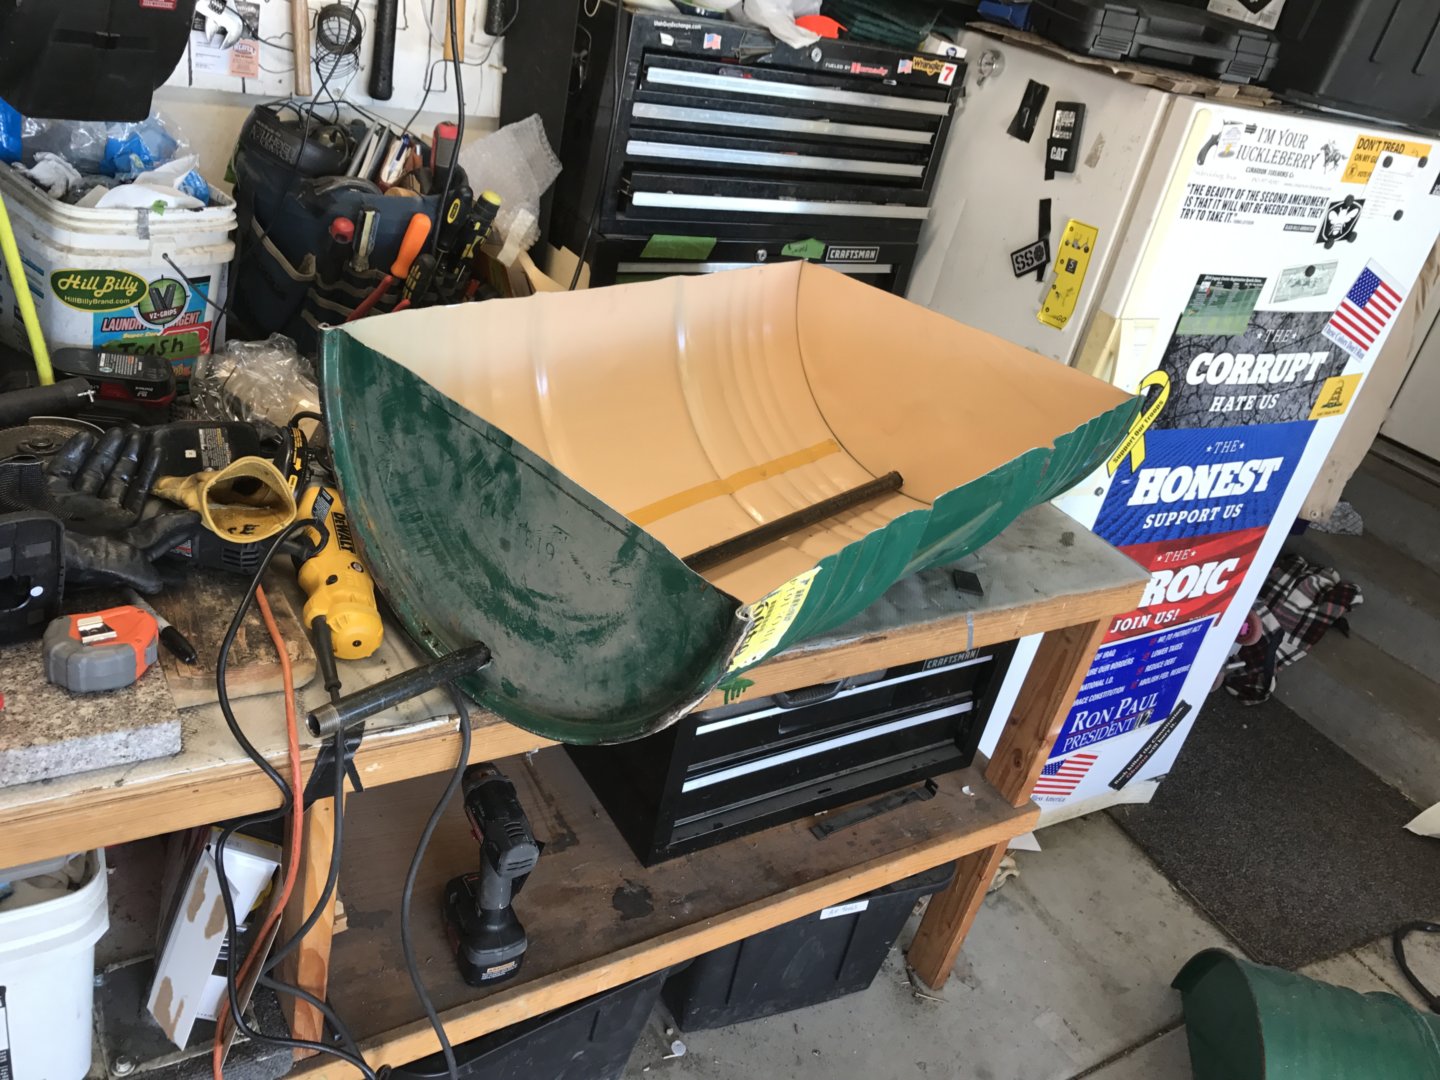
For an upcoming “dutch oven” workshop, we hope to have 50 dutch ovens, so we need to be able to warm up that many briquettes.
I bought a 50 gallon metal drum ($15-20 ish? off KSL) and marked it and cut it with a cutting wheel for the corners & reciprocating saw for the long runs. I took video of us building this, but it is a pain to do the video editing.
Turned out pretty good! I think I have less than $30 in materials. It was fun to build with my son too! My son is going to build a 2nd one and sell it (should be able to pay for both by selling one half!). I’m thinking folks might pay $80-100 for one of these barrels?
We learned a lot building my son’s blacksmithing forge & transferred that experience to this project.
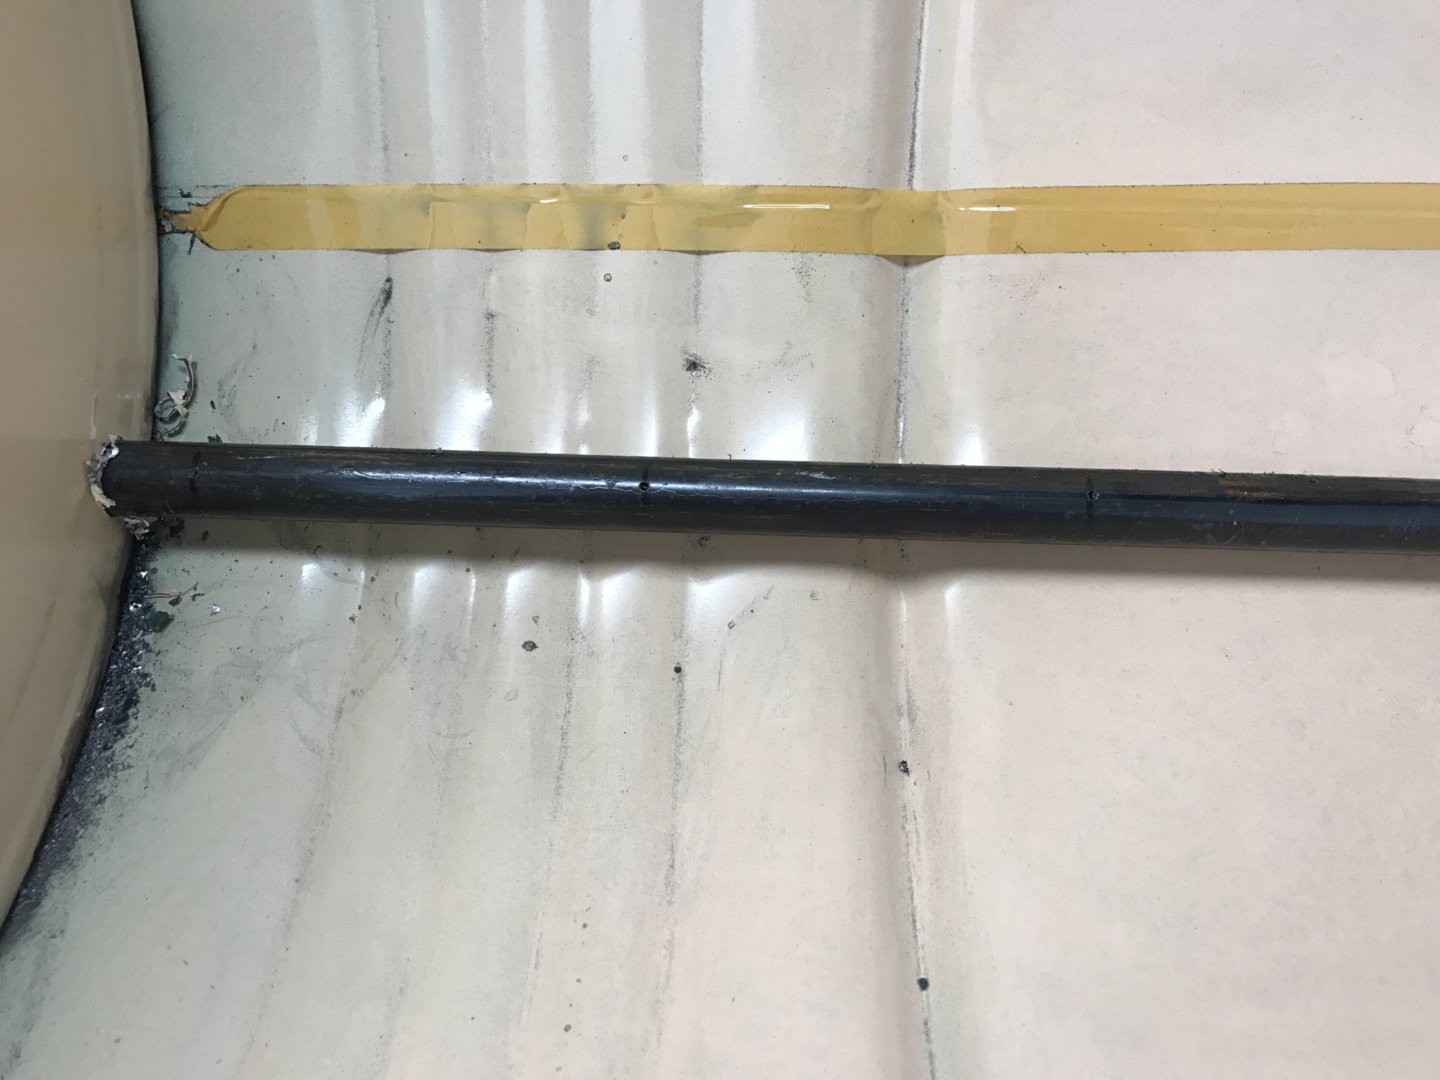
I drilled air-holes 3″ apart, with an offset. I think I’m going to try this blower. reverse shop-vac is too loud for a “workshop”:
https://www.amazon.com/gp/product/B01F48QFHY/ref=ox_sc_act_title_2?ie=UTF8&psc=1&smid=ATVPDKIKX0DER
I suggest you line the bottom and most of the sides with “fire brick”. Brick especially designed for extreme heat. I got 1.5″ thick x 4×8 for $2 a piece. I got 13, but I would suggest 16 bricks.
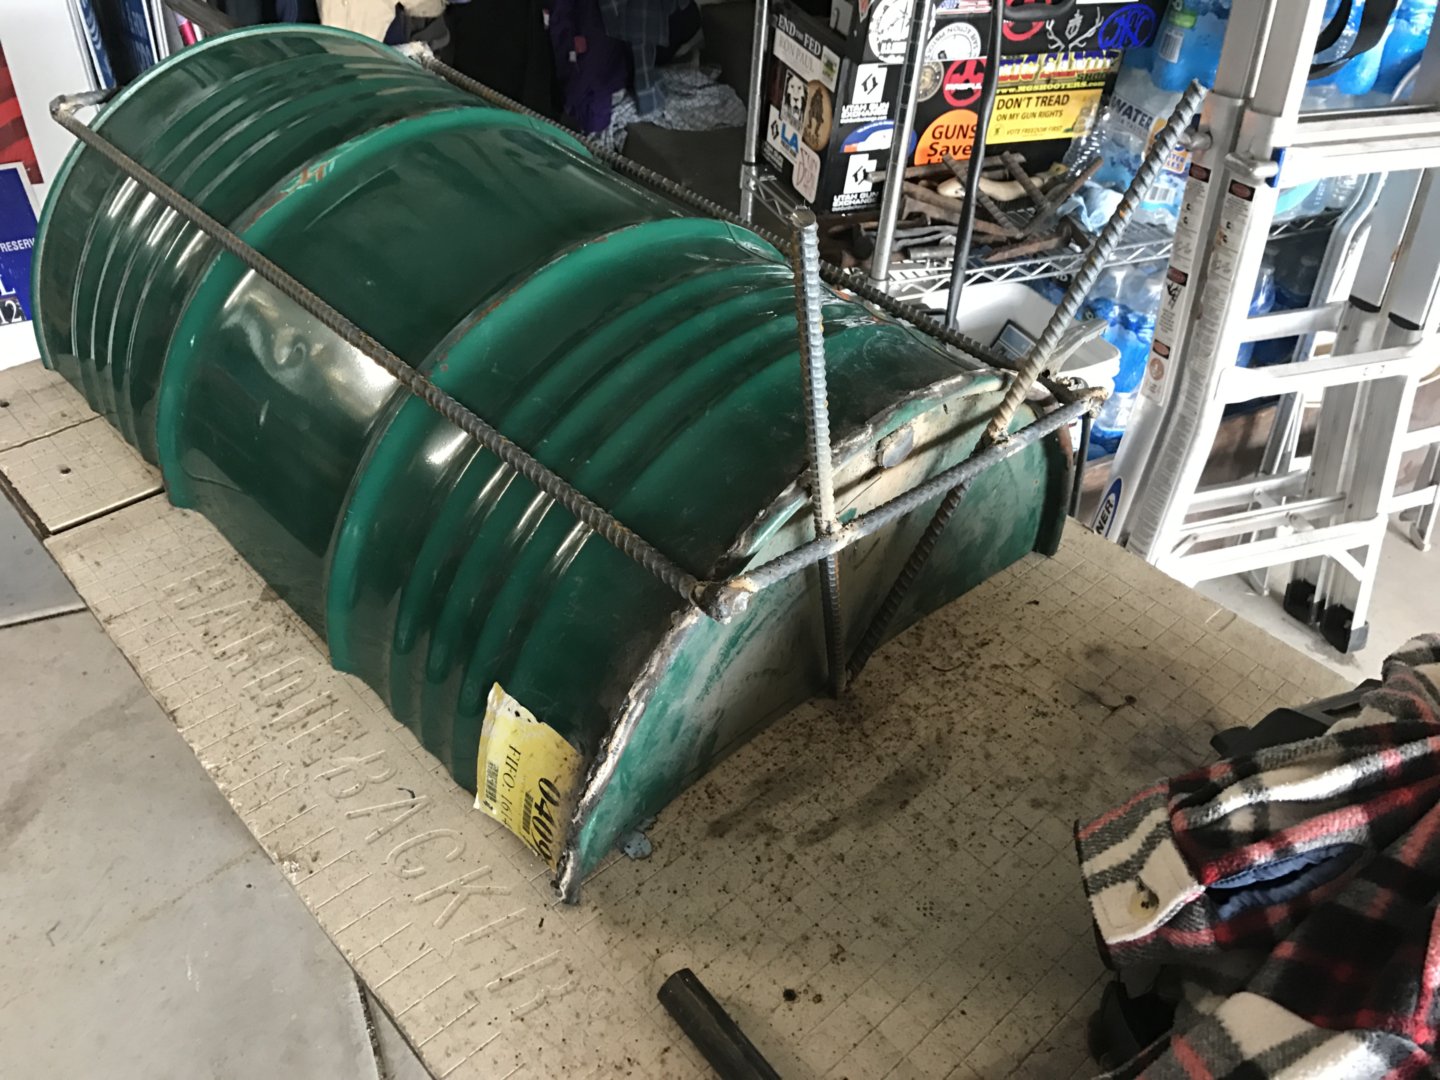
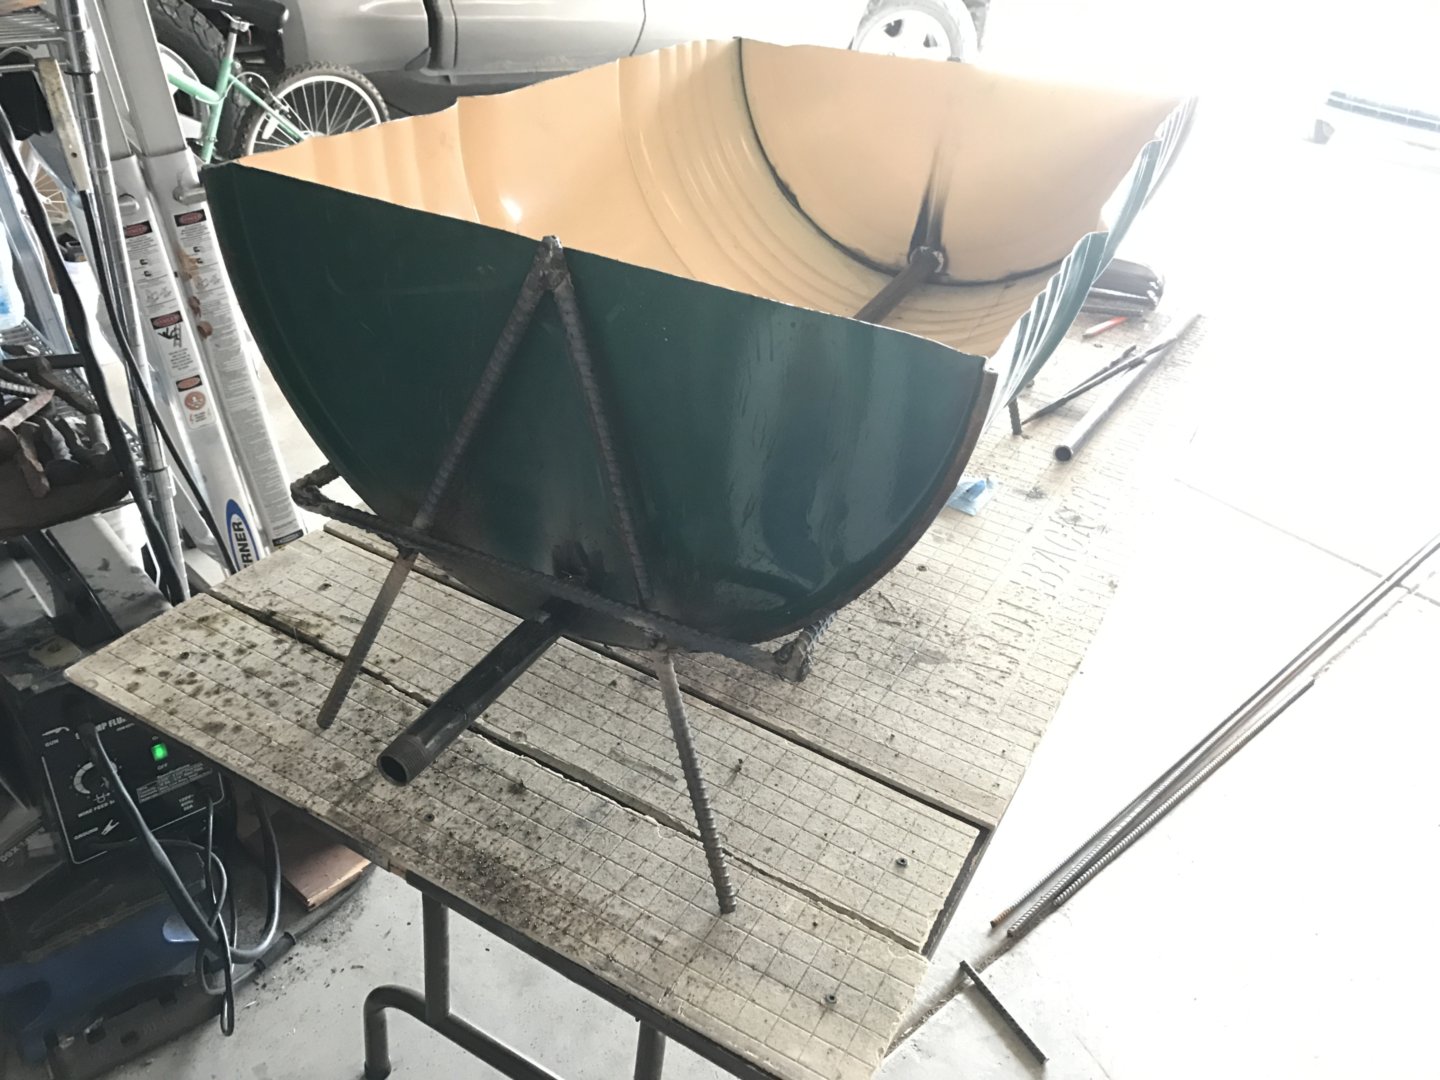
Putting the barrel upside down, and then taping the rebar to the barrel “about” where I wanted it, then I welded the cross re-bar, and then it sits like a saddle on a sow.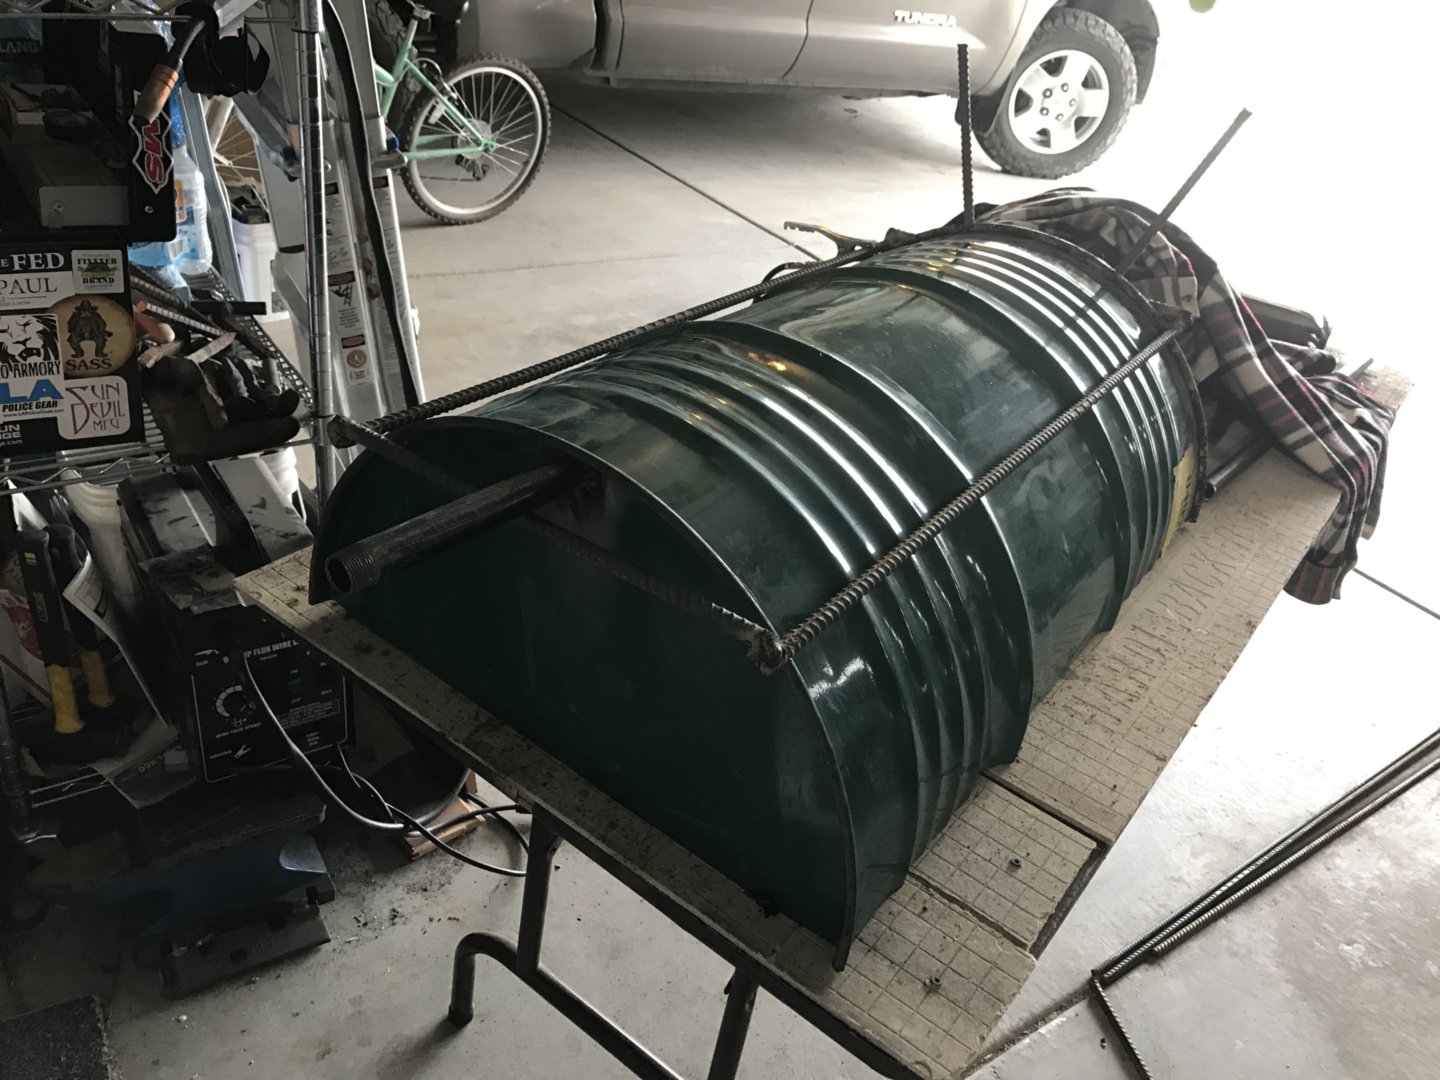
My son had the idea of 45 degree angle on the A-frame (which we welded BEFORE we put it on the frame.
we put the legs inside the frame, for strength & support.
leg-rebar is 20″ long. the wide runs is 37″ long.
DESIGN REQUIREMENTS:
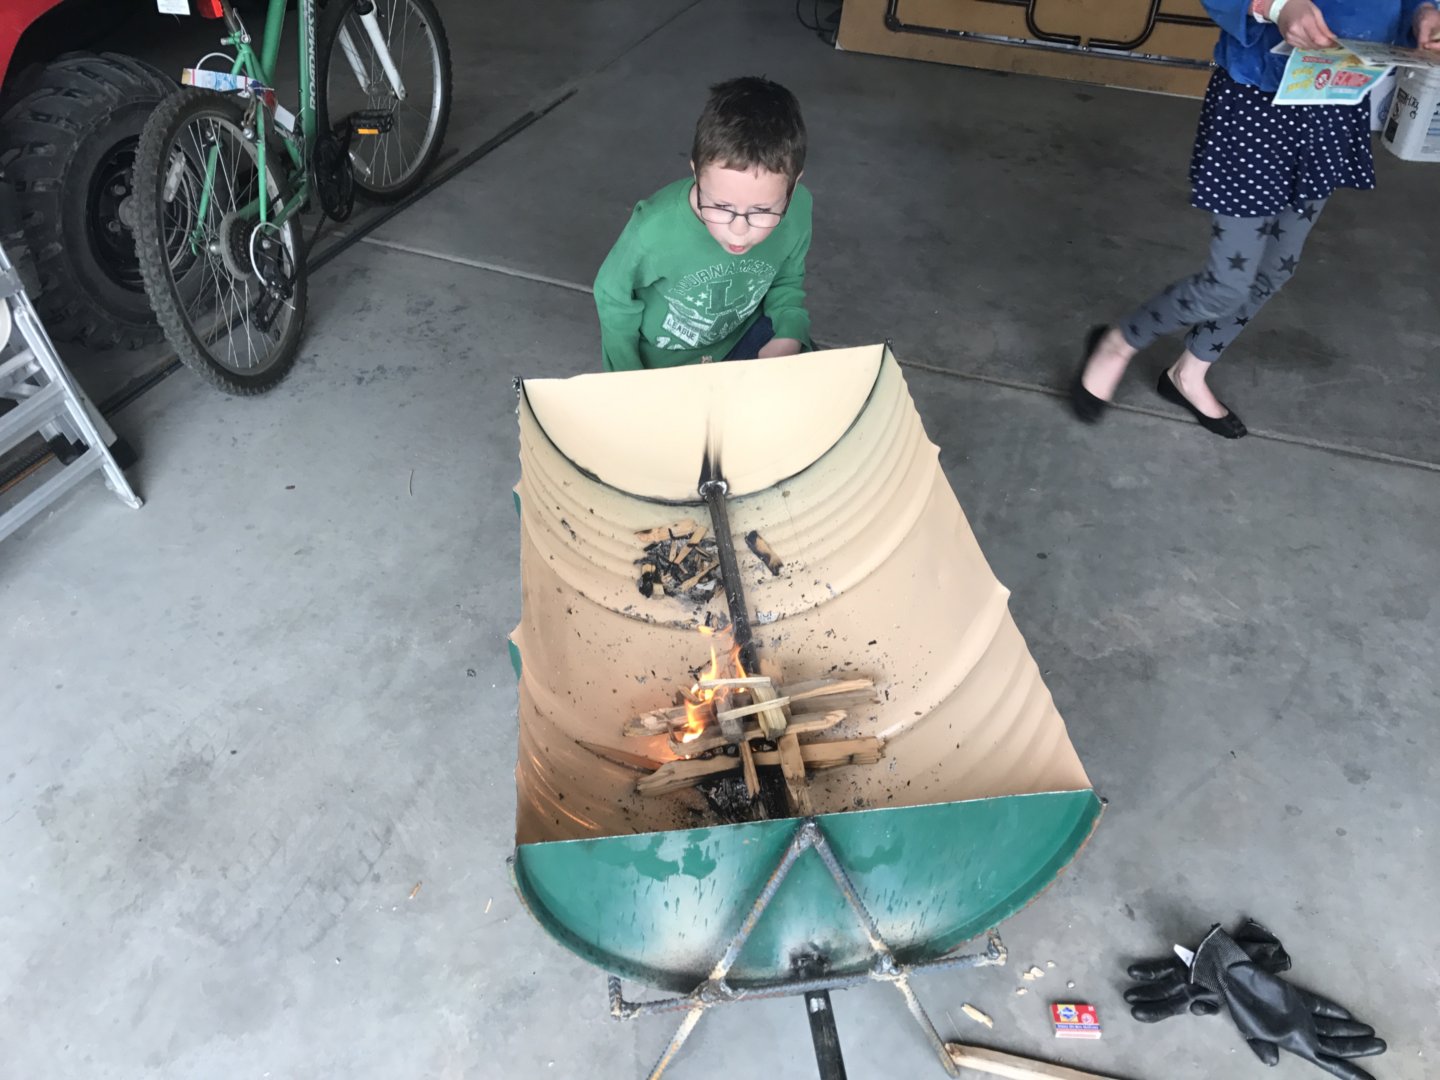
- airflow for starting and warming lots of charcoal.
- low to the ground so you can put dutch-ovens inside if desired.
- Portable & durable.
- off the ground so you can use this without scaring the earth/pavement
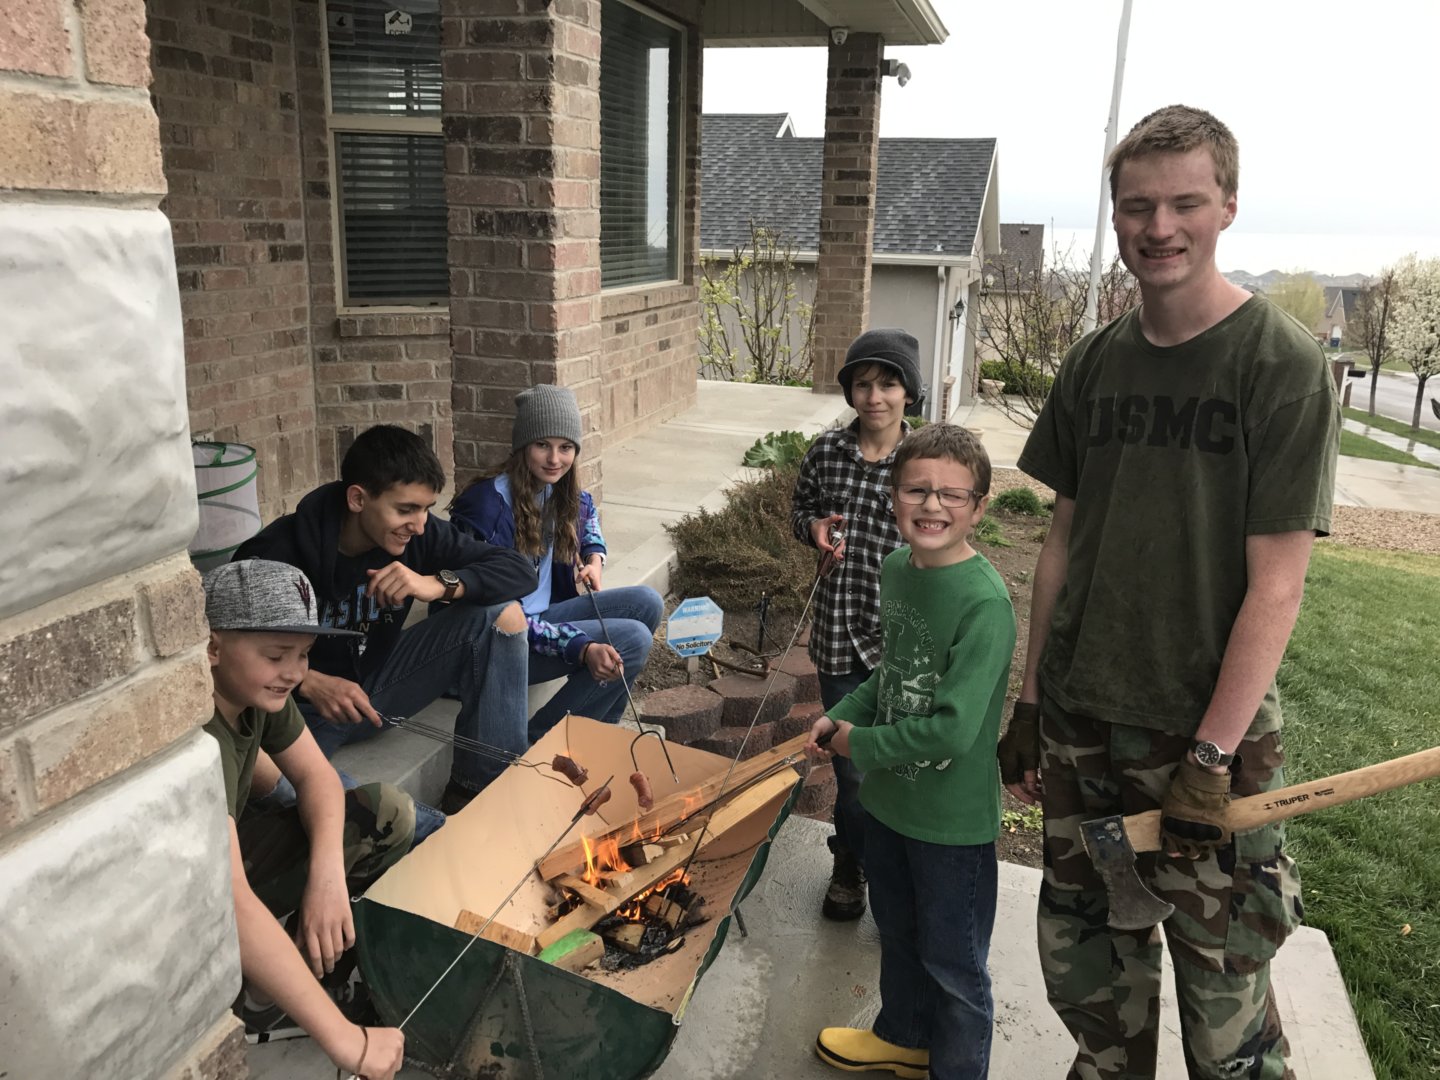
- Something my kids can use for marshmallows on the grass or pavement.
- It’d be NICE if the legs/stand was removable.
Tools that made this nice!
Step Drill Bit, so I got the air-flow pipe really tight for the barrel.
Welder makes all the difference. We used the welder to weld the lid on, the legs and weld the pipe to the barrel.
angle grinder(s). Battery angle grinder for sanding the edges(because it doesn’t turn too fast), corded for cutting …for serious torque!
saws all/reciprocating saw – amazing, you can really get a straight line if you are following marker. YES, I carefully measured!


Great project! A suggested improvement: use both halves of the barrel, one nested in the other (will have to remove lid from inside half and weld back on. Put 1″ rockwool/ceramic insulation between barrels, or if you have a ton of money to spare, line the bottom of the barrel with fire brick (pricey).
Airflow plus insulation makes everything stay toasty and warm and also keeps folks from burning themselves on the barrel bottom.
A plasma cutter makes life easy if you’re going to be doing a lot of fabrication. I see you have a flux core wire feeder from HF, so you may need to borrow from a friend or drop ~500 for a combo unit (E.g. Lotus or Everlast) in Amazon.
I’d love to hear about your son’s forge. I’ve wanted to make one of those for a while now.