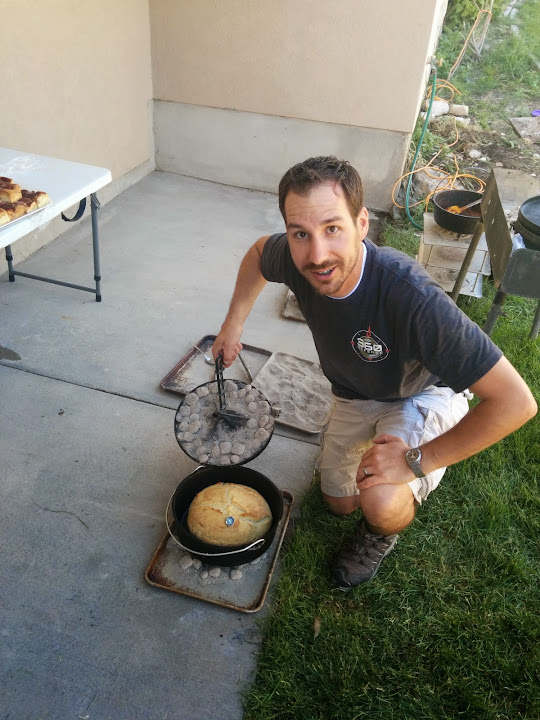
I spend my life in a “logical/virtual” world, so when I get to build/develop actual physical things, its like therapy for me.
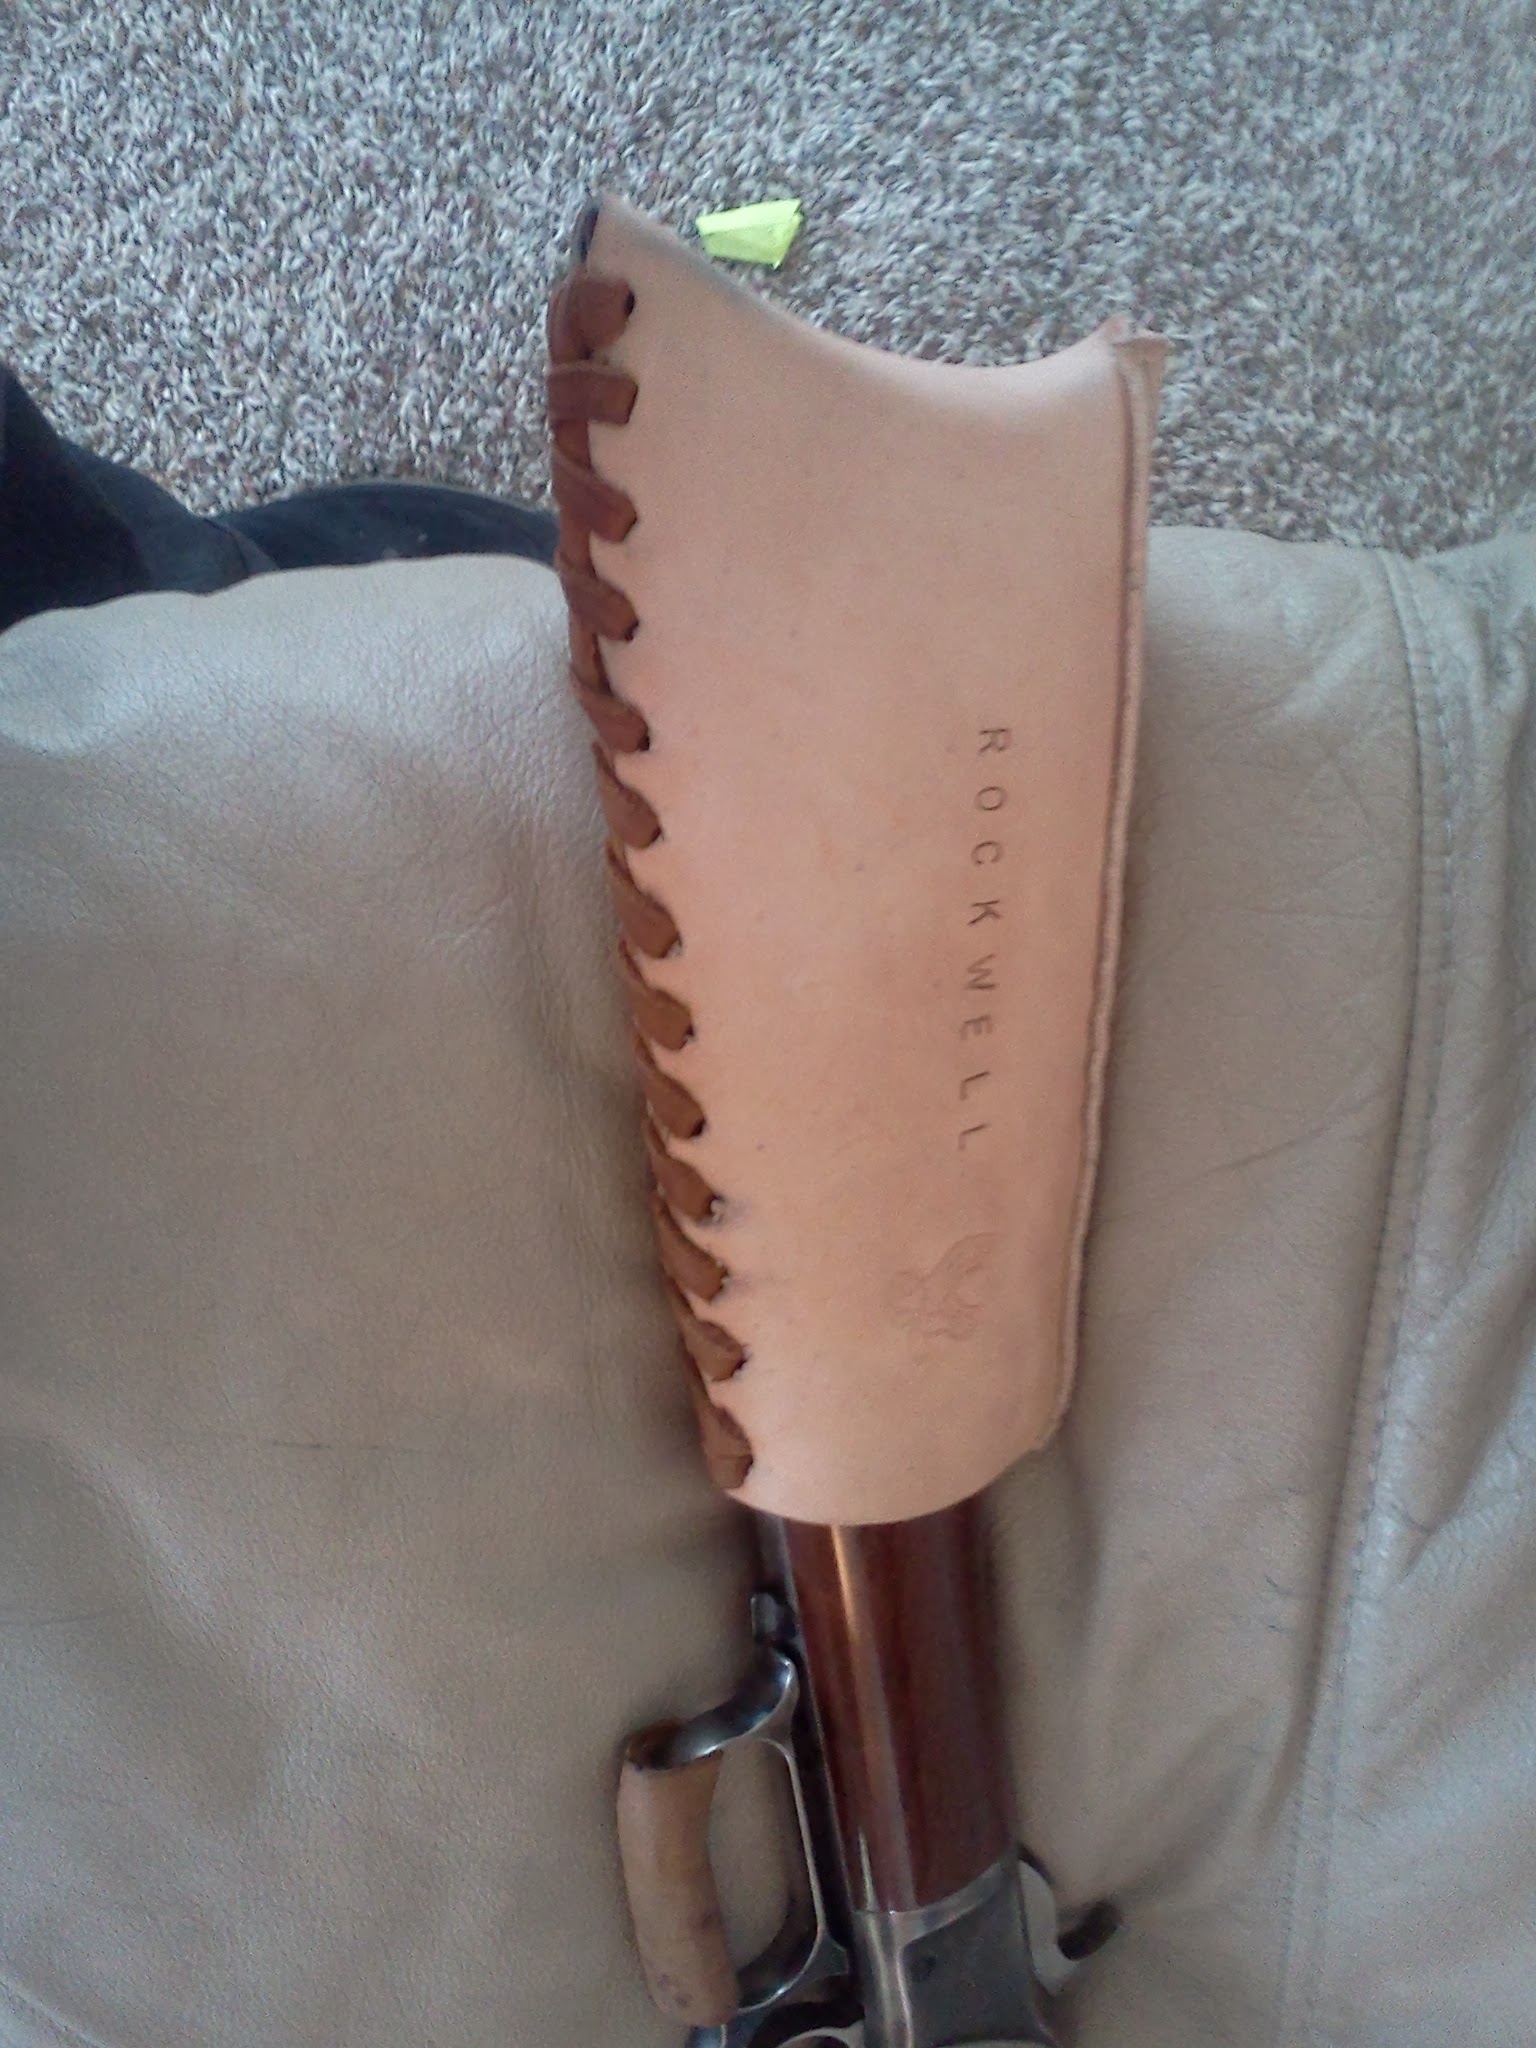
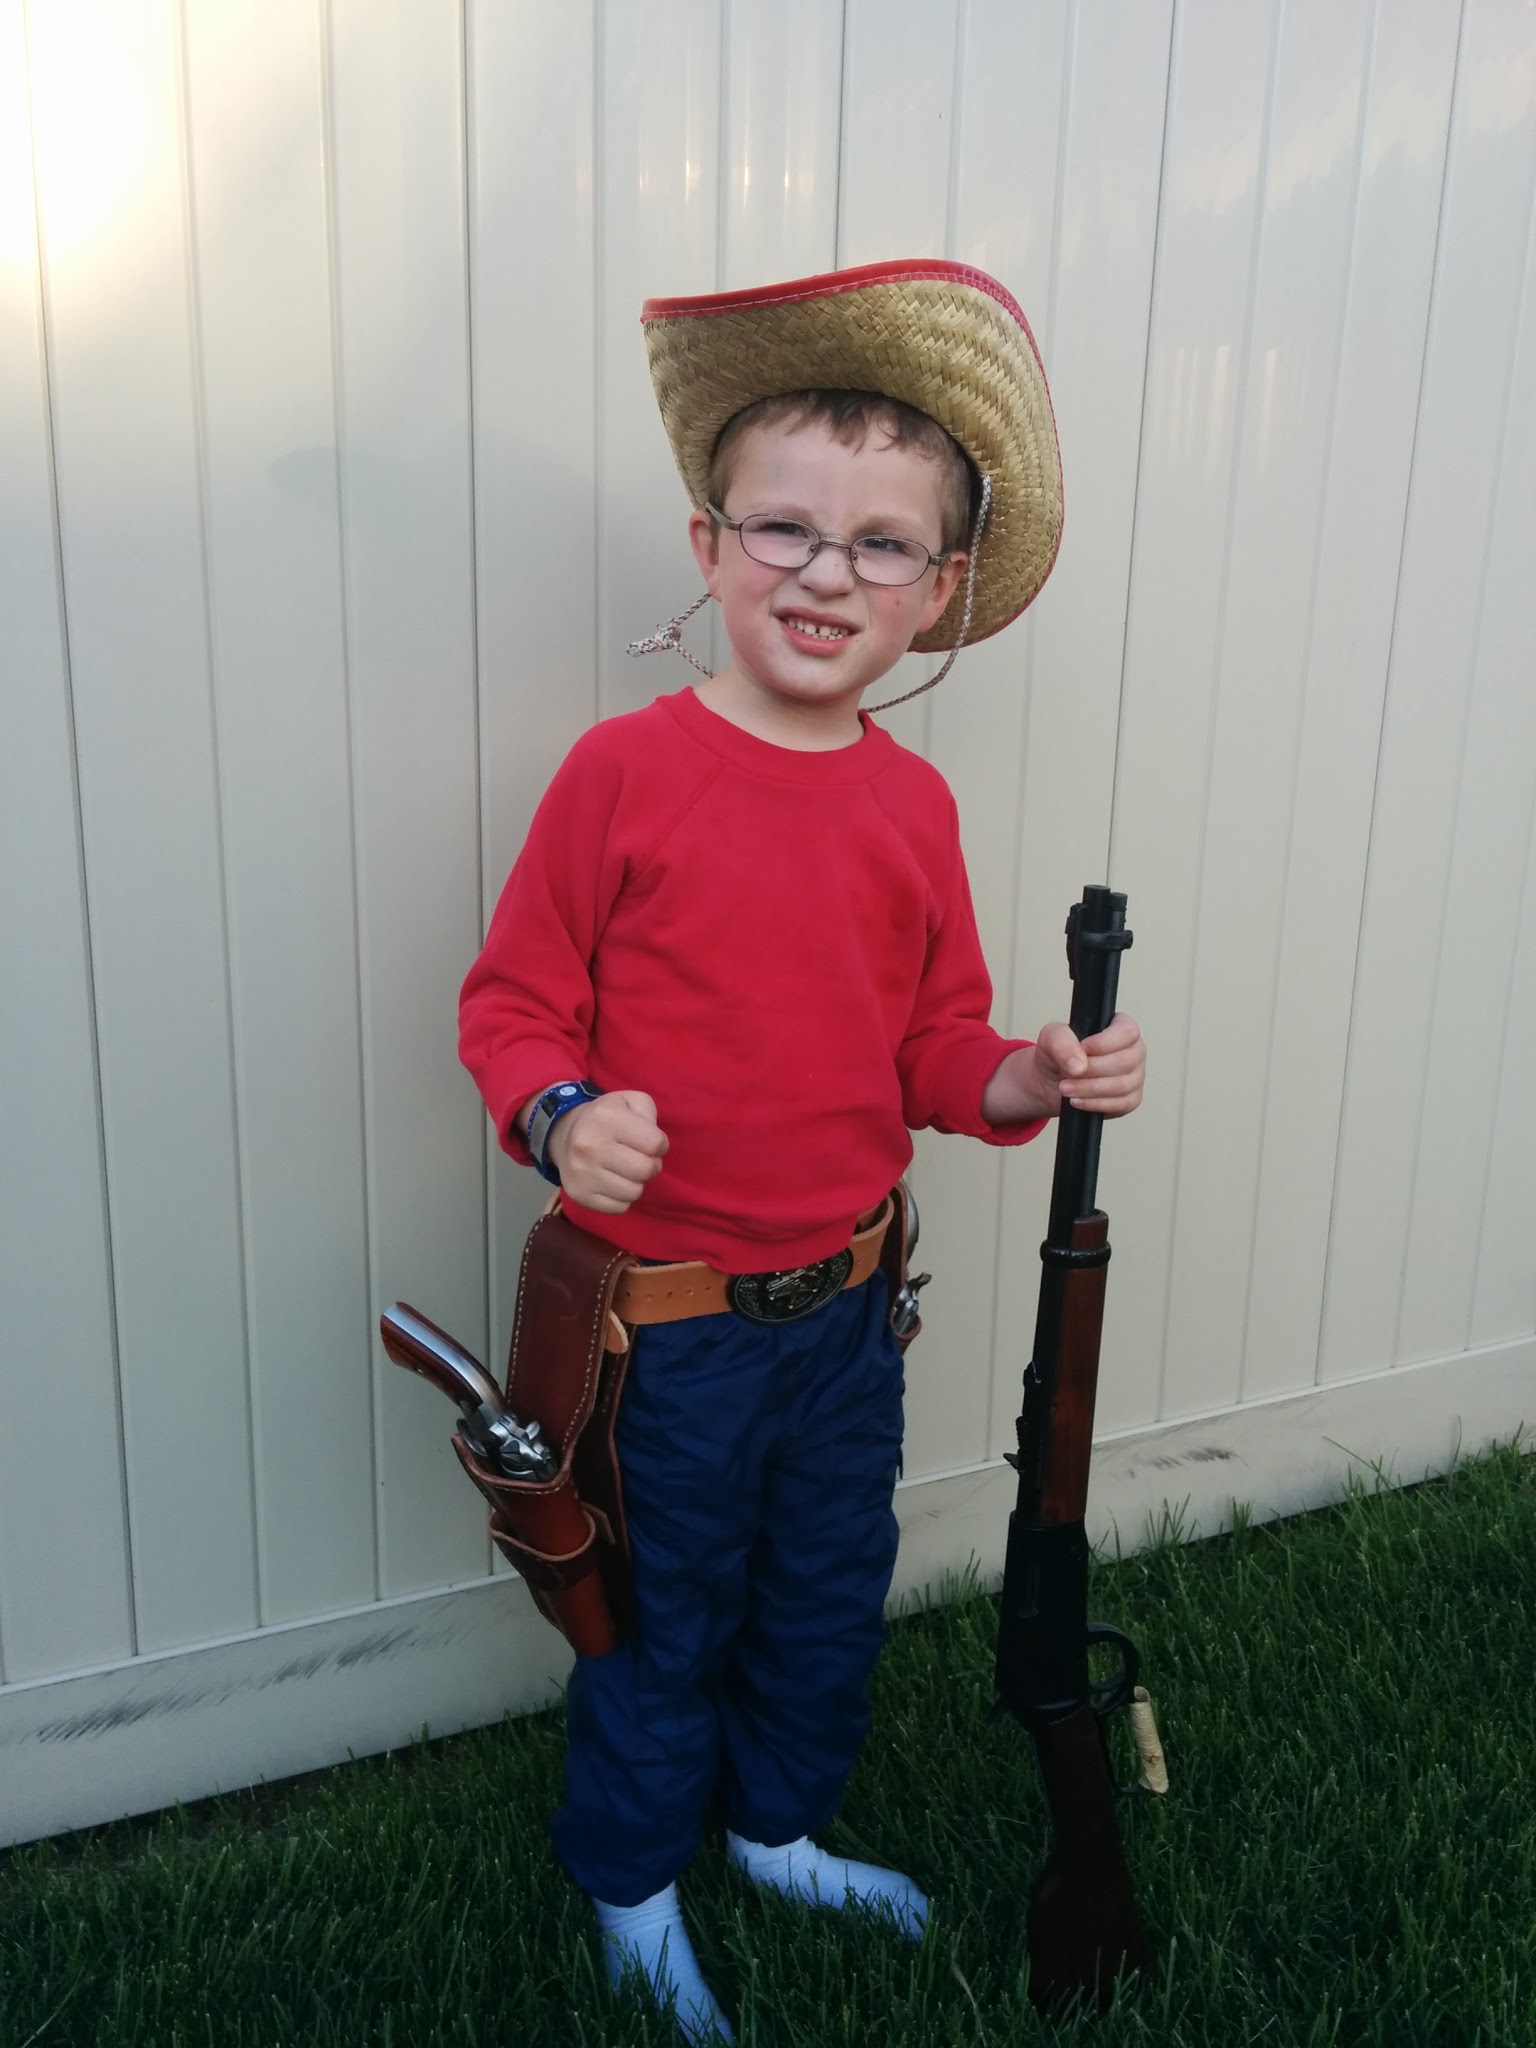
Cowboy Action Shooting got me into Leatherwork to save money on holster rigs for me and my two oldest children. For the price of one “commercially” built holster, I was able to make 3 gun belts & 6 holsters.
My first holster making class was taught by Tim Start of http://highdesertleather.com/ I think I just “happened” to take his first & only holster making class. Very foundational on building patterns and fundamental craft.
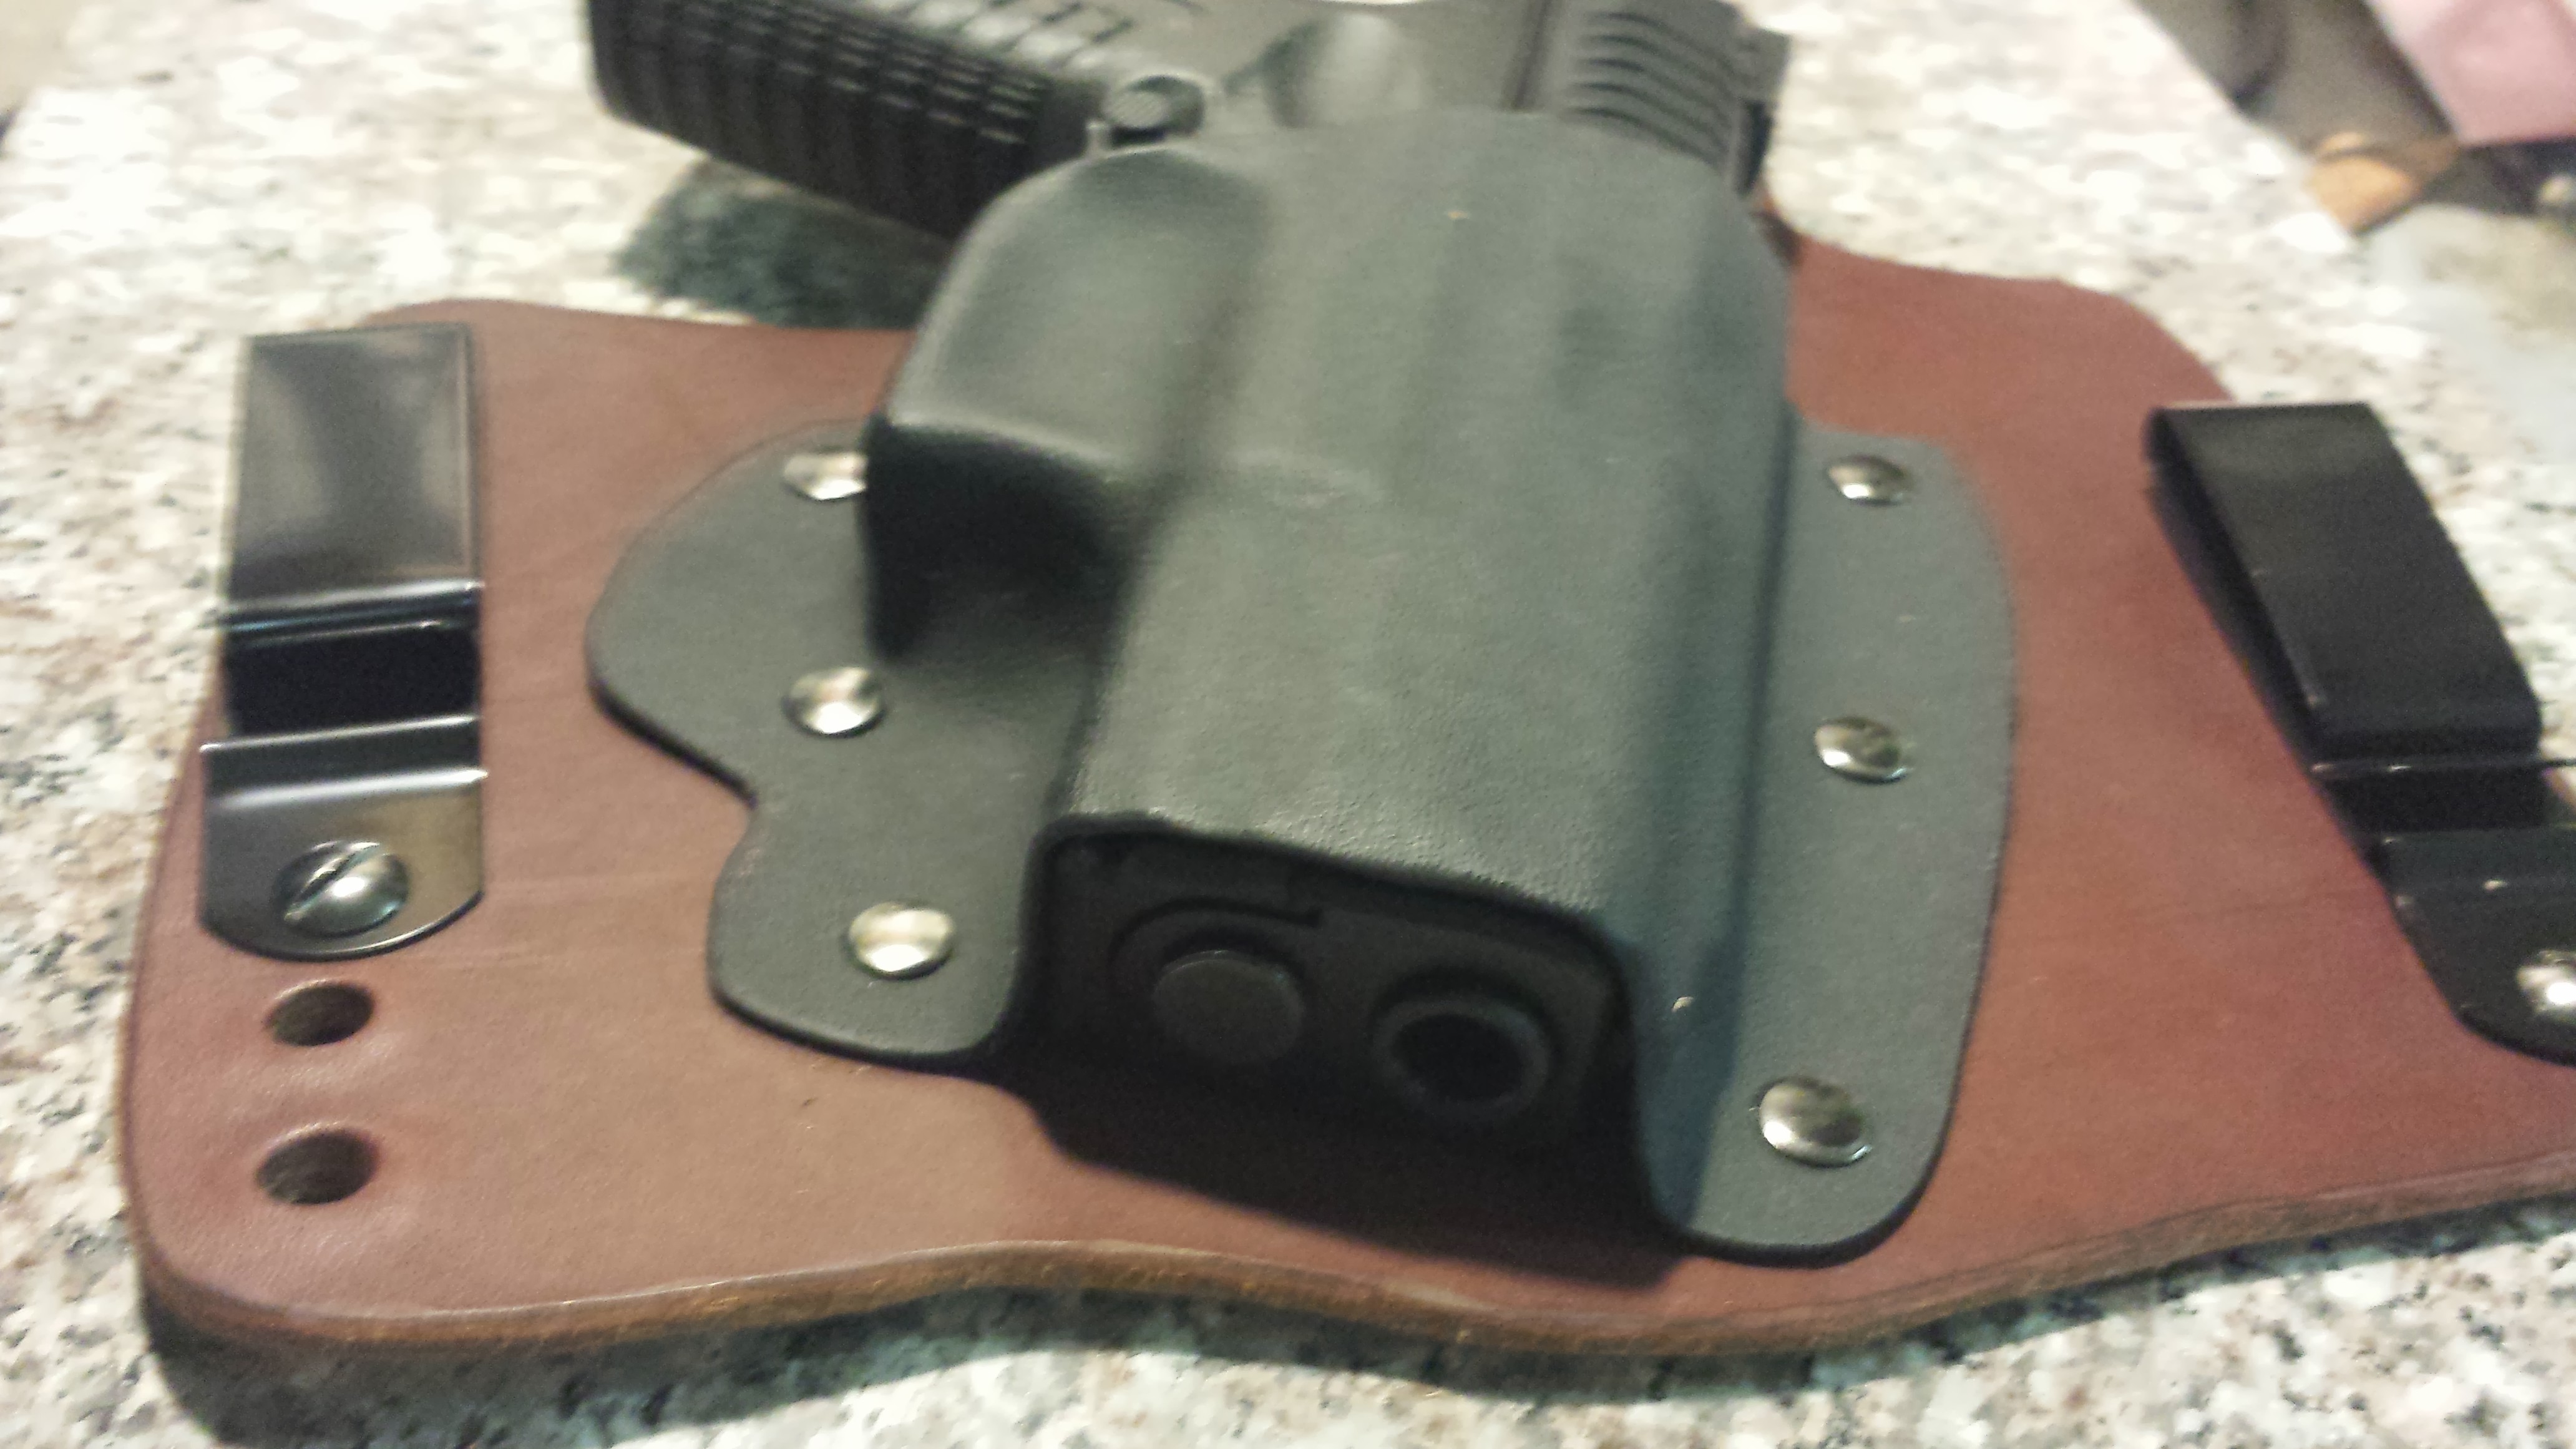
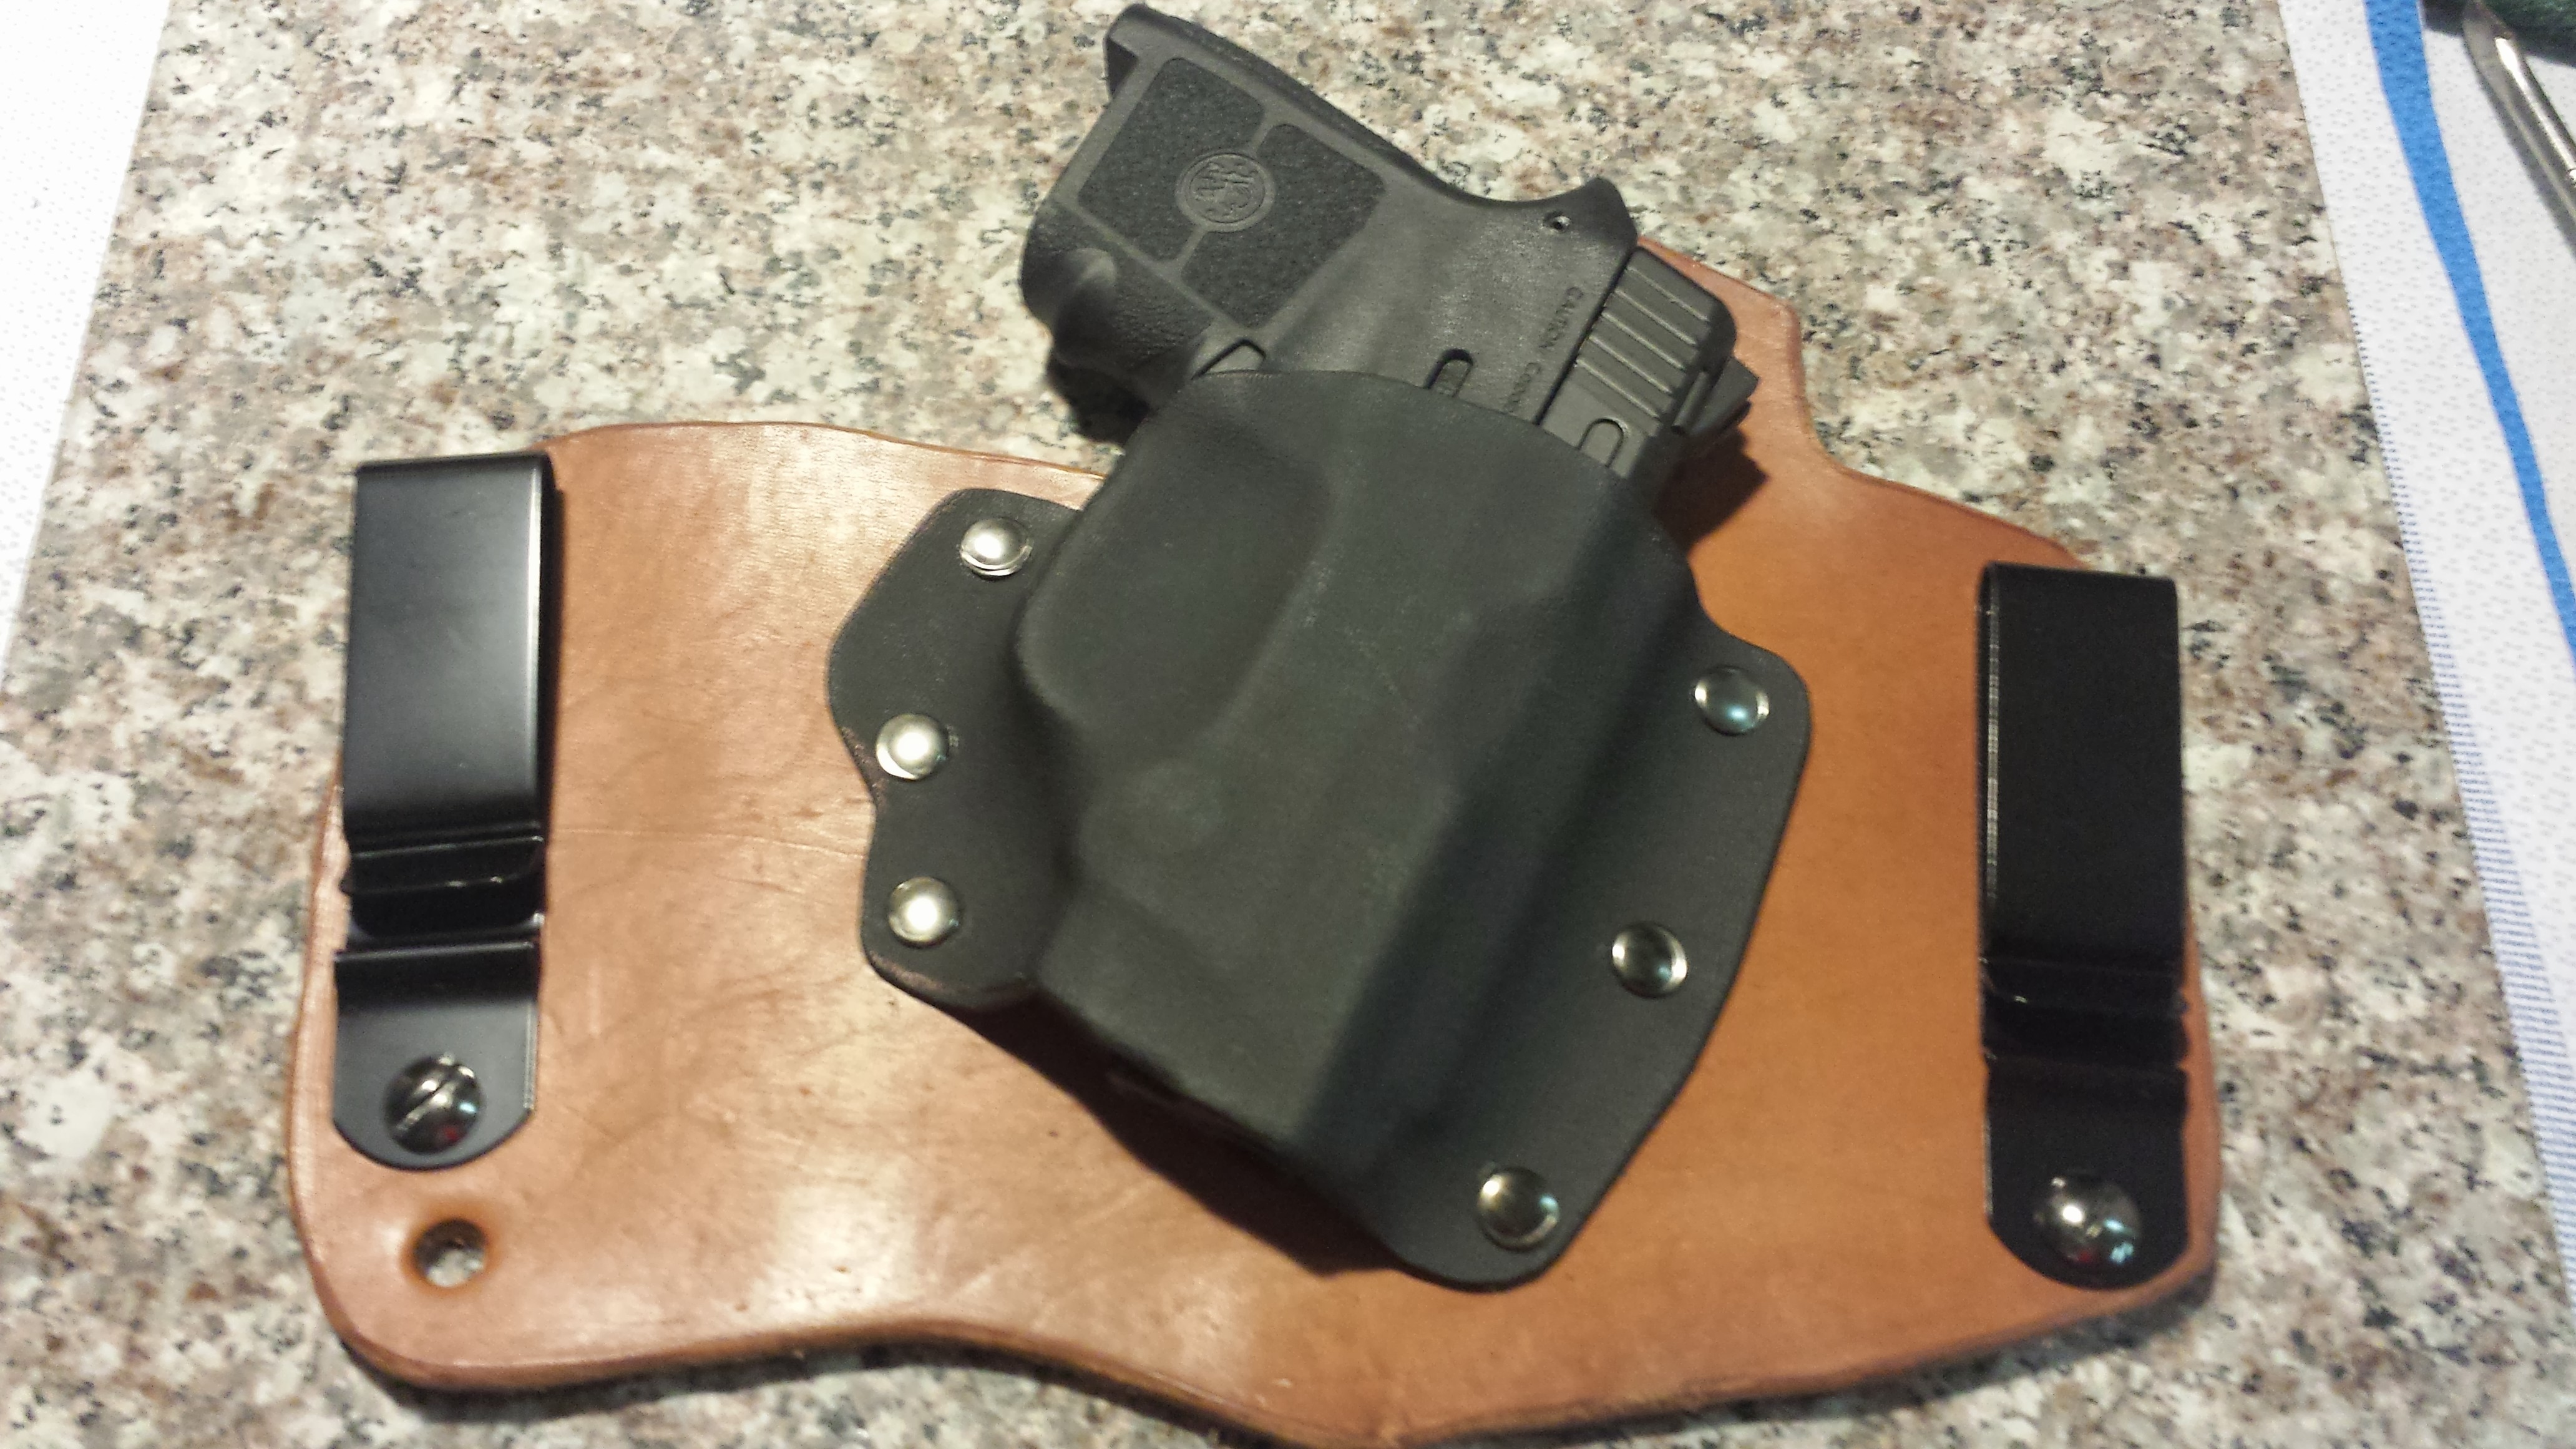
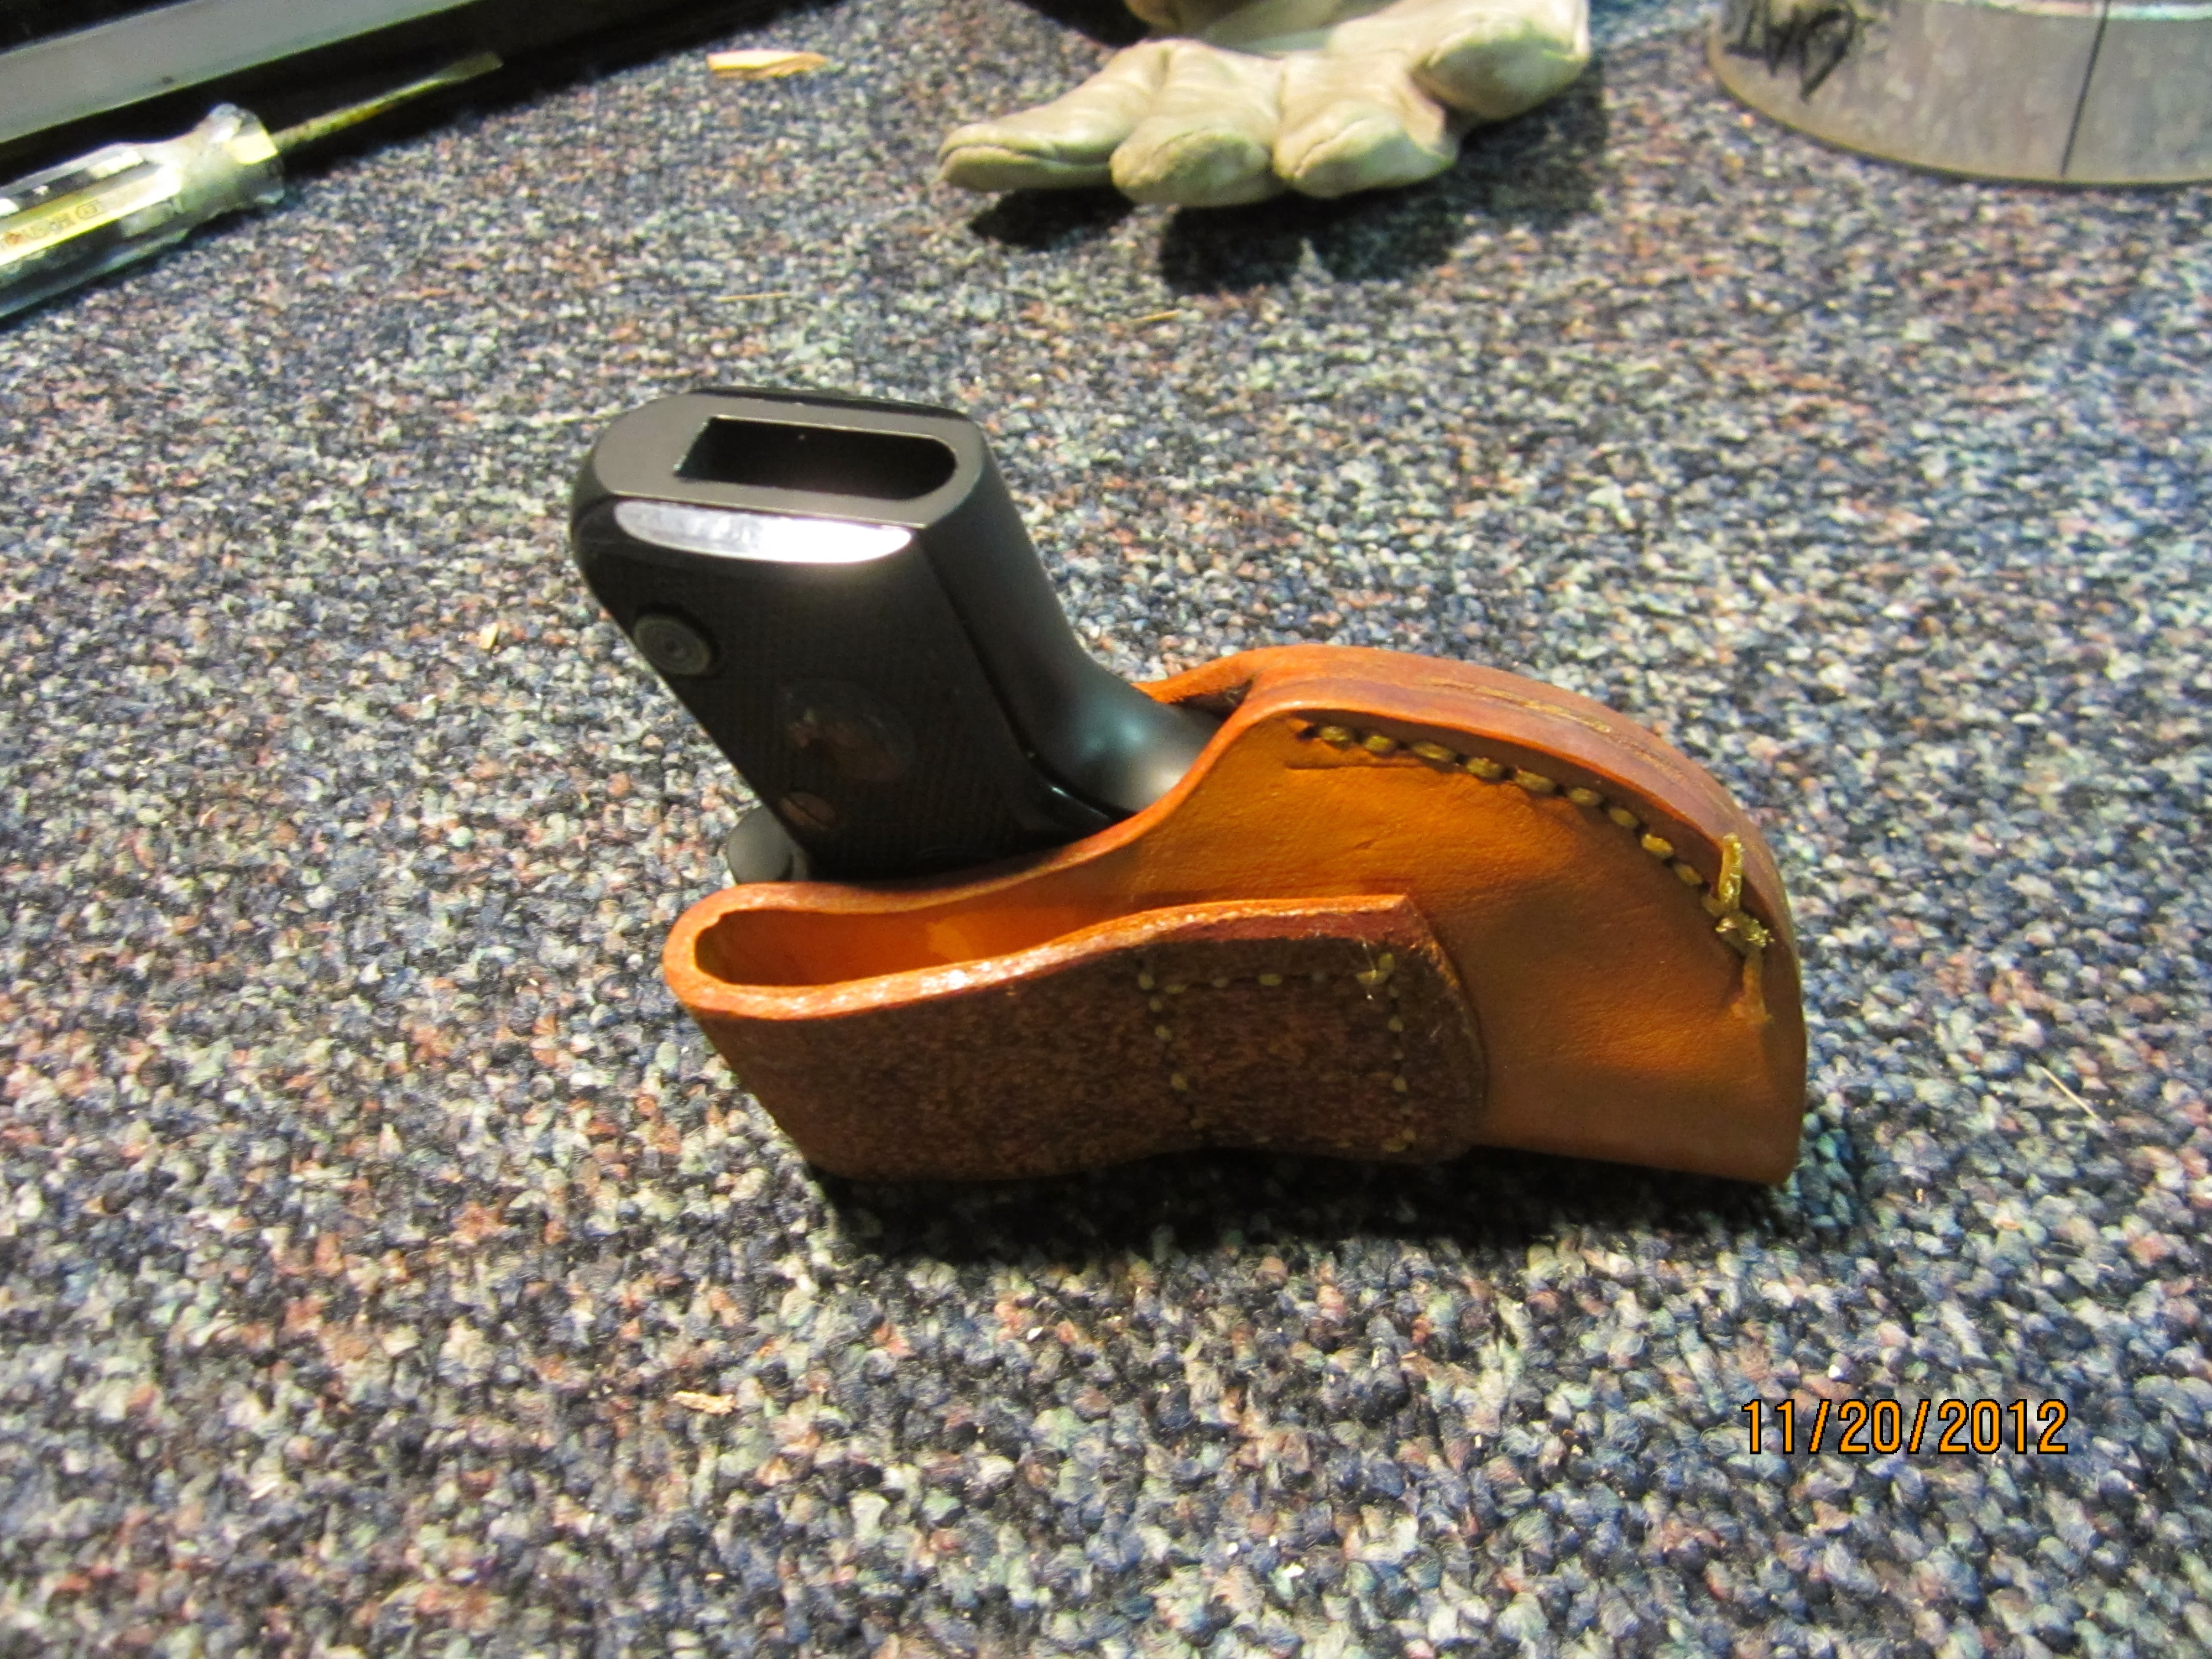
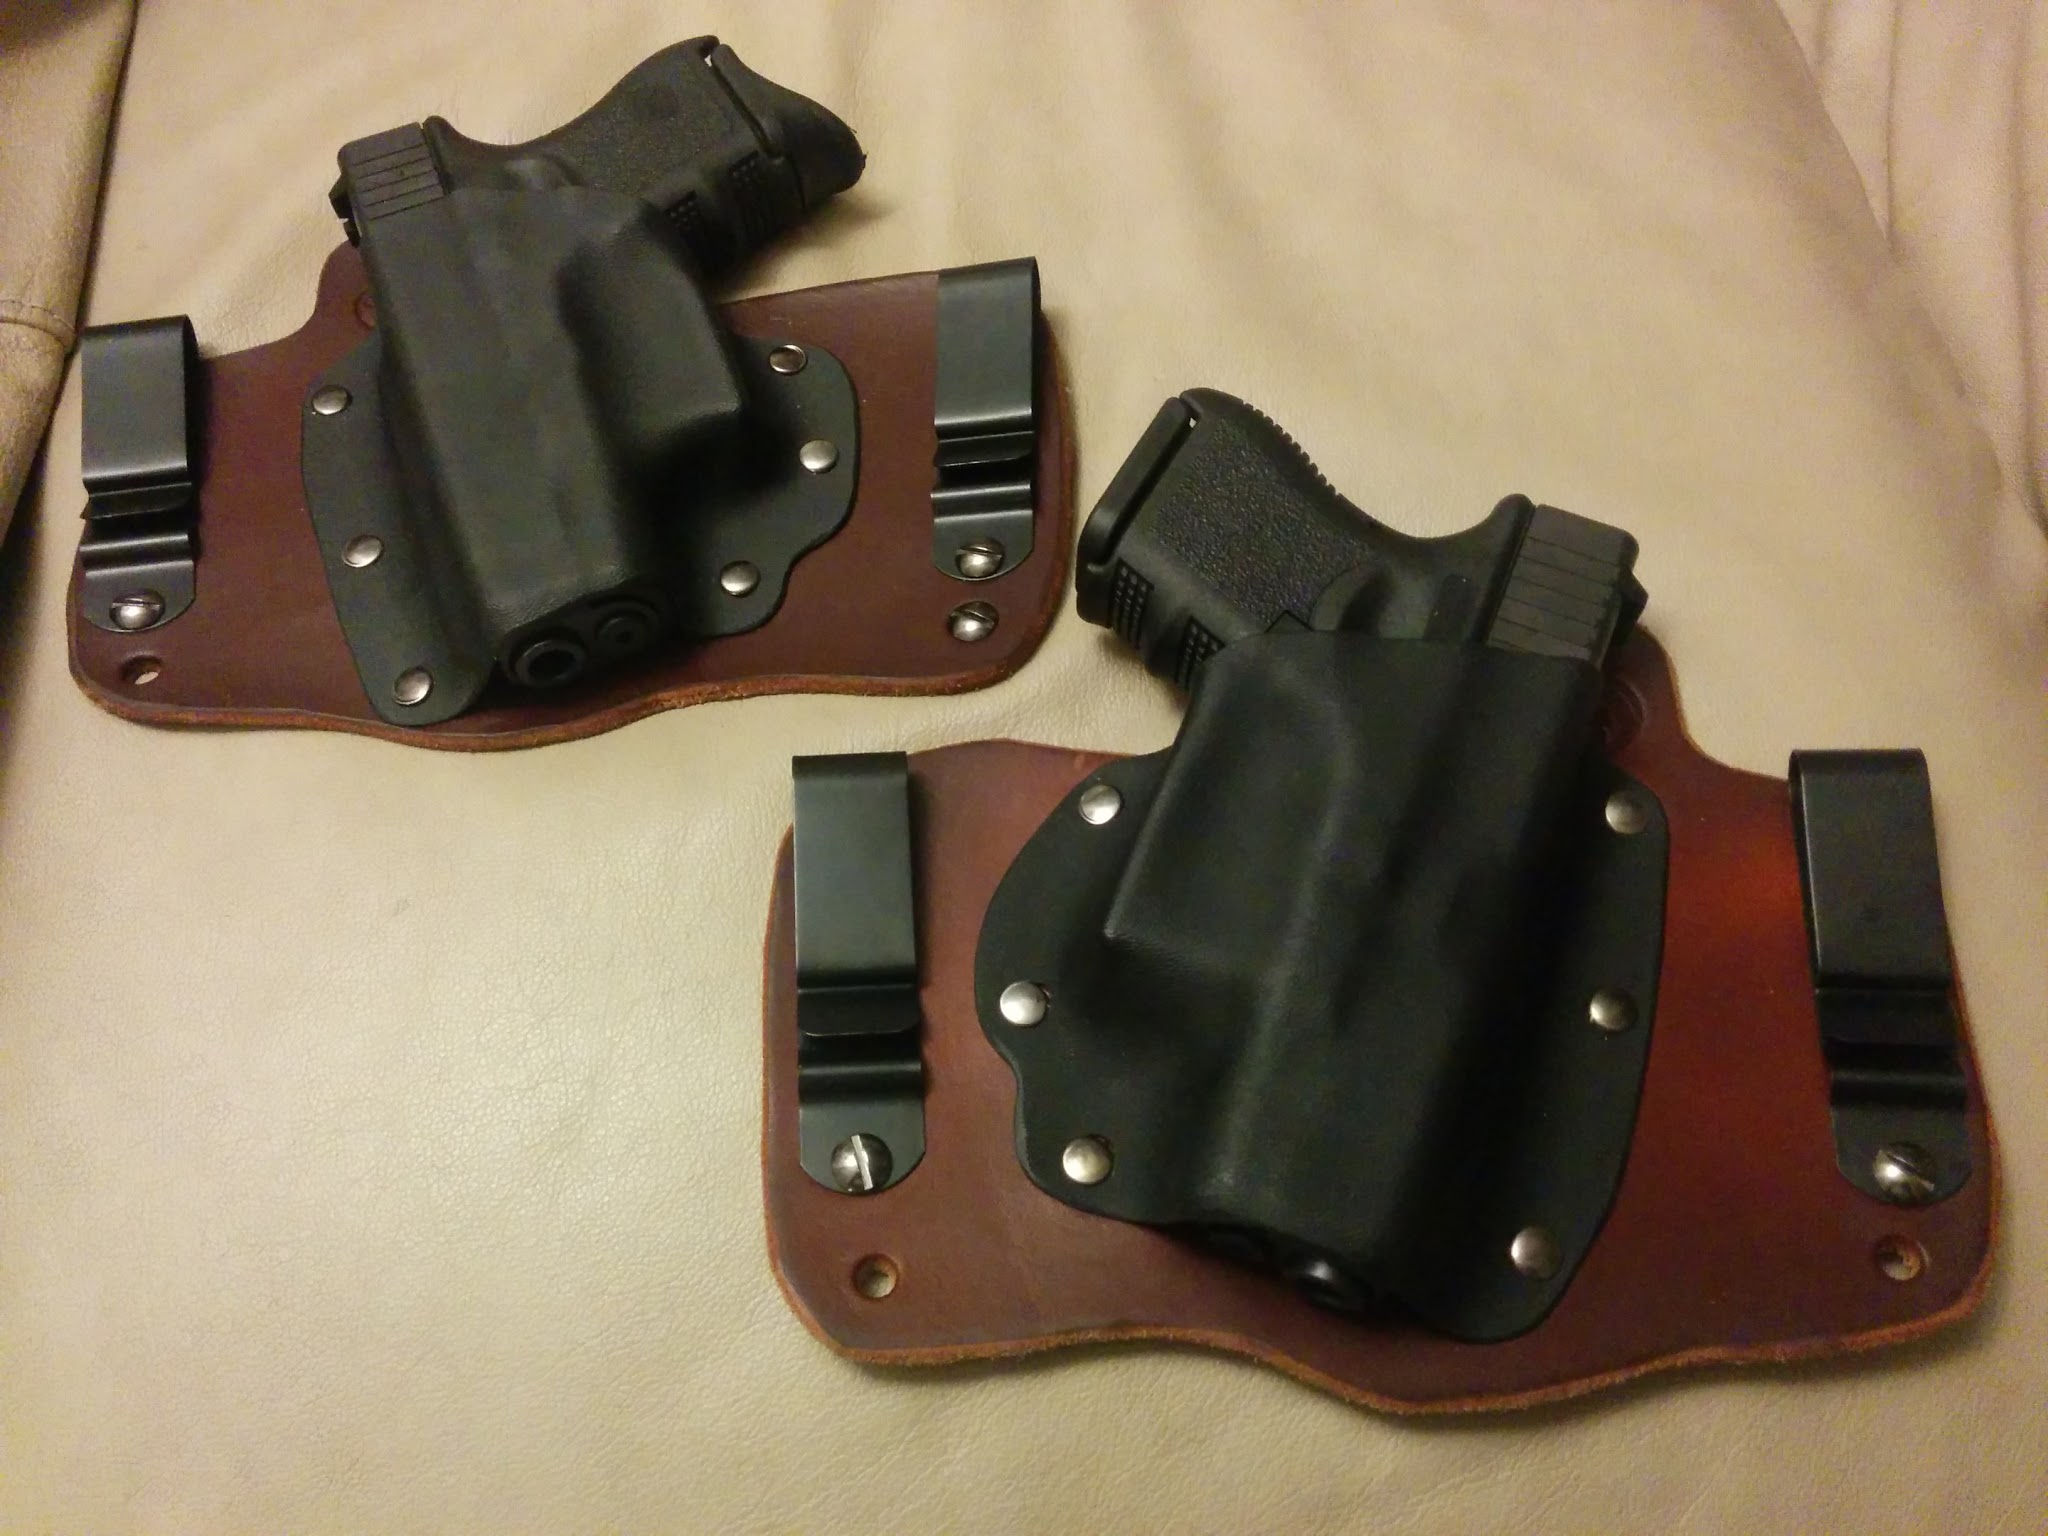
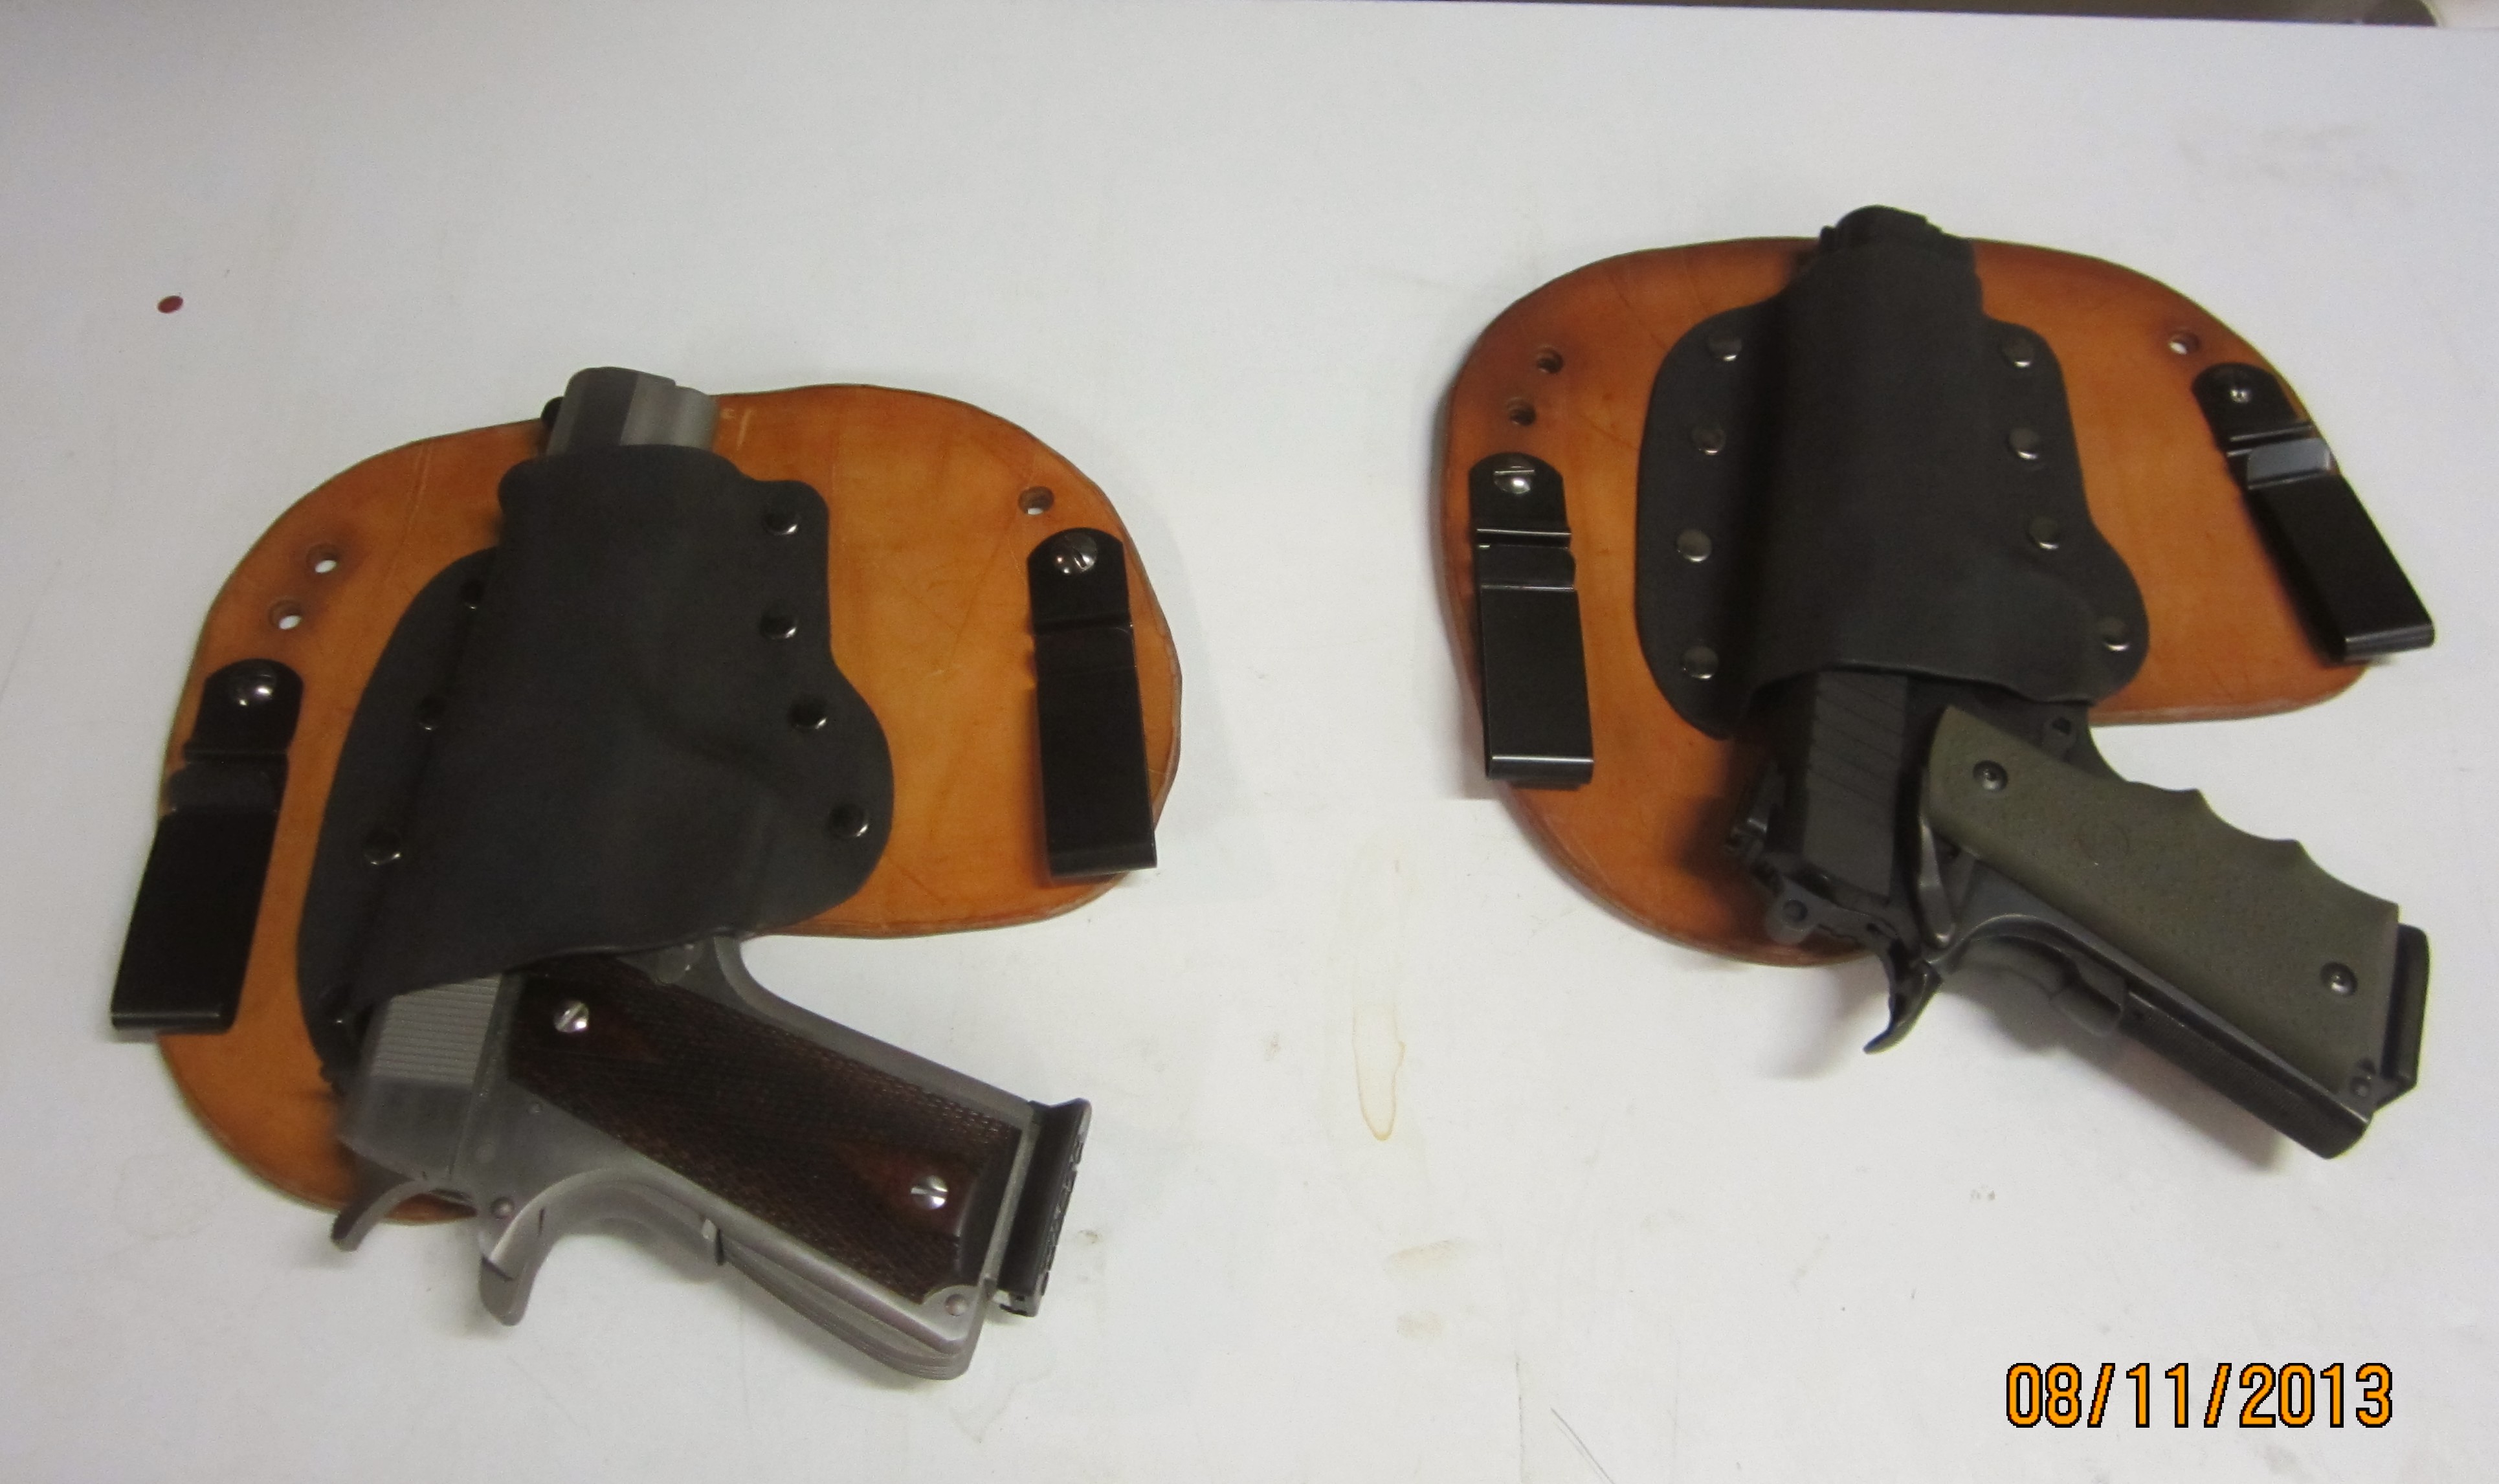
Then, one day a friend needed an IWB holster and I have a “galco IWB” holster for my wife’s S&W 638, after about making 20 of those, the “Foxy Tuck” was born a real Gen1. Each one I built got better and better, until now we have a Gen2 “Foxy Tuck”.
Mid 2014 I asked Simon if he would mentor me on holster making. From him I learned where to buy the best holster making leather on the planet! The old-school way of “finishing” leather that has been done for hundreds of years. He doesn’t like “cross breed” holsters, he likes full 100% leather custom made holsters. Simon made custom holsters for Freedom Arms (about 100 a month for decades), to say he is the best in the world is an understatement. I learned more from him in 60 minutes, than I had in a year of making Foxy Tucks.
Early 2015 I hired Simon to “mentor” me on a special chest rig for a 454 Predator Defense gun to be worn in the field. He invented this design decades ago and many have tried to “copy” it.
This second mentoring session enabled me to get to Gen3! I invested about $1,000 in equipment to cut my production time in about half and increase quality by 2x to get to Gen3. I have NOT released Gen3 yet, but standby its going to be awesome!
Foxy Tucks & Leather working projects through the years.
GENERATION1 Foxy Tuck-$50 (2013)
cut out leather with scissors…sharpening them frequently.
tan/black dye..that had to be sealed…that dried out the leather. 1 even bled onto a customer.
kydex tenting and cut out with a jig saw (yuck!…dangerous).
each holster improved significantly
sucky tandy leather double oak shoulders
drilled holes for clips instead of punching them (crazy huh?)
not covering full barrel (like all the other makers), so it “catches” your frontsight and your barrel wears out your clothing.
used “kitchen oven” (crazy huh?!)
Gen1
GENERATION2 Foxy Tuck- $55 (2014)
high quality/high cost leather, planed and tanned to perfection 9-9.5 oz W&C backs
purchase hardware in-bulk to offset higher price of leather
neatfoot oil “dyed”
kydex look & function doubled in quality IMO
cut kydex with large scissors and used bench grinder, then dremel, then “scotch-bright” to “polish” edges of kydex
edging by hand and sanding by dremel.
Custom “Maker Stamp” with brand & Scripture (“The Lord has said that: Ye shall defend your families even unto bloodshed. …to defend themselves, and their families, and their lands, their country, and their rights, and their religion.” Alma 43: 47)
kydex high on the handgun and snug on the slide, with sight groove (details matter!)
dedicated toaster oven in garage
Gen2 Foxy Tuck
FUTURE PLANS – GENERATION3 Foxy Tuck-$55 (2015)
custom die to automate-cutout pattern for compact and 4″ service pistols
better edging due to “professional” sander & polisher (no more dremel). $750 “professional sander & edger”
decorative line around Foxy Tuck
Professional Photography
TIME LINE
buckskin shirt
Cowboy Action…addiction
1st & last appendix holster
weapon mounted lights (awesomeness!)
hi-temp & home-made “vacuum press”
shopvac & “vacuum press”magpouch
maker-stamp
Note gap high up on the slide (sight groove too long). I no longer do the gap. Sight groove only goes to front of trigger guard, for better retention.
This is the 1911 that pushed me over the edge, and I had to buy one!
Did I mention I LOVE M&Ps…especially the 22 LR version
NextGen leather therapy
As American as young’ns wanting to grow up to be Cowboys…to ride & shoot!
oh how I love the bearcats. My son feels loved because of the bearcats!
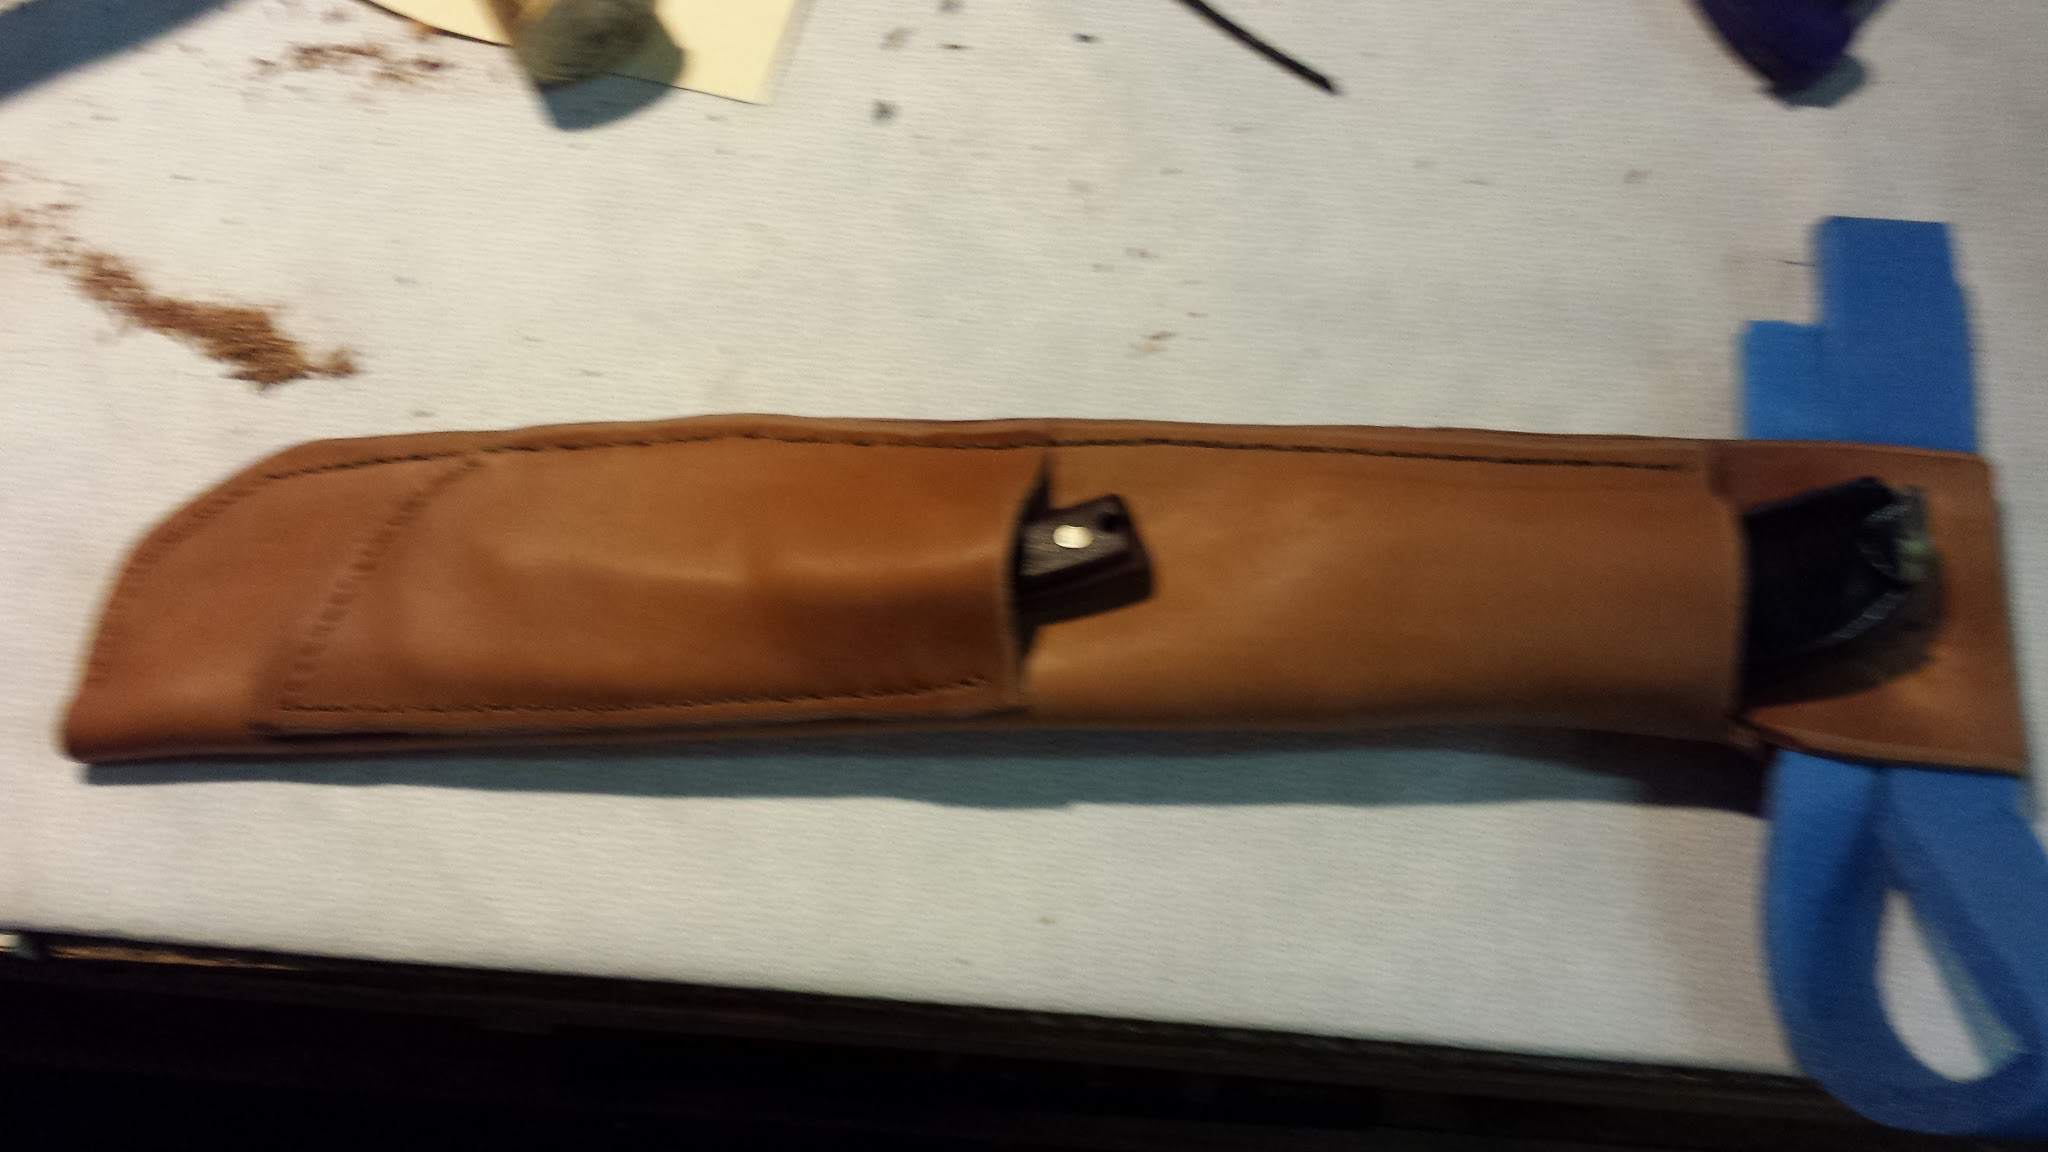
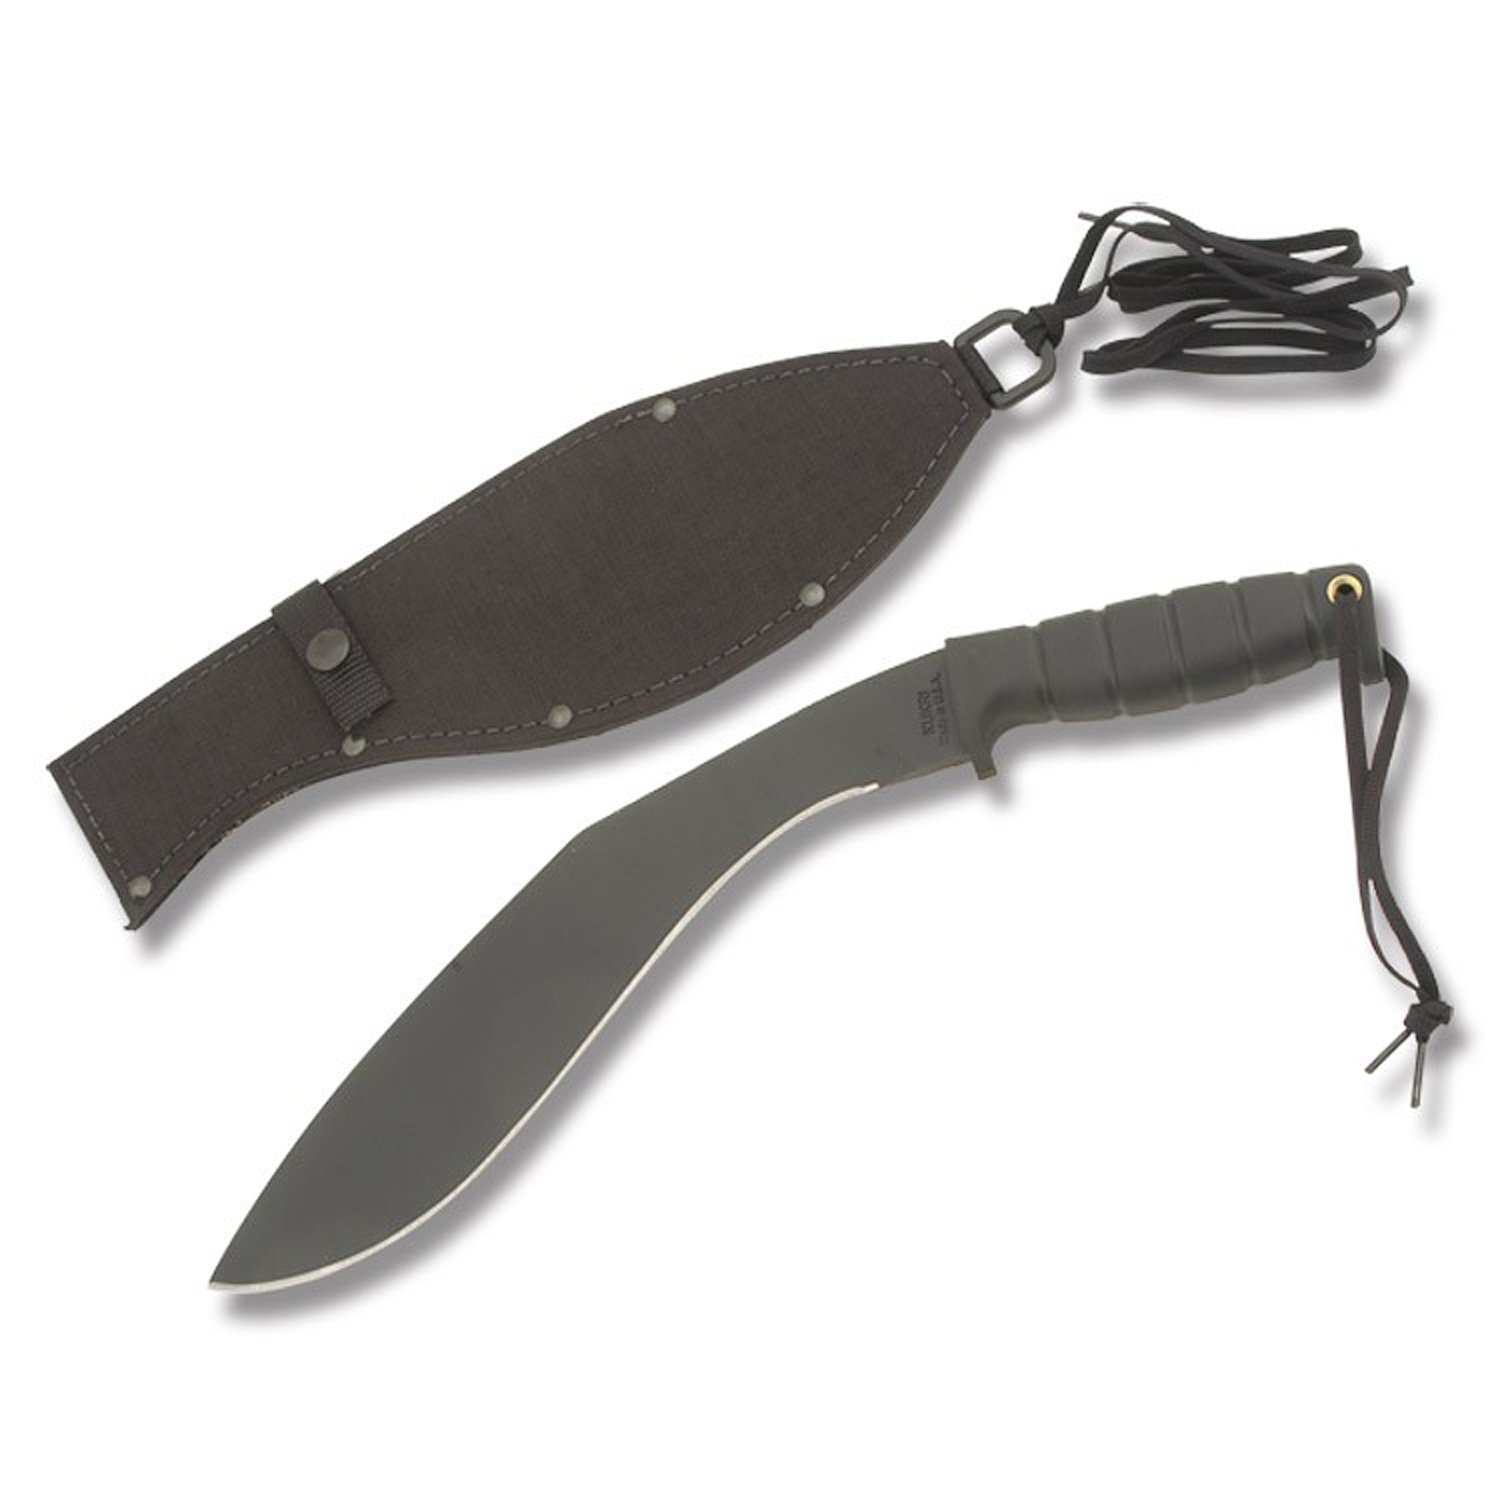
larger knife is my work. the esee 4″ sheath is commercially produced.Pre-oil “dyed” Piggy Back Skinner & machete “chest rig”
PF9 & XD9 with weapon mounted lightone-off hand stitched OWB holster 25acp
I have a soft spot in my heart for Ruger Revolvers. Owner is WELL armed!
M&P 40…perfection
cutting out…by hand.
M9 March 2015G20…perfection. Notice high on the slide retention.1911 with “sissy kydex clips” instead of the manly steel clips 😉
G23 with “sissy clips”
xds 45 acp…can’t live w/o one!
Note sight groove “depth” and orientation.
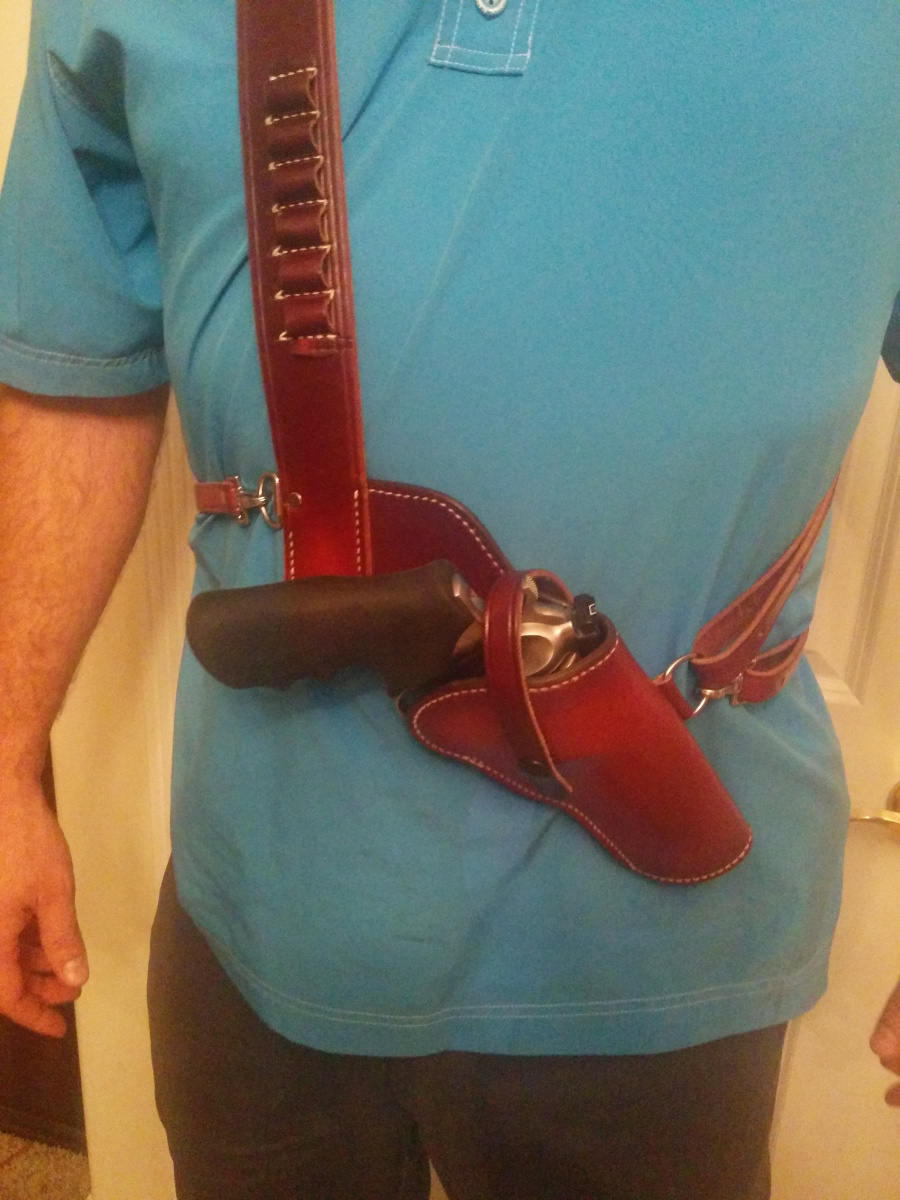
454 Super Redhawk 5″, chest rig with “Simon” assistance mentoring me.
Over the last 3 months, I have been wearing and testing a new Inside-the-Waistband holster. It has become my favorite holster (IWB or Belt) by far, easily and comfortably concealing a service-sized Glock 19/23/32.
Every Foxy-Tuck holster is hand-made by my new Good Friend Thomas Erickson whom I met during a course in the high desert mountains outside Saratoga Springs, UT last June. Both Thomas and his holsters have my highest recommendation.
I have worn kydex IWB Blade-Tech holsters (and leather IWB holsters by Milt Sparks, Horseshoe Leather, Mitch Rosen, and others) for more than 30 years. The Foxy-Tuck is far superior. It is simply the best holster I have worn for comfort and concealment! It mates a kydex outer portion with a thick cowhide inner (next to body) section, with smooth-side facing the weapon and rough-side out, both sides in a stingray shape with widely-spaced belt clips that distributes weight evenly and allows a firm anchor of the holstered weapon comfortably against your body in such a way that the entire system stays put without allowing your pants to slip and sag! No need for suspenders! Its design positions the weapon much closer into the body than would an all-kydex version, and this aids the “concealability” of the system. I’m not sure exactly what makes it so comfortable, but it is!
The one criticism I had was regarding the metal steel-spring belt clips. Although very functional, they tended to scratch my leather gunbelts and had the potential to gouge leather, wood or upholstered chairs or seats unless well-covered with a thick cover garment. The answer to this was substituting kydex clips for the metal ones. (See link below.) That made my Foxy-Tuck the perfect IWB holster.
UPDATE: Thomas now offers metal or kydex belt clips for no extra charge!
The one additional comment I have comes as the natural result of the holstered weapon being held so much closer (30-50%) into the body than would be possible using an all-kydex IWB
design: it is slightly harder to reholster. There is a learning curve involved that can easily be mastered through practice but it is easier to reholster into the wider mouth of the rigid all-kydex
designs. However the negligible decrease in reholstering ease/speed is more than compensated by the increased comfort, concealability and anchoring effect of the Foxy-Tuck design.
<paste email from Doc Gunn>
I LOVE IT ALL! The G43 mag pouch is perfect.
Your Kydex clips are perfect.
Both holsters are great!!
I love the flashlight holder! I will use it frequently, if not constantly.
Thanks!
best!
Doc
</paste>
My Summary of the Foxy-Tuck is as follows:
Impression:
Superior concealment holster.
Unique Features And Strengths:
1/. Extreme comfort and concealability.
2/. Tucks very close to body.
3/. Very good at “anchoring” the handgun/holster to the body, preventing shifting and preventing the weighted-down pants from slipping and sagging.
Weaknesses?
1/. The metal spring steel clips used. These are in a position to gouge chairs and car-seats, or the overlying cover garment. They may also mark leather gunbelts.
Solution to Possible Weaknesses:
1/. Replace the steel spring clips with kydex QD clips, such as these from amazon.com.
(Thomas is looking into supplying kydex clips as an alternate to his usual steel ones for customers who request them.)
THE purpose of an IWB is concealment. The Foxy-Tuck does that admirably, better than any other. It is also very comfortable and uniquely anchors the pistol, belt and pants against the body without slipping down! Most highly recommended!
Each Foxy Tuck has the following scripture stamped into the leather.
“The Lord has said that: Ye shall defend your families even unto bloodshed. …to defend themselves, and their families, and their lands, their country, and their rights, and their religion.” Alma 43: 47
If you have shot A LOT of iron sights, then you are ready for phase 2 (optics). If you are still learning iron sights, you’ll learn a ton with irons in Larry’s class.
Iron sights are often overlooked, but are very effective, inexpensive & rugged. Shooting steel at 100y with iron-sights is very do-able.
I took Larry’s class with iron sights. Taking it a 2nd time, I think I’d do a 1-4x or red-dot.
but for sure, Iron sights for first class…unless you have vision issues or eye issues.
I wouldn’t go any lower than the trs25, good value, but if you can afford it go higher quality. everyone I know that owns a trs25, LOVES it.
I have recommended trs25s for years, when it came time to purchase, I bought the sparc
I went with the sparc for my “shotgun/ak74 systems, putting it on an ar15 also works, but I mostly got it for m590 & ak74. right now its on my ruger predator 308…for coyotes, but I need to get it on my 590 and get it dial’d in for Larry’s shotgun class.
I have a supersniper 1-4x scope that is on my “go to system”. IMO, that is hard to beat. 1x is almost as fast as a redot, and you can zoom into 4x or 3x.
you’ll see a lot with a hard cup pads, I don’t get that, seems like you’d be fighting that hard cup all the time. we are NOT swat, so I don’t see the need for the hard cup.
you going to speed kneel on glass?
I’m not 😉
I have the defective hard-cup elbow pads. Some guys hate the neoprene…too much bounce, but a thin elbow pad, makes a lot of sense to me.
I’d be interested in others opinion on this!
Magazines
20 round magazines, I can’t over emphasize how awesome 20 round mags are! I was converted to the 20 round ar15 magazines when I took Larry’s rifle class in 2012.
I LOVE these things (makes you wonder how magpul got its start 😉
looks like the rifle tab is more precision rifle purposed
binoculars
8x binocs. These 8x binocs have been on my wishlist for a while
RIFLE
bring a frick’n standard m4 ar15!
nothing fancy! or strange! for sure not a 5.7 upper! nor an m1 garand 😉
the 5.11 protac pants, have an insert for knee pads, gives you almost enough protection for gravel. If at the “Farm”, you’ll want external knee pads like the voodoo tactical ones.
If on the “ranch range”, the inserts might be enough…I will spend any amount of money to protect my knees…cuz I have knee issues.
PRINT THIS OFF and check off as you make your pile of stuff to take.
With significant contributions & guidance from Larry Mudgett
Introduction
After taking Larry Mudgett’s Predator Defense(PD) course, I began down this journey of finding the ideal “PD & outdoor survival” system. I HIGHLY recommend you take this course from Larry!
Before taking this course, I was convinced that a 10mm would save me from large predators. In this article, we will compare “defense” calibers and then compare “defense platforms” to arrive at an ideal PD System. By synthesizing the current literature we can make a solid decision to protect ourselves and those we love while enjoying the outdoors!
Background:
There is no good substitute for a powerful firearm to defend your life from large/determined predators.
Mace has many limitations including distance, wind blowing in the wrong direction and “cooked”/fabricated statistics.
Which handgun are you willing to bet your life on…or more importantly, the life of your loved ones when faced by a grizzly?
Deciding Questions:
Would you rather face a criminal assailant in the woods while armed with a revolver or would you rather face a large bear while armed with a 10 MM auto pistol?
My understanding is that black bears if wounded GENERALLY take off and leave the area. Also, do NOT try to play dead with a blackbear; as they will likely eat you.
Grizzly bears once wounded will ether kill or be killed (there is no quit in the grizzly bear MO). Playing dead, MAY work with a grizzly, but I wouldn’t count on it!
Consider the mis-information from govt-sources! If they really cared about you, they would recommend you carry a 454 Casull 😉
Instead, they recommend wearing bells, bear-mace and playing dead! Sounds like yet another “Government-unicorn-scam(GUS)”
Logic and the experiences of those who have been attacked by bears say otherwise!
Philosophy of Use (POU) for PD:
hard hitting (heavy bullet); massive penetration (hardcast flat-nosed 30 degree sloped bullet–that do NOT veer-off, but continue penetrating ).
multi-option system for snake-loads, 4/2 legged predators
portable/pack-able.
commonly accepted that light-weight fast bullets do not “stop the attack of a large bear”– you are attempting to “ground-the-bear” by braking a shoulder so it cannot continue toward you and your loved ones. For bone braking effectiveness, you will need heavy large caliber; PENETRATING bullets.
Re-loaders/hand-loaders have much more flexibility/options with a quality launcher(Ruger Revolver).
Likely the most ideal portable caliber for bear is the 45-70. Hiking/fishing/guiding with a 7 lbs lever action 45-70 may not always be feasible, so we must look to handguns to fit the niche (Ideally we would have a 45-70 AND a 454, but often we must go it alone with a handgun).
“In hunting situation, if using a bullet designed to expand significantly, you may have to pass on the shots — and that’s a problem if the trophy bear, elk, or deer of a lifetime makes an appearance. I personally choose bullets that can kill a large animal from any and every angle presented, and hardcast, flat-nosed bullets allow me to do just that (Prasac M., 2012, p. 93).”
“What is a large meplat? In independent testing, we have found that a surface area between 75 and 80 percent of the overall bullet diameter seems to be optimal. Below 70 percent, the wound channel size is compromised, as is stability(..sometimes tumble in flesh or veer off course) (Prasac M., 2012, p. 91).”
Think of the metplat as a flat hard hitting side of the bullet, with just enough cone to go straight and true for massive penetration. 45’s are already “pre-expanded”.
STANDARDIZATION:
“No slouch even in blackpowder form, the .45 Colt in modern times really takes on a different persona. Load it to its full potential and it will give the much-vaunted .454 Casull a run for its money and leave the .44 Magnum sucking wind in it’s rear view mirror…It’s just that I’m an even bigger fan of the modern .45 Colt. If there ever was a do-it-all cartridge, the .45 Colt would be at the top of the heap (Prasac M., 2012, p. 16).”
Also, your cowboy guns & predator defense share the same heritage for commonality.
The .454 is probably the most powerful gun of its size. Think of building +P 45 Colt cartridge, do you want the strongest gun commercially available..that also shoots the 454?
First decide on the caliber.
If you already own a 41, 44, 45 long colt, 500SW; then you are pretty squared away and may not have justification to seek out another predator defense/outdoor survival systems.
I believe the 454 has a lot of merit for this POU because of the hard hitting bear loads, and lengthened case for a custom-snake-load like a “buck & ball”.
Having the OPTION to run soft-45-colt loads for plinking/practice OR the hottest 454 you can cookup, is powerful. Having more options is always good(if you are within a POU).
The Camera-man might be just a bit smarter than to get within 20 feet with a sharp stick 😉
Second, decide on the platform.
It is commonly accepted that 9mm snake loads in a semi-auto malfunction frequently and have a max-effective range of only a yard or two!
The .45 ACP CCI snake load will function reliably with a stock recoil spring and has the best pattern and penetration of any of the CCI snake loads. Far better than the factory revolver loads. The 9MM tends not to function the gun. The .40 will also function the gun well in a normal size gun (not a Glock 20) which has a heavier recoil spring and heavier slide.
With regard to snake loads, the advantage of the revolver is that you can make custom snake loads with little effort. Making your own snake loads for autos is a project.
I have the most training/mileage with a semi-auto pistol, so of course I would want to use that system to defend myself against two legged predators.
However, I would rather have an ideal system for outdoor survival for wolves, cougars, bears…and most importantly snakes! Snakes kill more people than all other predators combined!
Revolvers have a reputation of robustness, but if mud gets into the cylinders they may not be able to rotate! Thus your holster should protect the cylinder area!
There is no perfect system for all POUs.
If you plan to load +P for 45 Colt & 454, you better get a Super Blackhawk or Super Redhawk!
“How strong are the Ruger Blackhawk and Bisley model revolvers? Reports from the prestigious H.P White laboratory prove to us that most American Made revolvers offer approximately 100% safety factor with current Industry standard pressure level ammunition. Example: The .44 magnum is loaded to 40,000 CUP (Copper Units of Pressure). H.P White’s lab reports states that the Ruger Super Blackhawk was destroyed in a controlled test at approximately double that pressure. (80,000 CUP) (Linebaugh)”
“To check our findings we again turned to H.P White Labs and their findings paralleled ours. Ruger Blackhawks in .45 Colt caliber were destroyed in controlled test conditions at approximately 60,000 CUP pressure levels.(Linebaugh)”
That is just less than twice the CUPs before the gun was destroyed. MAX is 32,000, destroying/damaging the gun at 60,000 CUP).
“Linebaugh concludes the Ruger Blackhawk is good for loads up to 32,000 CUP. Firearms similar in strength are: Blackhawk, Super Blackhawk, Bisley, large frame Vaquero, and Redhawk revolvers. Firearms that cannot withstand this type of pressure: small frame Vaqueros, Colt SAA and Colt reproductions (D’Alessandro)”
Single Action OR Double Action?
I like the way Single Action (SA) handle & recoil. Being a Cowboy Action Shooter, I come naturally to SA.
Also, if you ride a horse and have to shoot from the saddle, your horse might jump or run after a shot. This might cause you to grab the reins or saddle horn to avoid falling from your mount. With a SA you cannot fire again until the weapon is re-cocked. So, there is no way your horse (and thus you) can get hurt by an accidental follow-up shot. However, with a Double Action (DA) you could accidentally fire/squeeze off another round into your horse.
Pros of the SA
1) recoil rolls up and over
2) Horseman benefits!
3) mileage/experience if you are a Cowboy Action Shooter (CAS).
Pros of the DA:
1) If you are wrestling with a bear, you can fire multiple-follow-up shots one handed. You can fire shots one handed faster and more easily with the DA than you can with the SA.
2) speed reloaders & speed strips
Barrel length?
2.5″ barrel is too short in my opinion (IMO) & 7.5+ is too long (unless of course you are hunting), 4-5″ is IDEAL IMO.
With a 2.5″ barrel, you will experience more recoil & muzzle blast.
Ruger Super Redhawk 454/45 Colt SS 5″
Accessories
chest-rig-holster
Here is my custom holster my mentor Simon helped me build!
Simon charges about $150 for this rig, they are worth twice that!
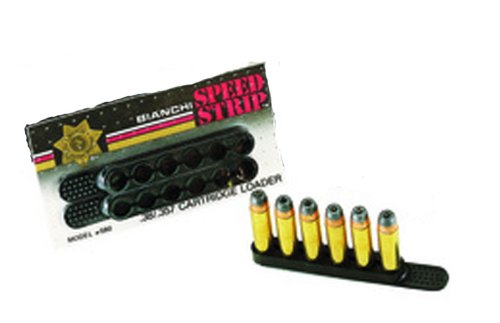
Speed Strips
I LOVE speed-strips! they fit well in a pocket, don’t budge out and are very concealable & practical for tactical reloads!
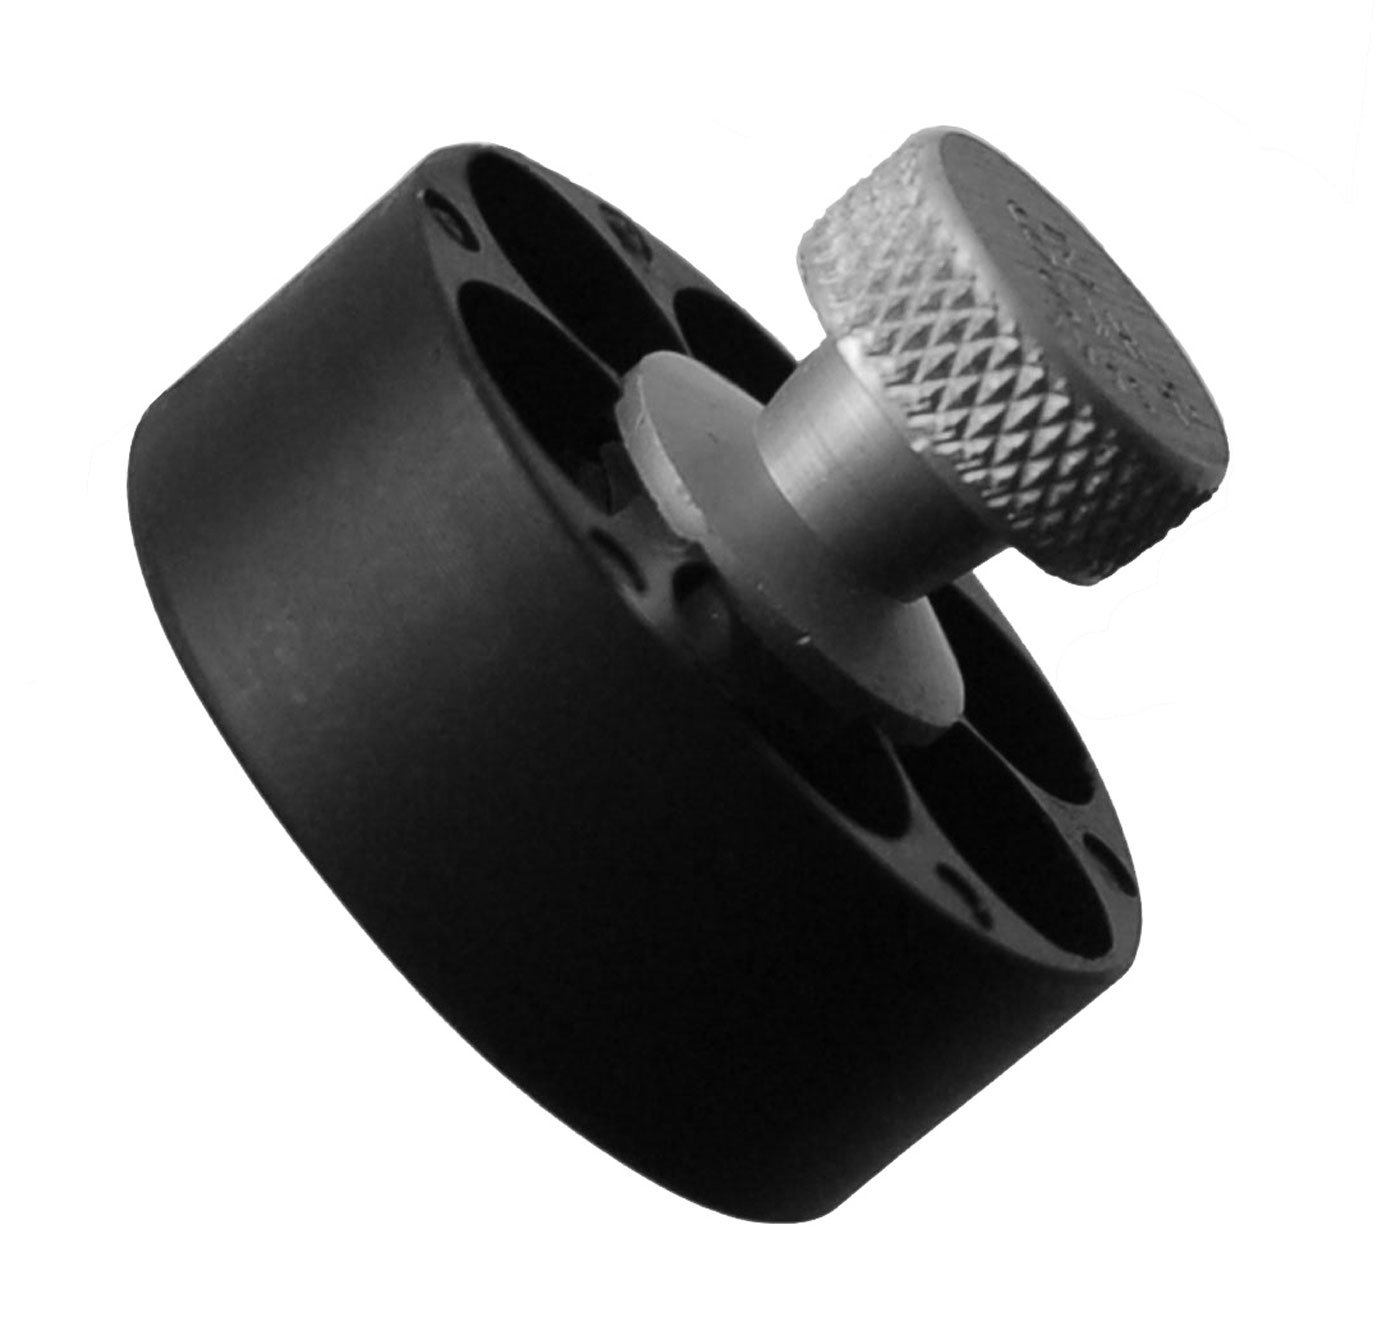
Speed Loader
Conclusion
There are many great choices out there to select from. Having one of each would be costly and difficult to support (maintenance, accessories, ballistic charts etc). Fear the man that has one gun & knows how to use it! I would change that to, fear the man that has one system per POU and is squared away with each of those systems!
I would be interested to hear your thoughts/input. I fear most people are willing to bet their life on a 40 S&W while in bear country!
I try to balance “standardization”, POU & support-ability (its easy to say, ALL OF THE ABOVE, but that is costly and inefficient).
Based on my research, I’m betting my life on a Ruger Super Redhawk 454 Casull SS 5″. If your game is more hunting, then elect for the 7.5″
I wasn’t sure which springs to use, so I started with the lower pound springs. I soon realized that the trigger return was too light (the trigger on follow up shots was too slow to return forward to be pressed again). I also noticed I had many (more than 50%) “light primer strikes”. Light primer strikes means the firing pin doesn’t hit the primer hard enough to “go off”.
I recommend going with the strongest hammer & return springs in the Brownell’s spring kit. UPDATE. The strongest hammer spring from brownells will NOT hit the 454 rifle primers hard enough. I ended up going back to the default hammer spring from Ruger.
After much validation, I went with the hammer spring of 12 (factory is 14 lbs) & trigger return spring of 12 lbs (factory is 15 lbs). Using the strongest springs, I had ZERO failures.
Shooting the 454 full power 360 grains at 1347 FPS, 5″ barrell (Ruger Super Redhawk
I’m often asked, how did you get your wife to get professional firearms training?
I say, I told her all I wanted for my birthday/Christmas was for her to take a defensive handgun class. IT WORKED!
So, when your loved one asked you, what do you want for Christmas. Say, I’ll watch the kids, I want you to take a 5 day pistol class from Marksmanship Matters!
Of course, there is never a better time to buy a FREEDOM RIFLE. I can’t believe how cheap ar15s and ak47s are these days! BUY 3 of them, sell one at the next panic and pay for all of them!
Gun Tote’n Mamas (hundreds of purses to choose from, yeah-I can get you dealer pricing! Just tell me which model you want)
FOR HIM
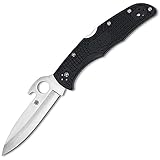
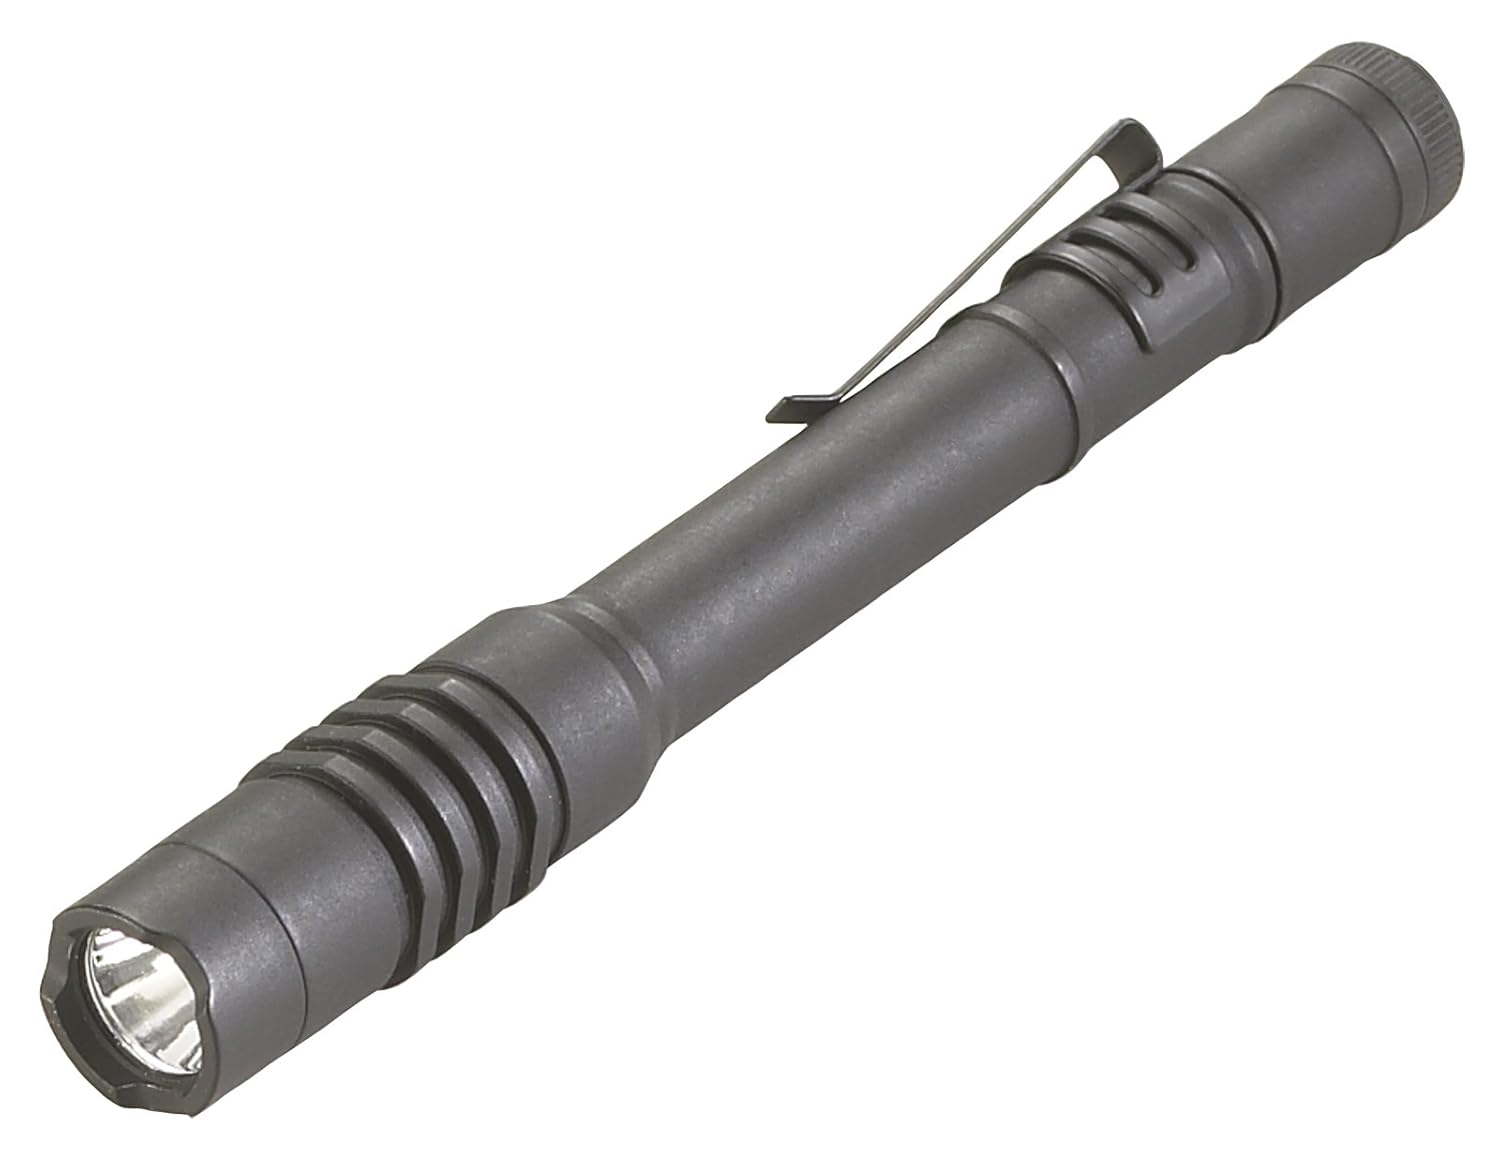
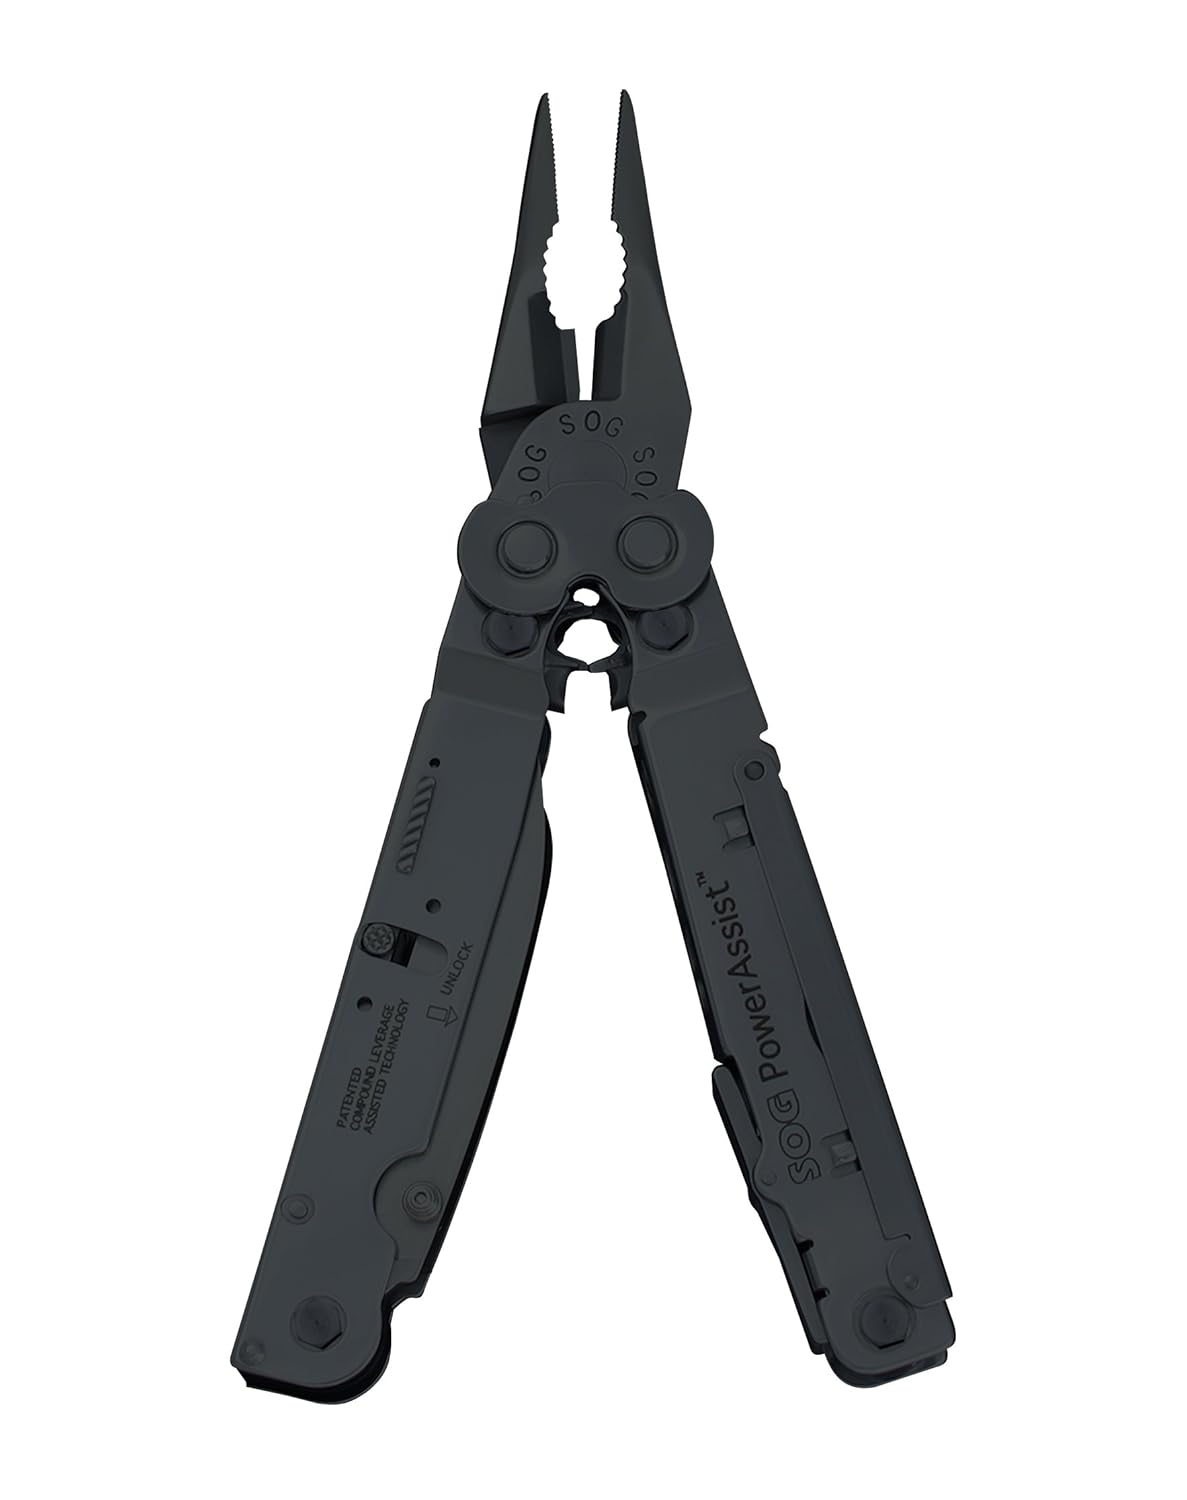
I don’t remember a Christmas I have not asked for preparedness items. When I was younger, I was getting scouting gear (sleeping bag, tent, hatchet, survival gear). When I was older its a multi-tool, knife or gun.
ITEMS I CAN BEAT AMAZON PRICES ON!
1) Large & Small Gun Safes.
LockSAF biometric (beat Amazon by $50!)
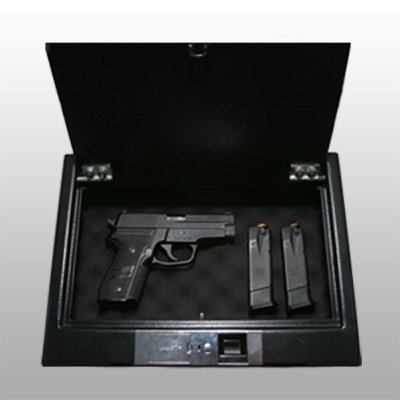
MY review of the biometric pistol safe (awesome…perfection!)
AND my Everyday Carry (EDC) system of onboarding/offboarding each morning and each evening. Also, “part” of my system for reducing risk of home evasion.
mechanix gloves, perfection on the range or in the shop!Rifle grab-n-go bag perfectionrecon, dog hearing, tactical advantage in your home, etcTALL shirt perfection (IMO)
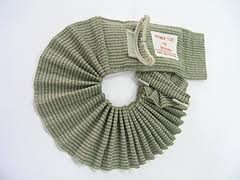
Battle Dressing (EDC 1st aid)
MY WISH LIST FOR CHRISTMAS
Well, I’ve gotten a knife for every Christmas I can ever remember.
SUMMARY: This page gives you the details on getting a good deal on extreme cold weather clothing material AND how to build your own custom extreme weather clothing.
Imagine how much you would spend to store enough fuel to keep the “area warm”, verse how much you would spend to keep the person warm with extreme cold weather “foam clothing”
This is my MOST IMPORTANT GROUP-BUY I’ve EVER done!
WORKSHOP
WHEN: November 1, 2014 3-8pm
WHAT: Come to an “extreme cold foam clothing workshop” with Mareen Robinson. Seamstress & foam clothing maker of the Jim Phillips Extreme cold weather Foam Clothing system. Mareen will have patterns for attendees to “duplicate”.
This workshop will cover making 1/2″ vest in 5 teams.
After this workshop you’ll know if you want to tackle building your own or buying one. You’ll also have the know-how if/when there is a collapse and you need to fabricate your own extreme cold weather clothing.
WHY: Purchasing & buying enough fuel to keep your family safe is cost prohibitive, but extreme cold weather foam clothing is not. Mareen will be able to give us all practical hands-on advice and mentoring on building 1/2″ clothing.
COST: $50 ($50 per sewing machine, assistant is free with one paying student)
WHERE: Location sent to those that signup with the Group Buy form below.
Or, if you would like to place an order with Mareen, Visit her website:
In the workshop, you will be making/teaming up to make–vest/coat for men, lady or child
sewing machine AND thread (ready to go)
Black Coates Dual Duty XP thread, (this is heavier, but not heavy duty) make
sure it is 100% polyester, not cotton covered Make your bobbin the same
(Please do this at home, we have so much to cover–don’t waste time)(Same
with serger–the cotton covered thread holds moisture) use Guterman upholstery
thread –polyester)
We are also doing a group buy on materials for foam clothing. By building it yourself, you are saving hundreds of dollars. How much would you spend for gore-tex everything, but still not be covered as well in extreme cold weather? The PALS system is at least TWICE as good as gore-tex IMO.
We need to get these materials BEFORE the workshop. So you MUST order & pre-pay before Oct. 24th. Those that signup, will be given details of where to pickup their materials before Nov. 1st.
ONE SHEET of foam, should be enough for an adult for everything. hat, coat, pants, boots & mittens. 1 sheet is 88″x96″
1/2 foam clothing is good for 10 degree, idle in a shelter. If you are not idle (moving around), then a 1/2 setup will allow you to thrive in even colder.
1″ foam clothing is good for 40 degrees below zero, in any condition (without shelter). 40 degrees below being idle.
WARNING: you will need an industrial sewing machine for the 1″ foam clothing!
SLEEPING BAGS: Mareen no longer makes sleeping bags, but can refer you to a sleeping bag builder.
VOLUME DISCOUNTS
Thomas will have pre-orders available BEFORE the workshop. The cost per half-inch sheet is $45.
Those that pre-order/pre-pay, Thomas will bring your materials to the workshop. OR you can pick them up at my house.
MESH KIT, the mesh is what you enclose the foam in. Think of the mesh as a shell. gore-tex is NOT a good shell, you will want mesh if you want the foam clothing to work at its highest capacity.
Mesh kit is $60.
WORKSHOP & Group Buy are worth coming in from out of state!
I plan to buy a foam sheet for everyone in my family (7 people). I plan to take all the training Jim is offering our group buy. With that training I plan to make two adult suits (top to bottom: hat, coat, mittens, pants, boots). One for me and one for my wife.
The other 5, I will have the materials and build my children their extreme weather foam clothing when they stop growing, or when there is need in a winter/long-term emergency.
Because I live in Northern Utah, and don’t have plans to visit Alaska in the winter, I’m going with the 1/2 inch sheets. I may buy ONE 1 inch sheet, just in case.
I now only need to store fuel to cook and hygiene, I will literally be saving tens of thousands of dollars by not having to store 12+ months of fuel.
I did a similar plan with my cowboy action holsters. By learning how to make them myself and getting a deal on the materials, for the cost of one holster rig, I was able to make a cowboy holster rig for everyone in my family.
I decided NOT to get the 9mm conv. barrel, it sounded like too many IF IF IF, then it will work. My EDC is a 9mm, so by having it and the SW M&P 22 pistol…along with a G20…I’m all hooked up. I can resupply nearly any popular pistol caliber and be off and running!
So, the big benefit is that I can use the same springs, magazines and in less than 1 minute swap between calibers.
PROS
My fav caliber is the 9×25, which has amazing ballistics that would help one “get home”. Think of a 10mm necked down to a 9mm or a 357 sig magnum. The 357 sig is a 40SW necked down to 9mm. The 10mm is able to carry a lot more powder.
Another pro is the 9×25 feels about like a 40 SW, so follow up shots are pretty quick.
CONS:
The Glock 20 (G20) is a big frame and unless you have large hands, you may not feel comfortable.
Now I need to purchase a shload of 40 SW, but is that really a downside? 😉
SUMMARY:
My other get-home gun is a SW M&P 22 pistol. My wife and I both have these as planb guns, if we lost everything, we’d have these to get us by. I used to have a beaten-ed down 9mm XD to fill this role, but I like the fact that the 22 can do a lot for us.
1) carrying 300-400 rounds of 22 LR is easy
2) My kids can operate the MP 22 and my wife or I can operate the car, if needed.
3) One can dispatch small game and retain meat without wasting it.
4) Quick follow up shots at close range can be devastating.
My wife and I both have a backup M&P and “Foxy Tuck” holster in our “get-home kits”.
Combining the M&P 22 pistol with the Glock 20 (caliber of your choice selection) makes for a very mobile, discrete and flexible platform.
Again, make plans to train your kids; as they are on your team. Or perhaps you have a “walk-home-group” at work if you need to walk home, there is safety in numbers, even a moderately trained person can operate a M&P 22 pistol.
This page has links to our Sessions, Booth materials and other Stake Safety & Security documents.
FREE Long-term Emergency Response Cottage Meeting Sept 8th at 7pm.
“How to prepare for outages, shortages and reduce risk of violence during an emergency. Likely causes of long-term emergencies and how to mitigate their risks. How we can help each other and build our community for a long term emergency response. Plan on a 90 minute presentation on insight and advice from Larry and Stacey Mudgett, retired LAPD.
“Preparedness FHE”, bring your spouse and mature youth.
What is the cost of not having a Gun Safe? Family Costs, criminal costs, peace-of-mind.
What to look for in a Gun Safe?
Tips of moving, storing and taking care of your gun safe.
First off, what if you FAIL to protect your loved ones? Can you live with yourself? NO!
Ponder for a moment how devastating it would be if there was an accident or malicious use of your firearms against your family!
Ponder for a moment if you failed to plan to protect your loved ones from evil monsters? What is the cost?
The costs of these consequences are too high for anyone to bare. PREVENT this by having a gun safe.
A gun safe protects by
1) Preventing unauthorized access
2) fire damage
3) loss due to theft
4) Provides peace-of-mind that your family is safe and your “goodies” are safe.
I stood next to a friend as he opened his gun safe after a flood. It was half full of mud. His $10,000 of guns was “protected” by a $150 dollar safe! Lesson learned! This is so typical American, We buy a $2,000 gun, put a $100 dollar optic on there and call it good! We protect our priceless family with a $200 gun safe! NOT! Or for life-safety issues, we bet our life on the least expensive gun, gear & training! NOT ME!
Gun Safe MOVING TIPS:
1) measure, think ahead – take your time. Sore backs are slow to heal, take another few minutes and do it right!
2) Use leverage to your advantage. Straps, hand trucks, pallet jacks, are your friend!
3) Remove the safe door, which is usually ⅓ of the weight of the gun safe, effectively allowing you to move it in two pieces.
FEATURES:
1) Spend a few hundred more and get exactly what you want. Buying proper is less expensive than buying it twice! 2) Get a good fire rating! I regret buying a 1200 degree for 30 minute safe from bass pro in 2004! Update, firefighters will tell you almost any safe is NOT going to protect your guns from heat/fire/water (from putting out the fire).
3) Having a keypad is so wonderful! Those spindles are a pain! The best of both worlds is to have BOTH in the same lock! That way if there is an EMP, you can still have access to your life saving defense “systems”.
1) Just like a piano, don’t put your safe on a “cold/hot” wall. Meaning, don’t put it on a wall that is the outside of your home.
2) Don’t put your safe next to lots of fuel. Don’t put it near your furnace or smack in the middle of your house (If your house burns to the ground, where will it have the most fuel/least fuel?).
3) Consider securing your ammo too!
4) Buy two small safes instead of one large safe. Easier to move. You can put them in different locations (not all eggs in one basket, you could have one safe at a friends/relatives house).
5) Carry a gun with you in your house 24×7. Be able to deploy your weapon in 1 second! Home invasion takes about 3 seconds. Get in the habit of carrying at home. The gun safe is for guns you are NOT using to defend yourself.
6) Allow your spouse to put important items in your safe. Have your family photos and important documents with 2, 3 “copies” in an offsite location.
7) Many keypads light up at night. Get in the habit of hitting any key, then the clear key, then your code. that way you are in the habit and can do it under stress (for a long gun/shotgun) or half-asleep.
8) Consider having a dedicated quick open pistol safe near your bed-stand.
large cookie sheet to put your coals onto (reduces mess and scorching of cement).
chair
sunblock & sunhat
charcoal tongs
food tongs
charcoal “warmer”heater.
table if you have one (thick wood to put HOT dutch ovens onto…so you don’t damage the table(s).
cutting board, knives & other prep gear.
paper plates & plastic ware
wet wipes/paper towels.
June 2016
June 2015
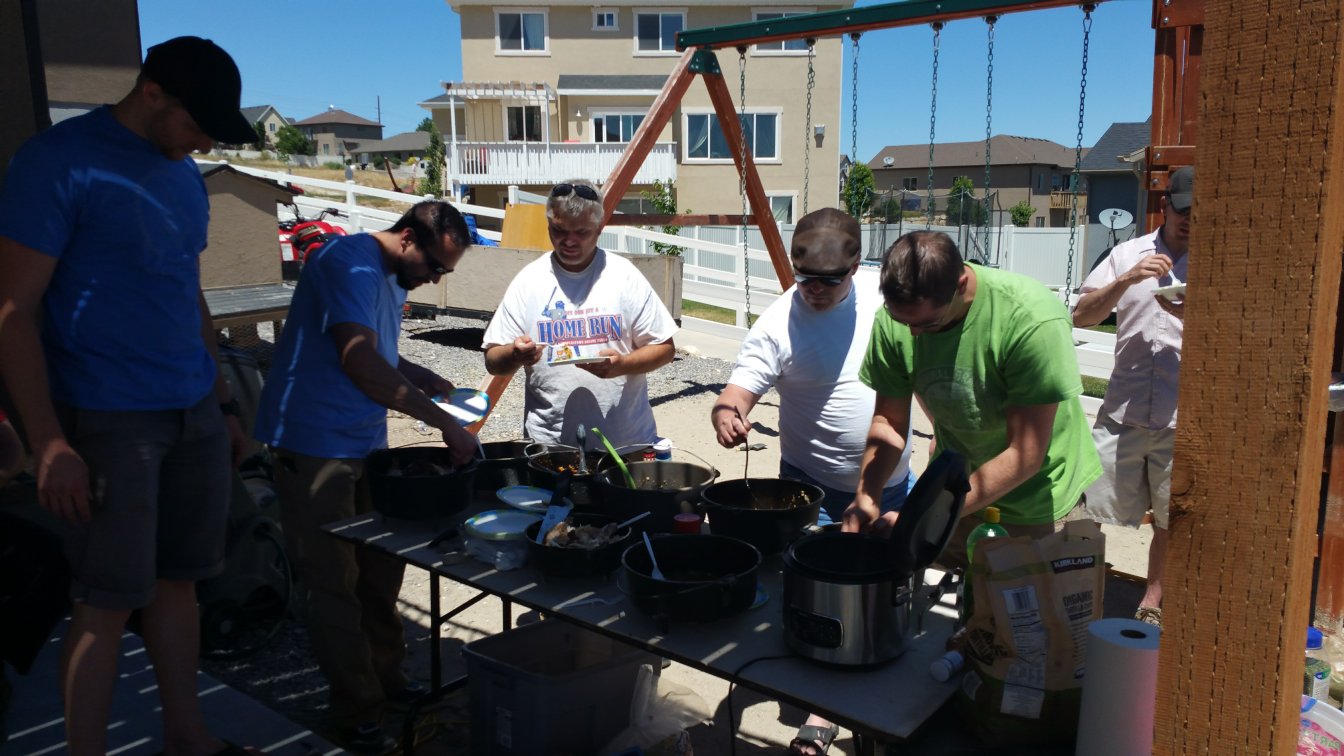
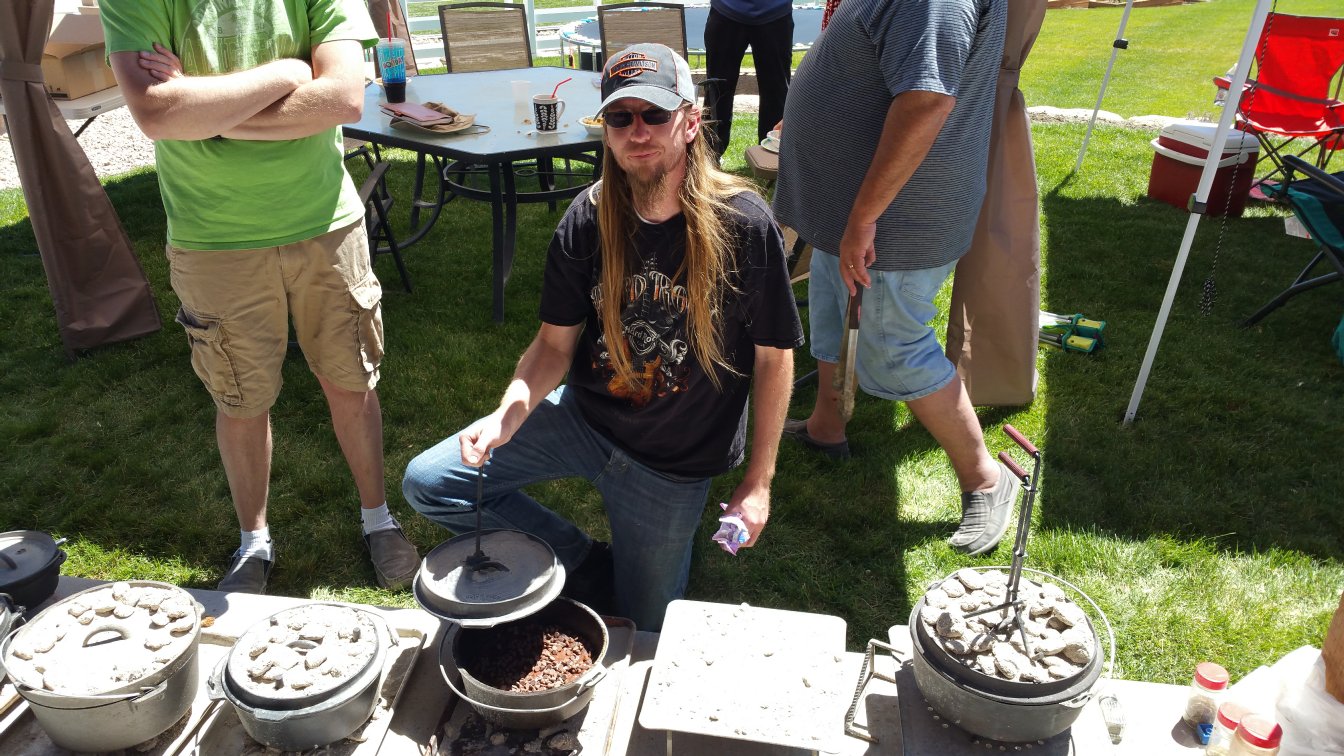
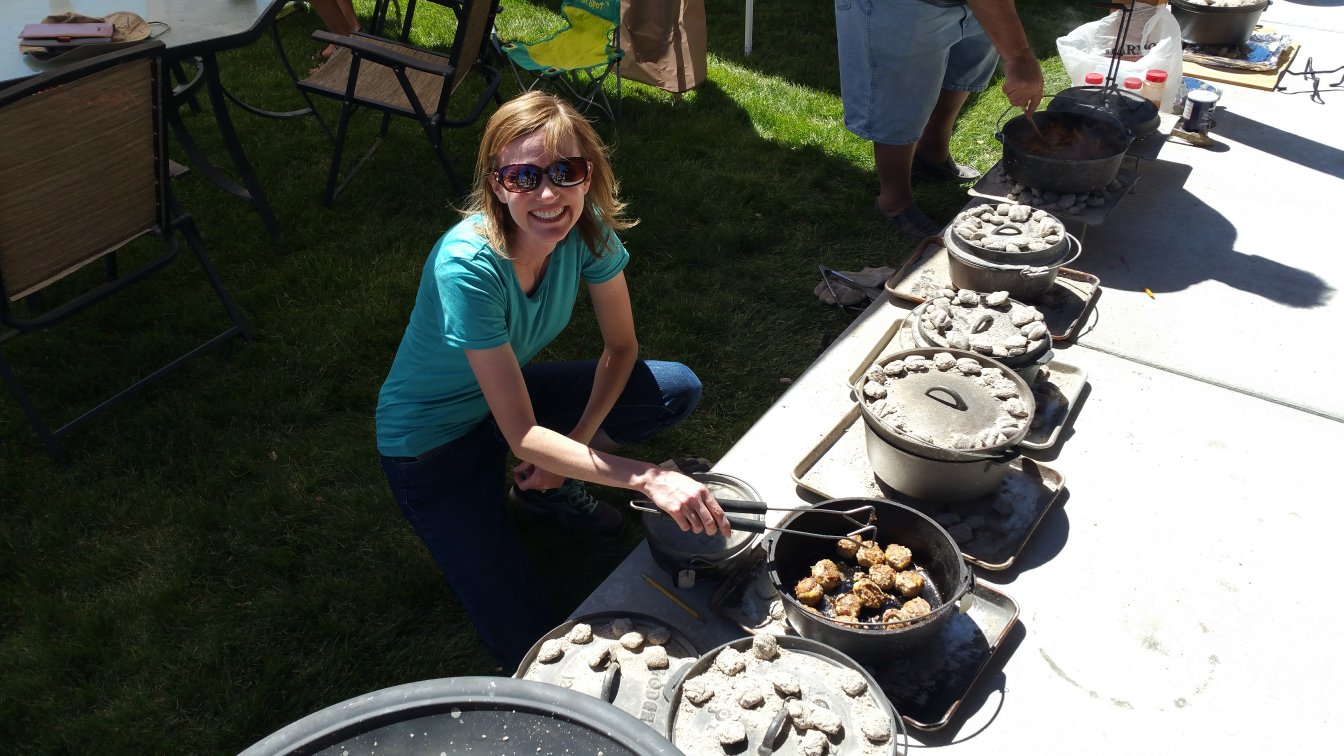
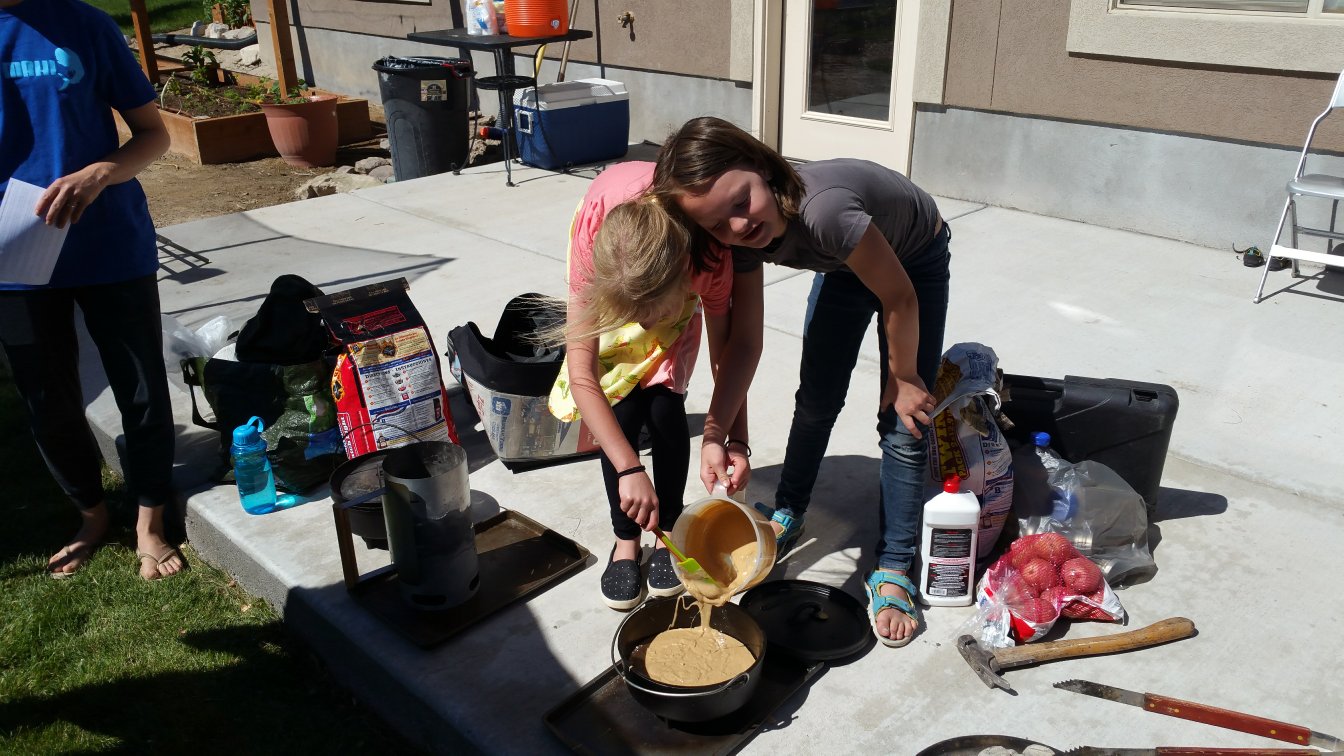
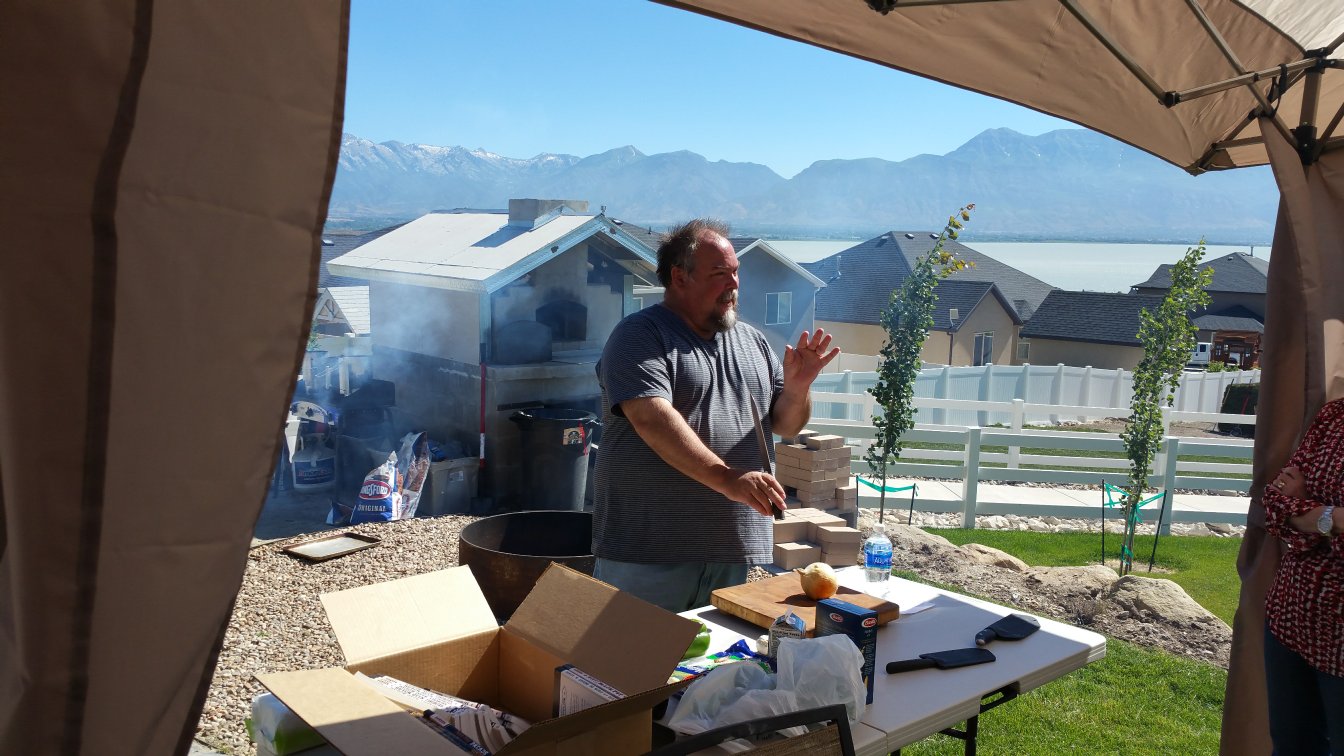
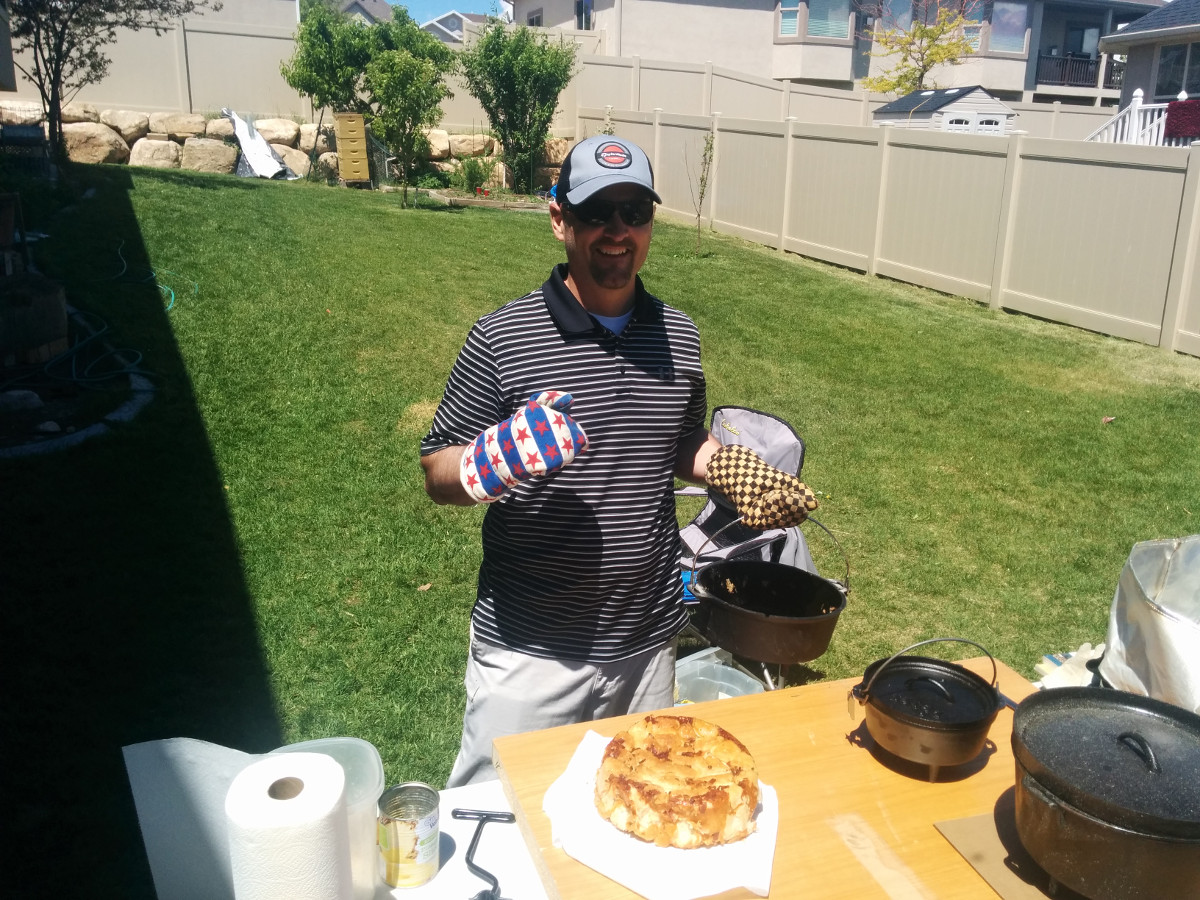
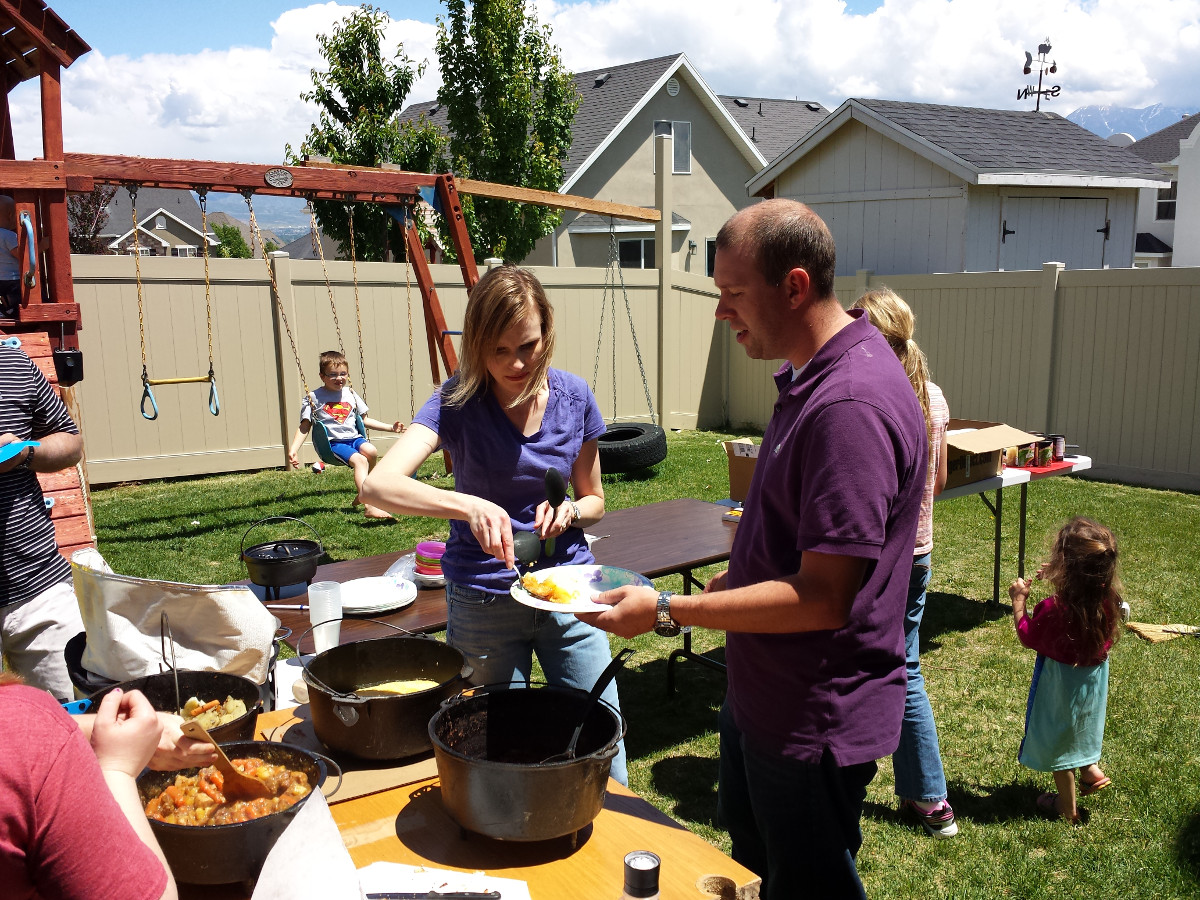
Mark & SonAbbie’s Magic Chicken & PotatoesClass Circle
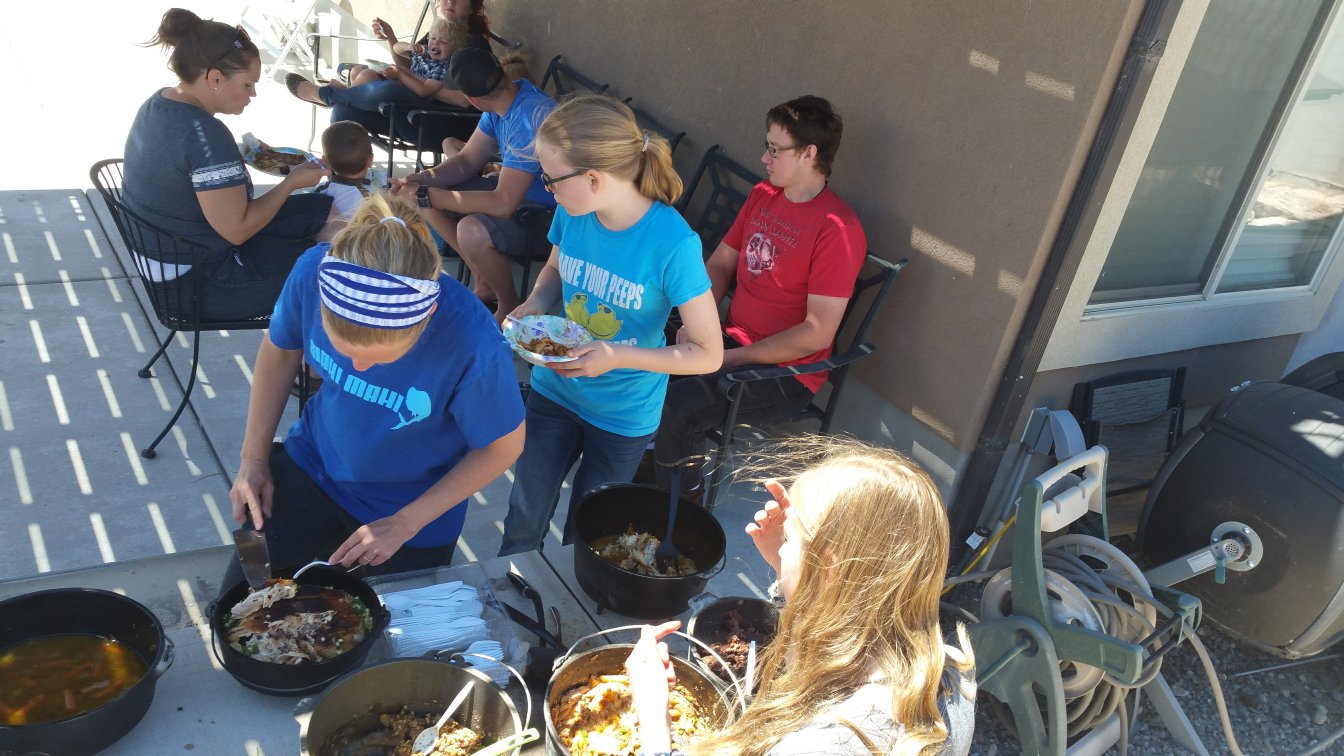
potluck “heavenly food”7 dutch ovens
June 2014
Dutch Oven gear & skill should be apart of everyone preparedness.
Dutch Ovens can & do last forever. They are multi-use items for preparedness & recreation.
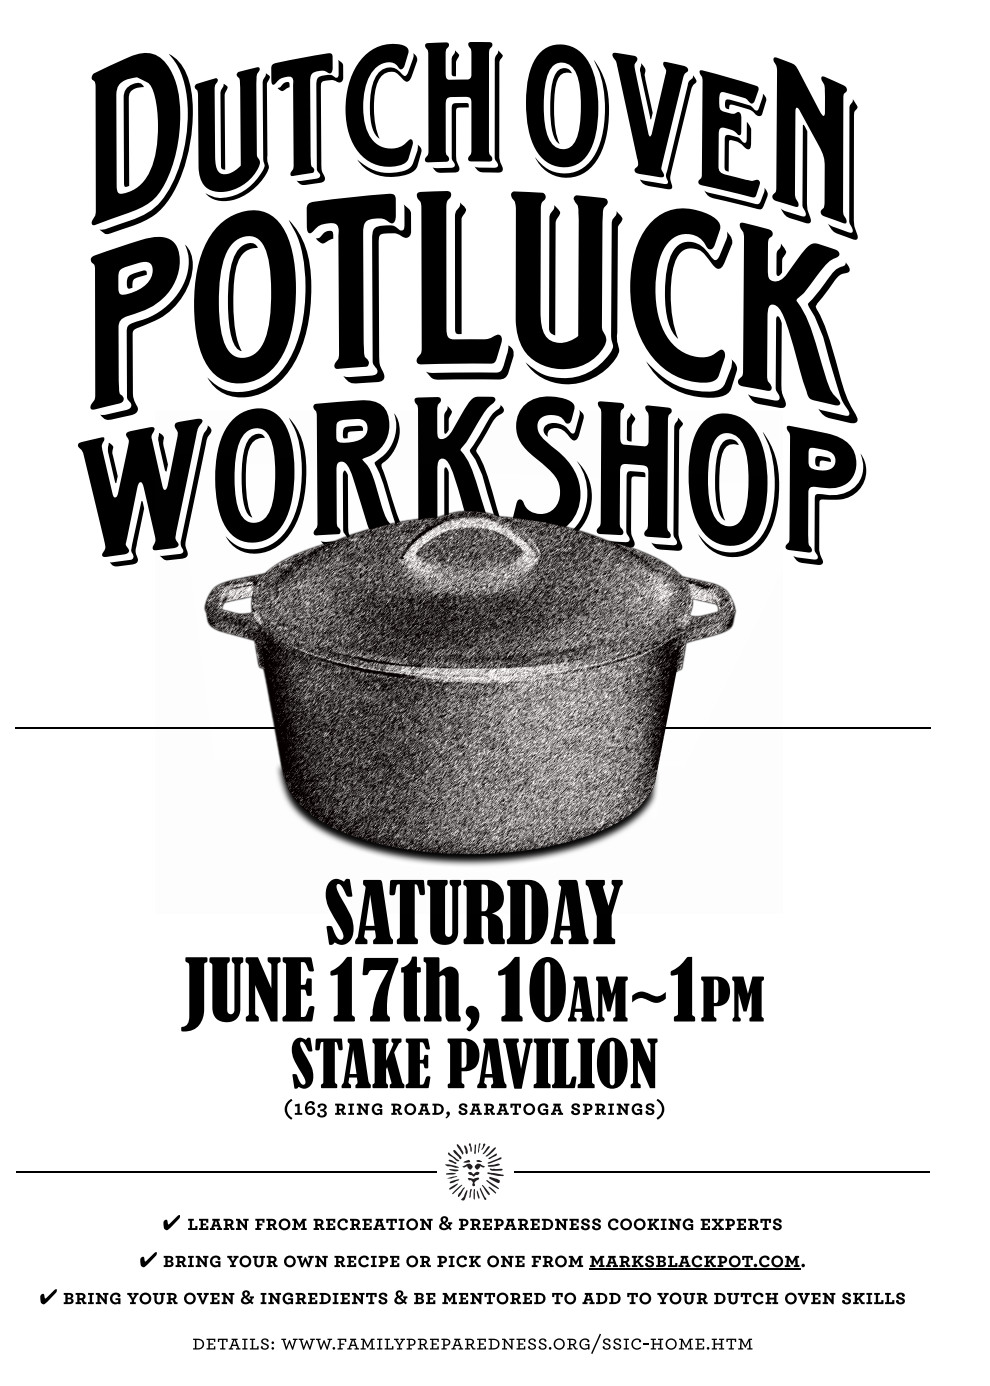
Mark of MarksBlackPot.com came and did a workshop for us. He said it was so successful he would like to do this again. So, the last Saturday of every June, we will be offering this FREE workshop. Subscribe to our newsletter to be notified of upcoming workshops.
The devil is in the details. Mark lectured in the classroom for about an hour, the rest of the time was hands on experience with dutch oven cooking.
.jpg)