
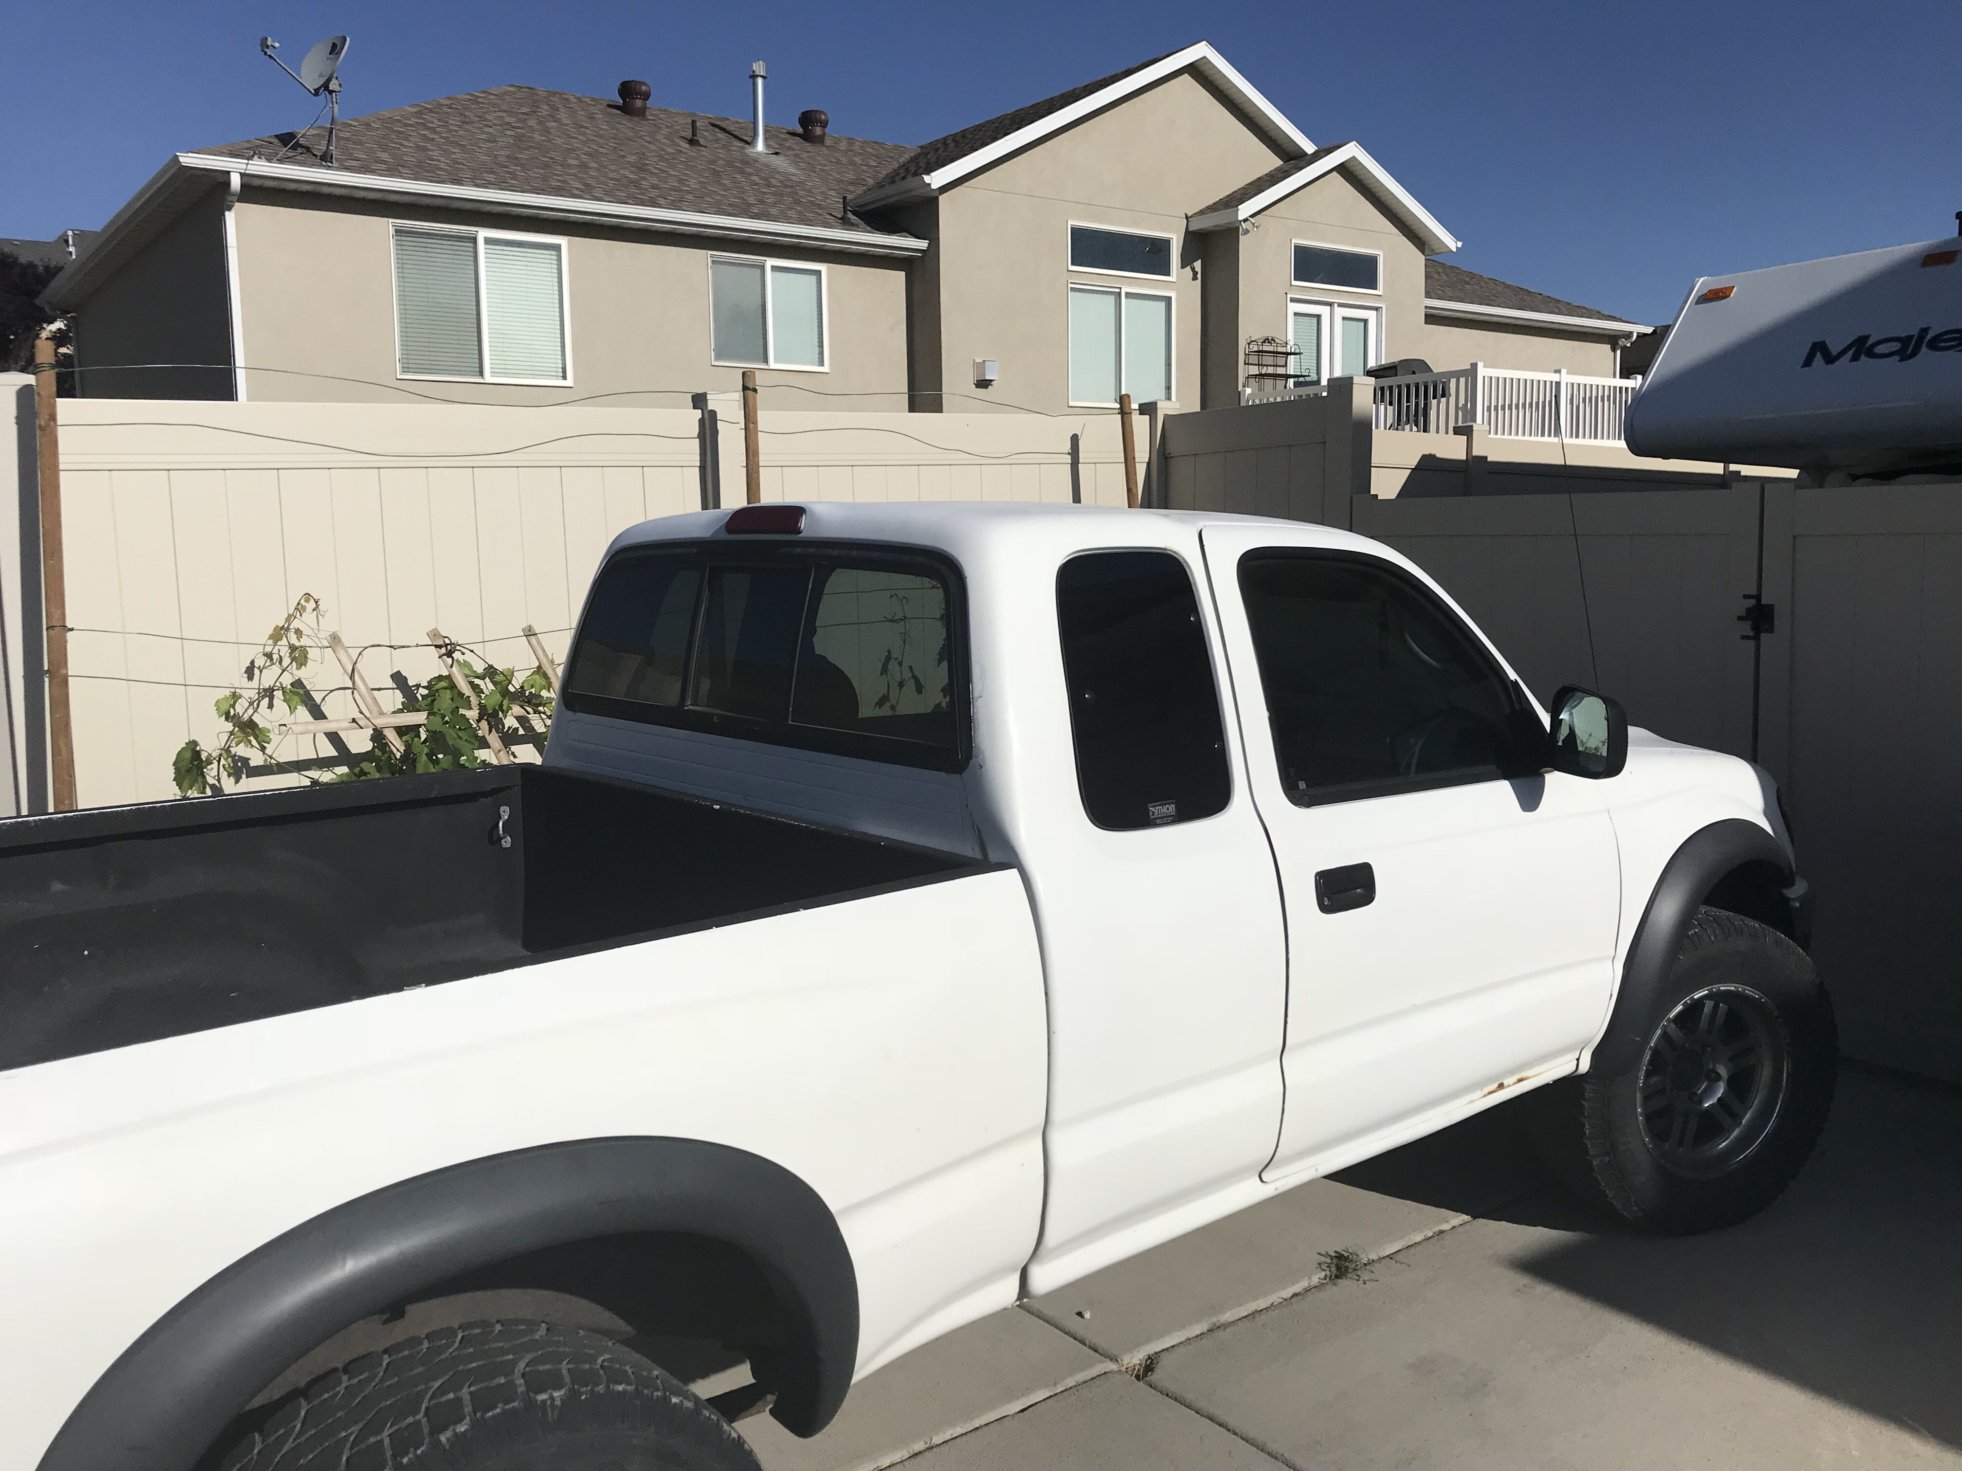
I had a truck much like this back in 1999 and drove it for almost a decade.
So, its nice to have one again. Though, I don’t NEED it now, my growing family will soon need something like this and besides, I can teach all my kids to drive a clutch/stick.
It is not uncommon to see these for sale on KSL with 300,000 miles.
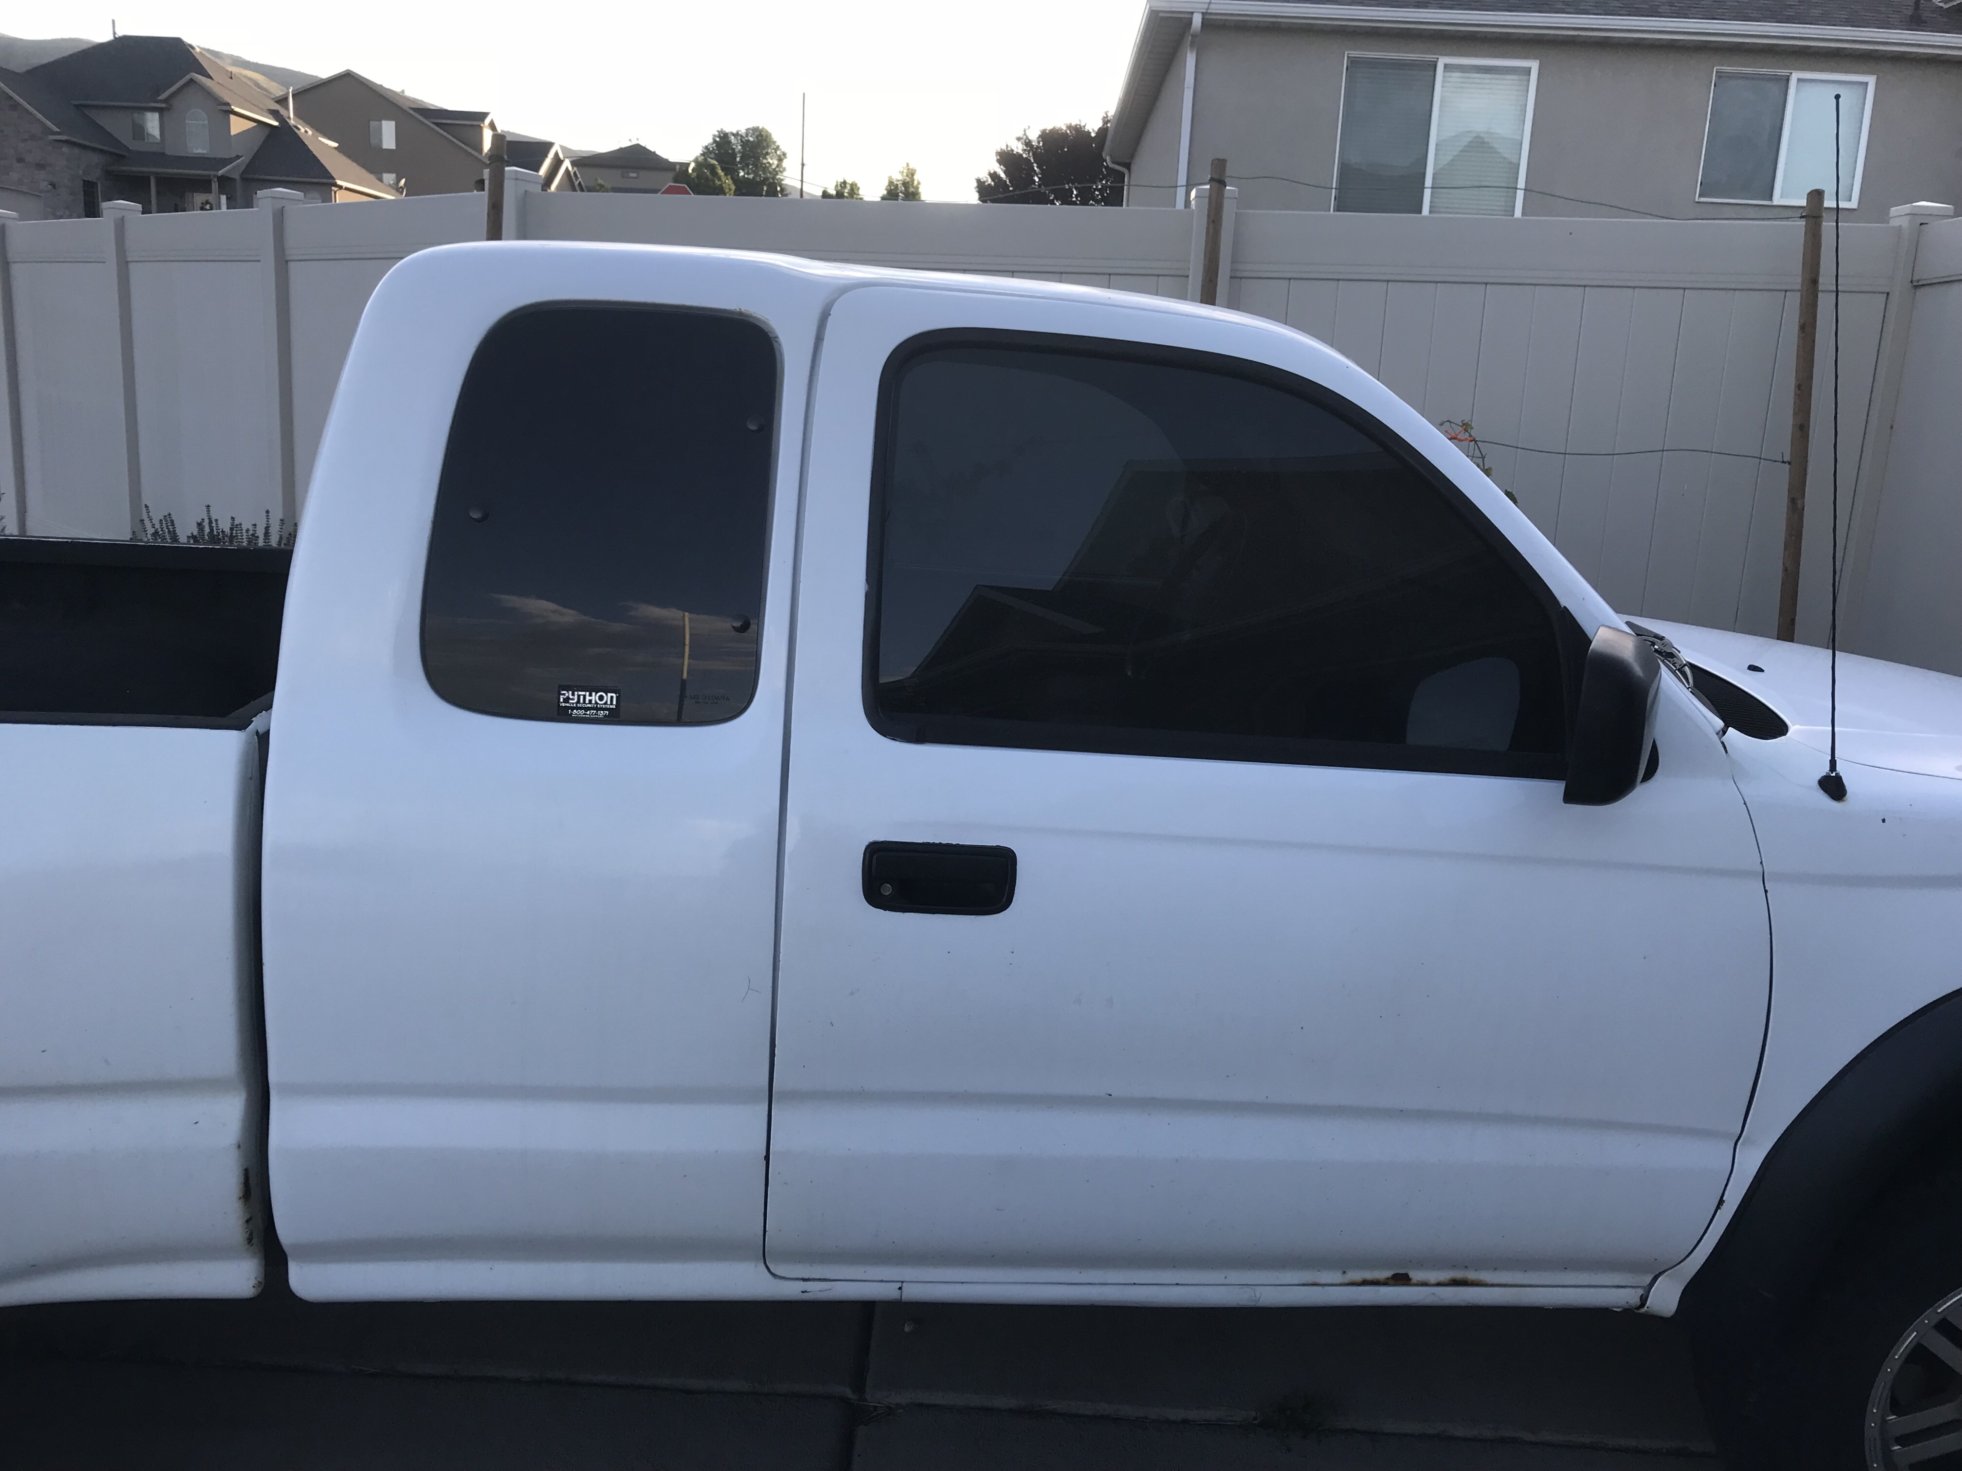
MOD1: tint windows to reduce heat from sun. $140. max legal tint in Utah.
MOD2: polish headlights and clearcoat so they don’t fog again. $50
MOD3: touch up existing black bedliner, with spray can bedliner.
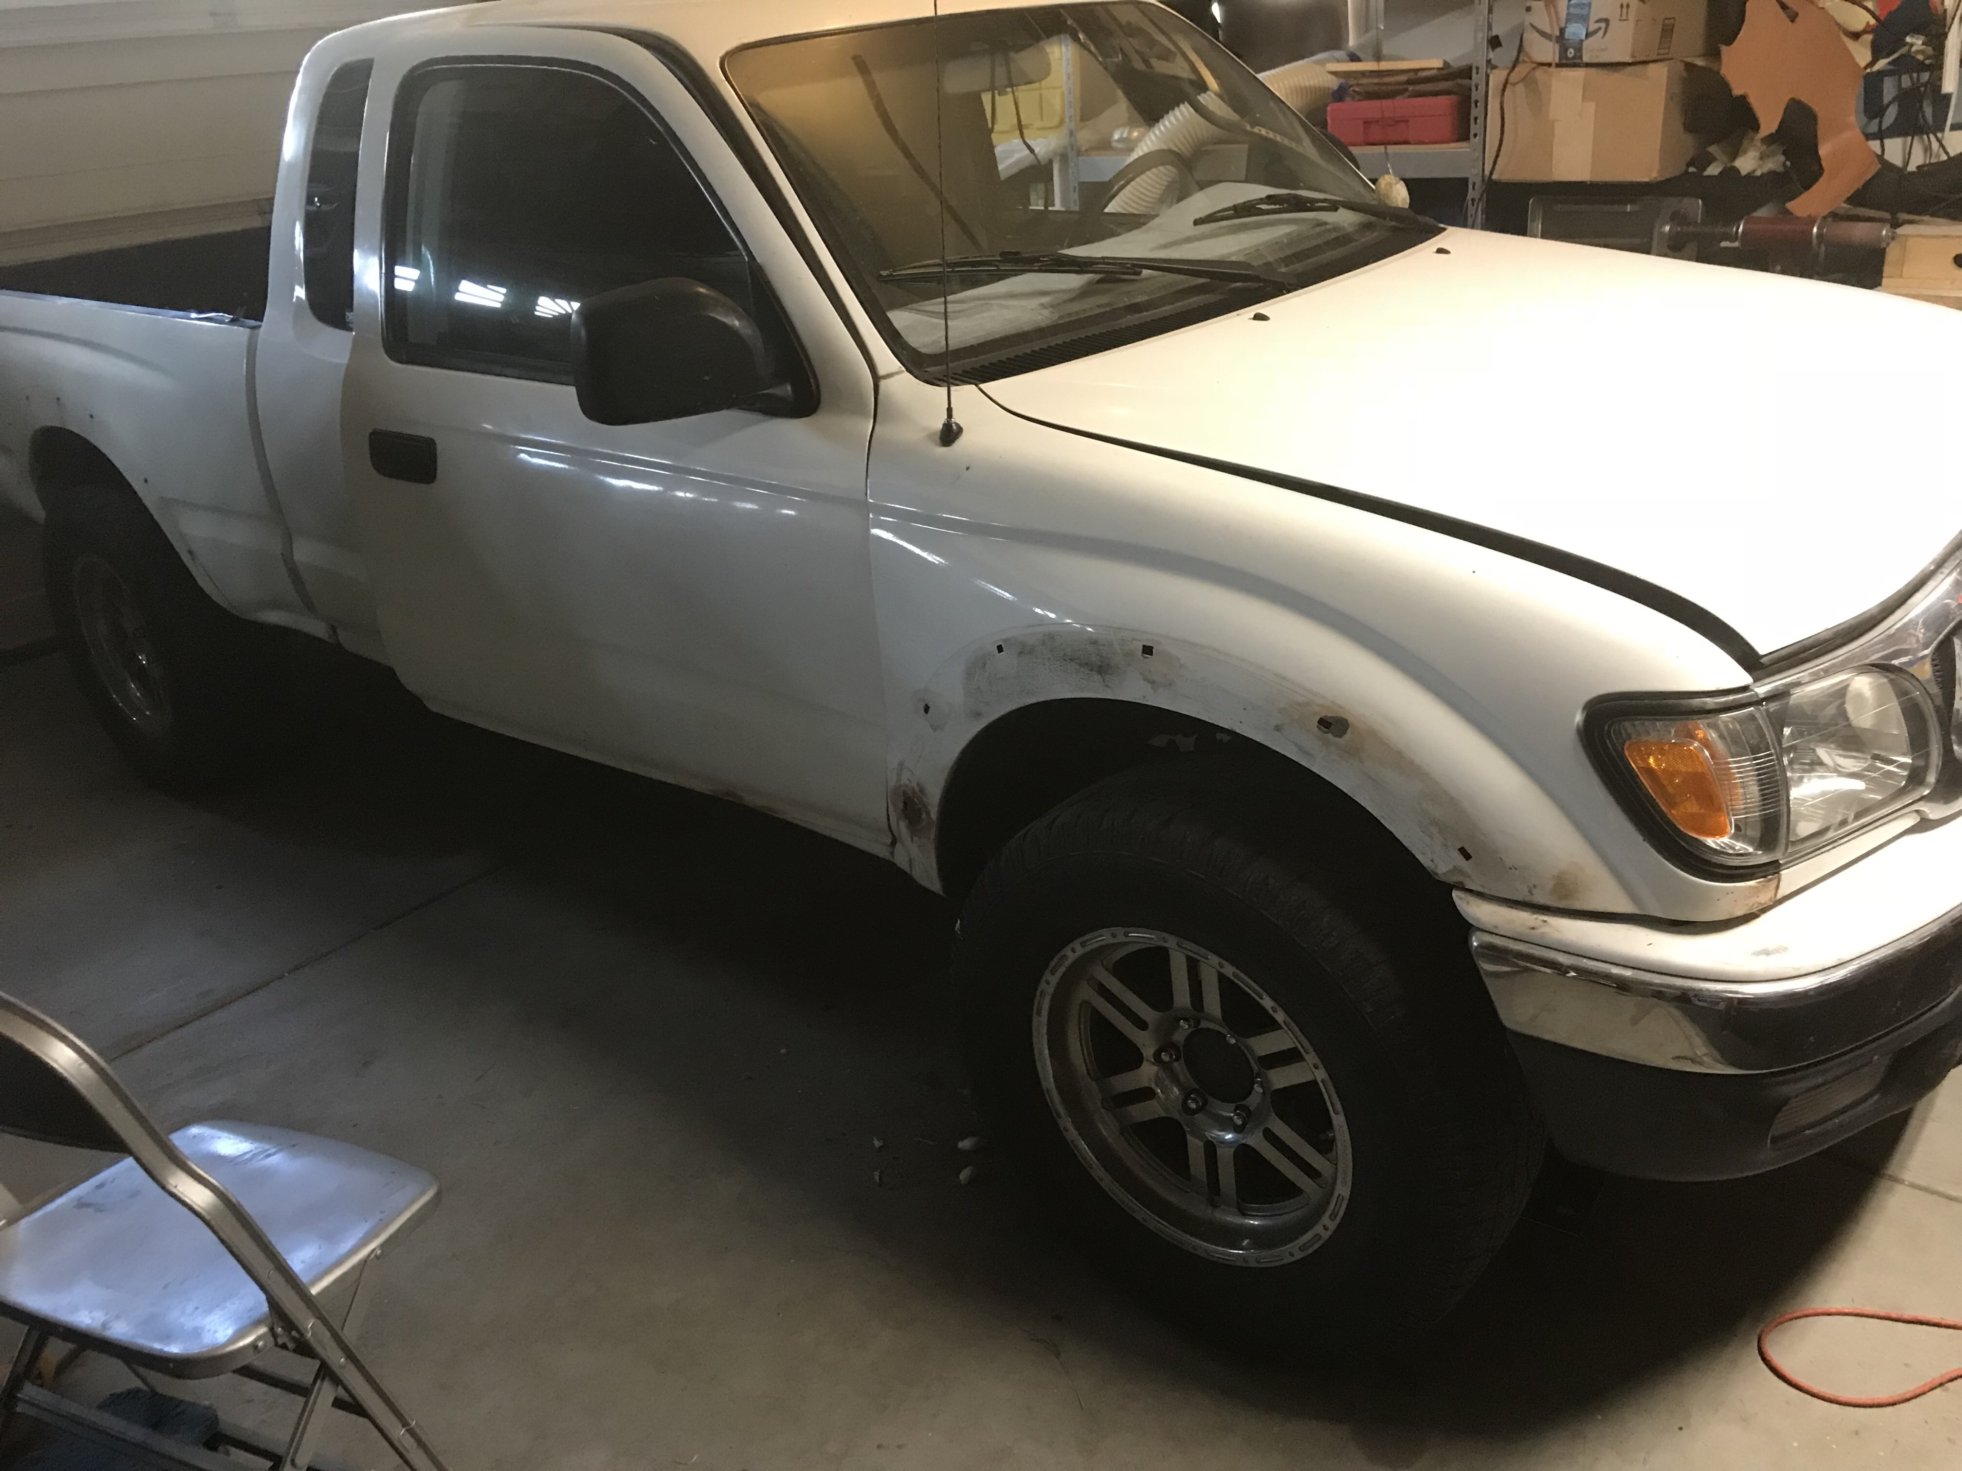
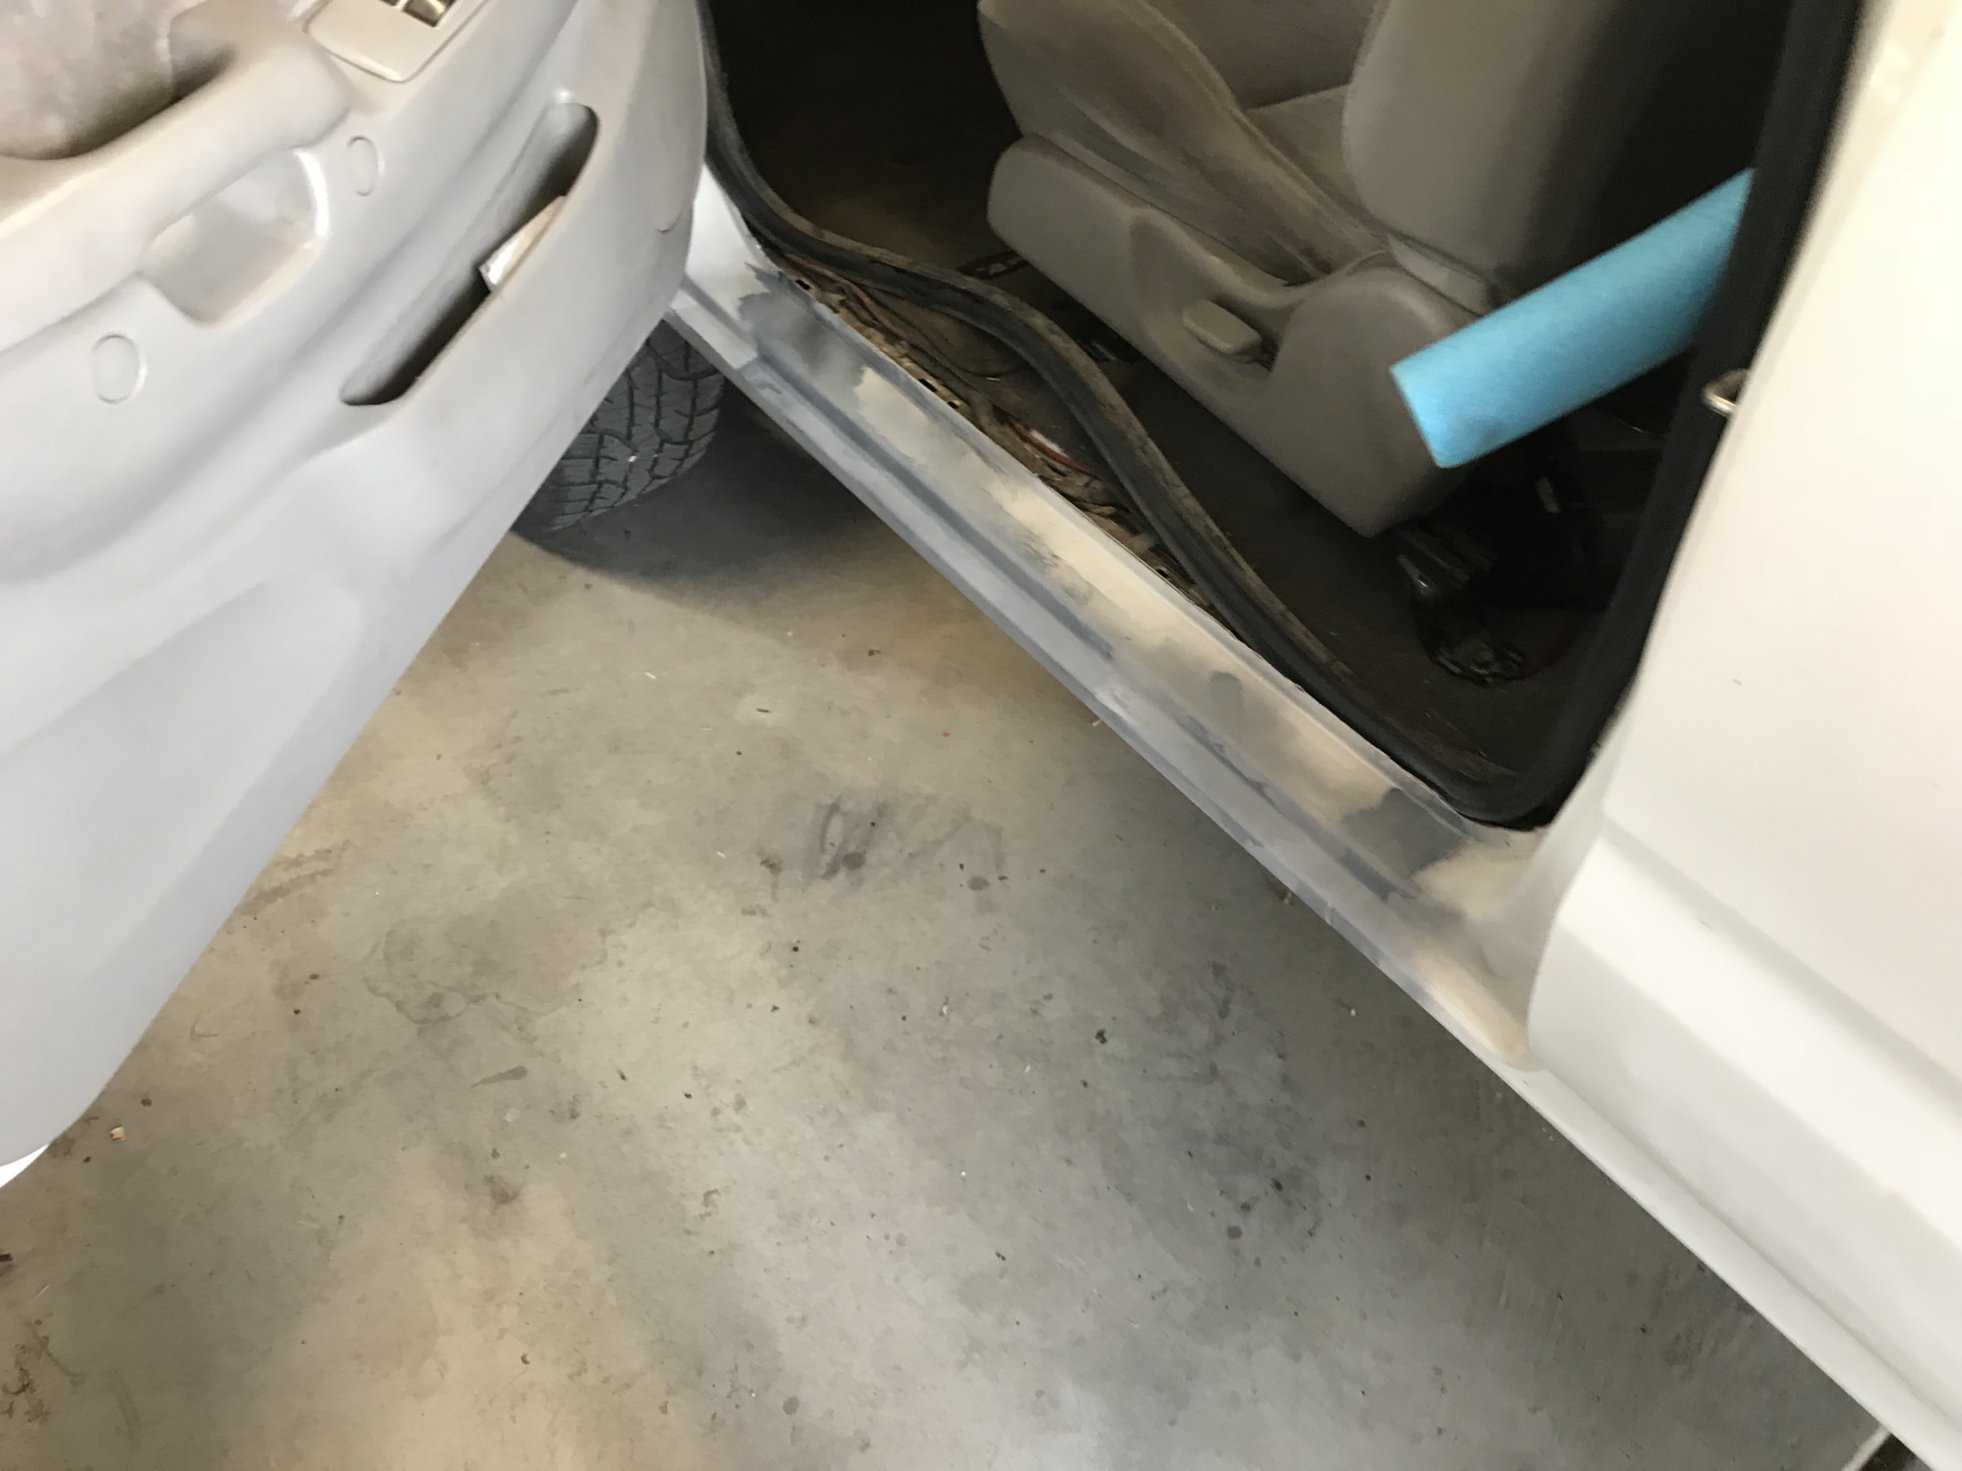
NOTE rust on door.
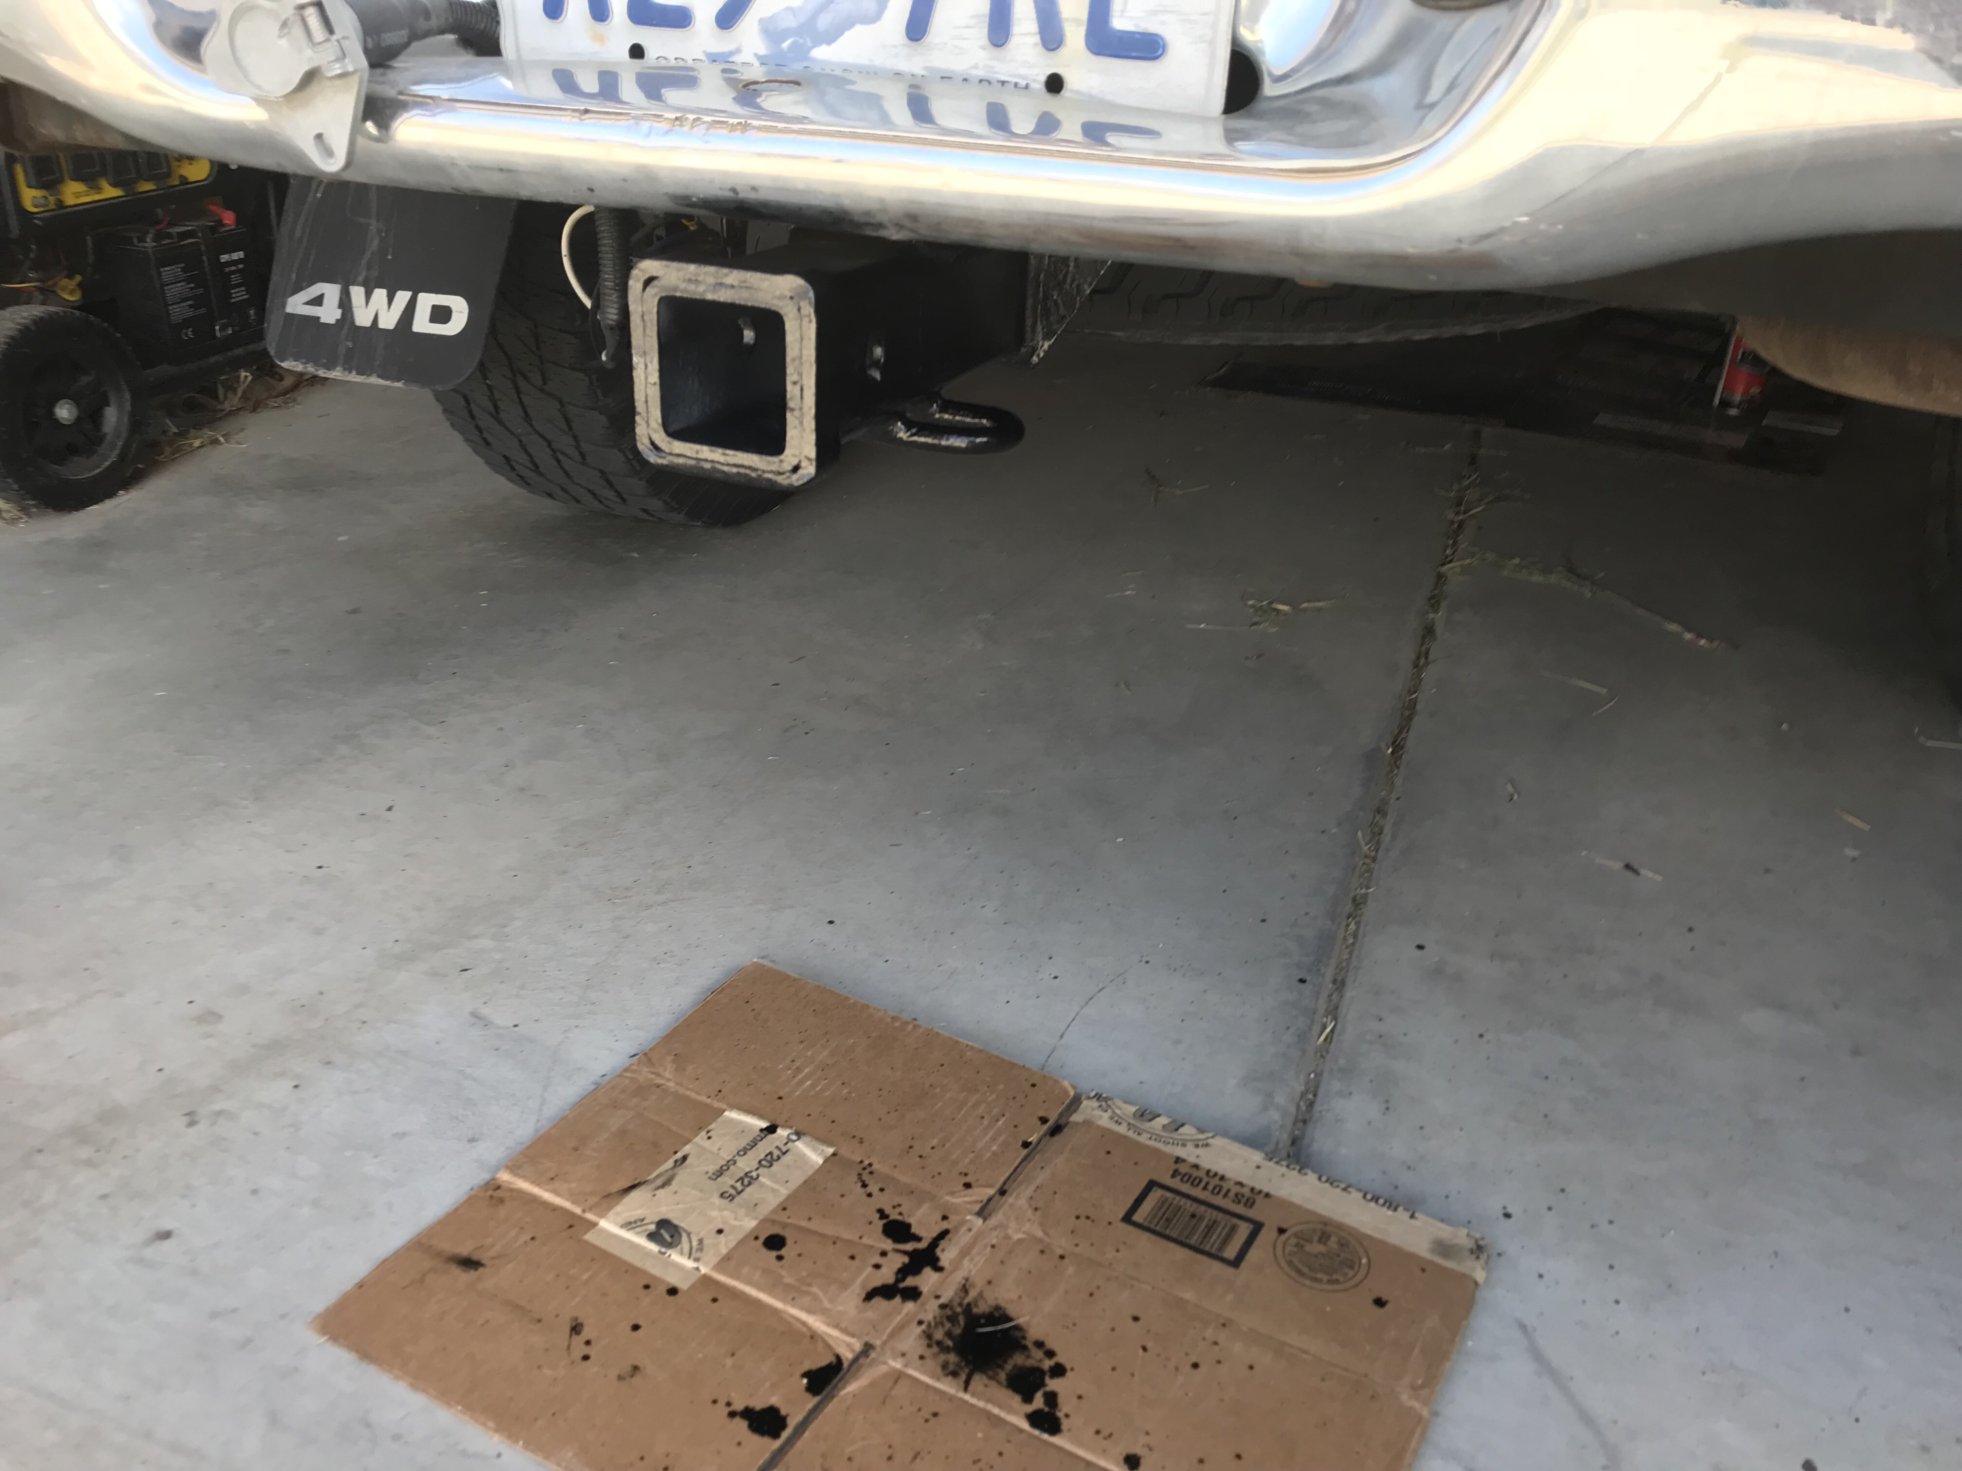
MOD4: Repaint hitch with bedliner.
MOD5: New door acutator $200.
When I got the tacoma the passenger door would not work, unless you ran the unlock twice. Dealer wanted $600, I did it for $200 in parts from amazon. Very complicated and you need 5 hands 😉

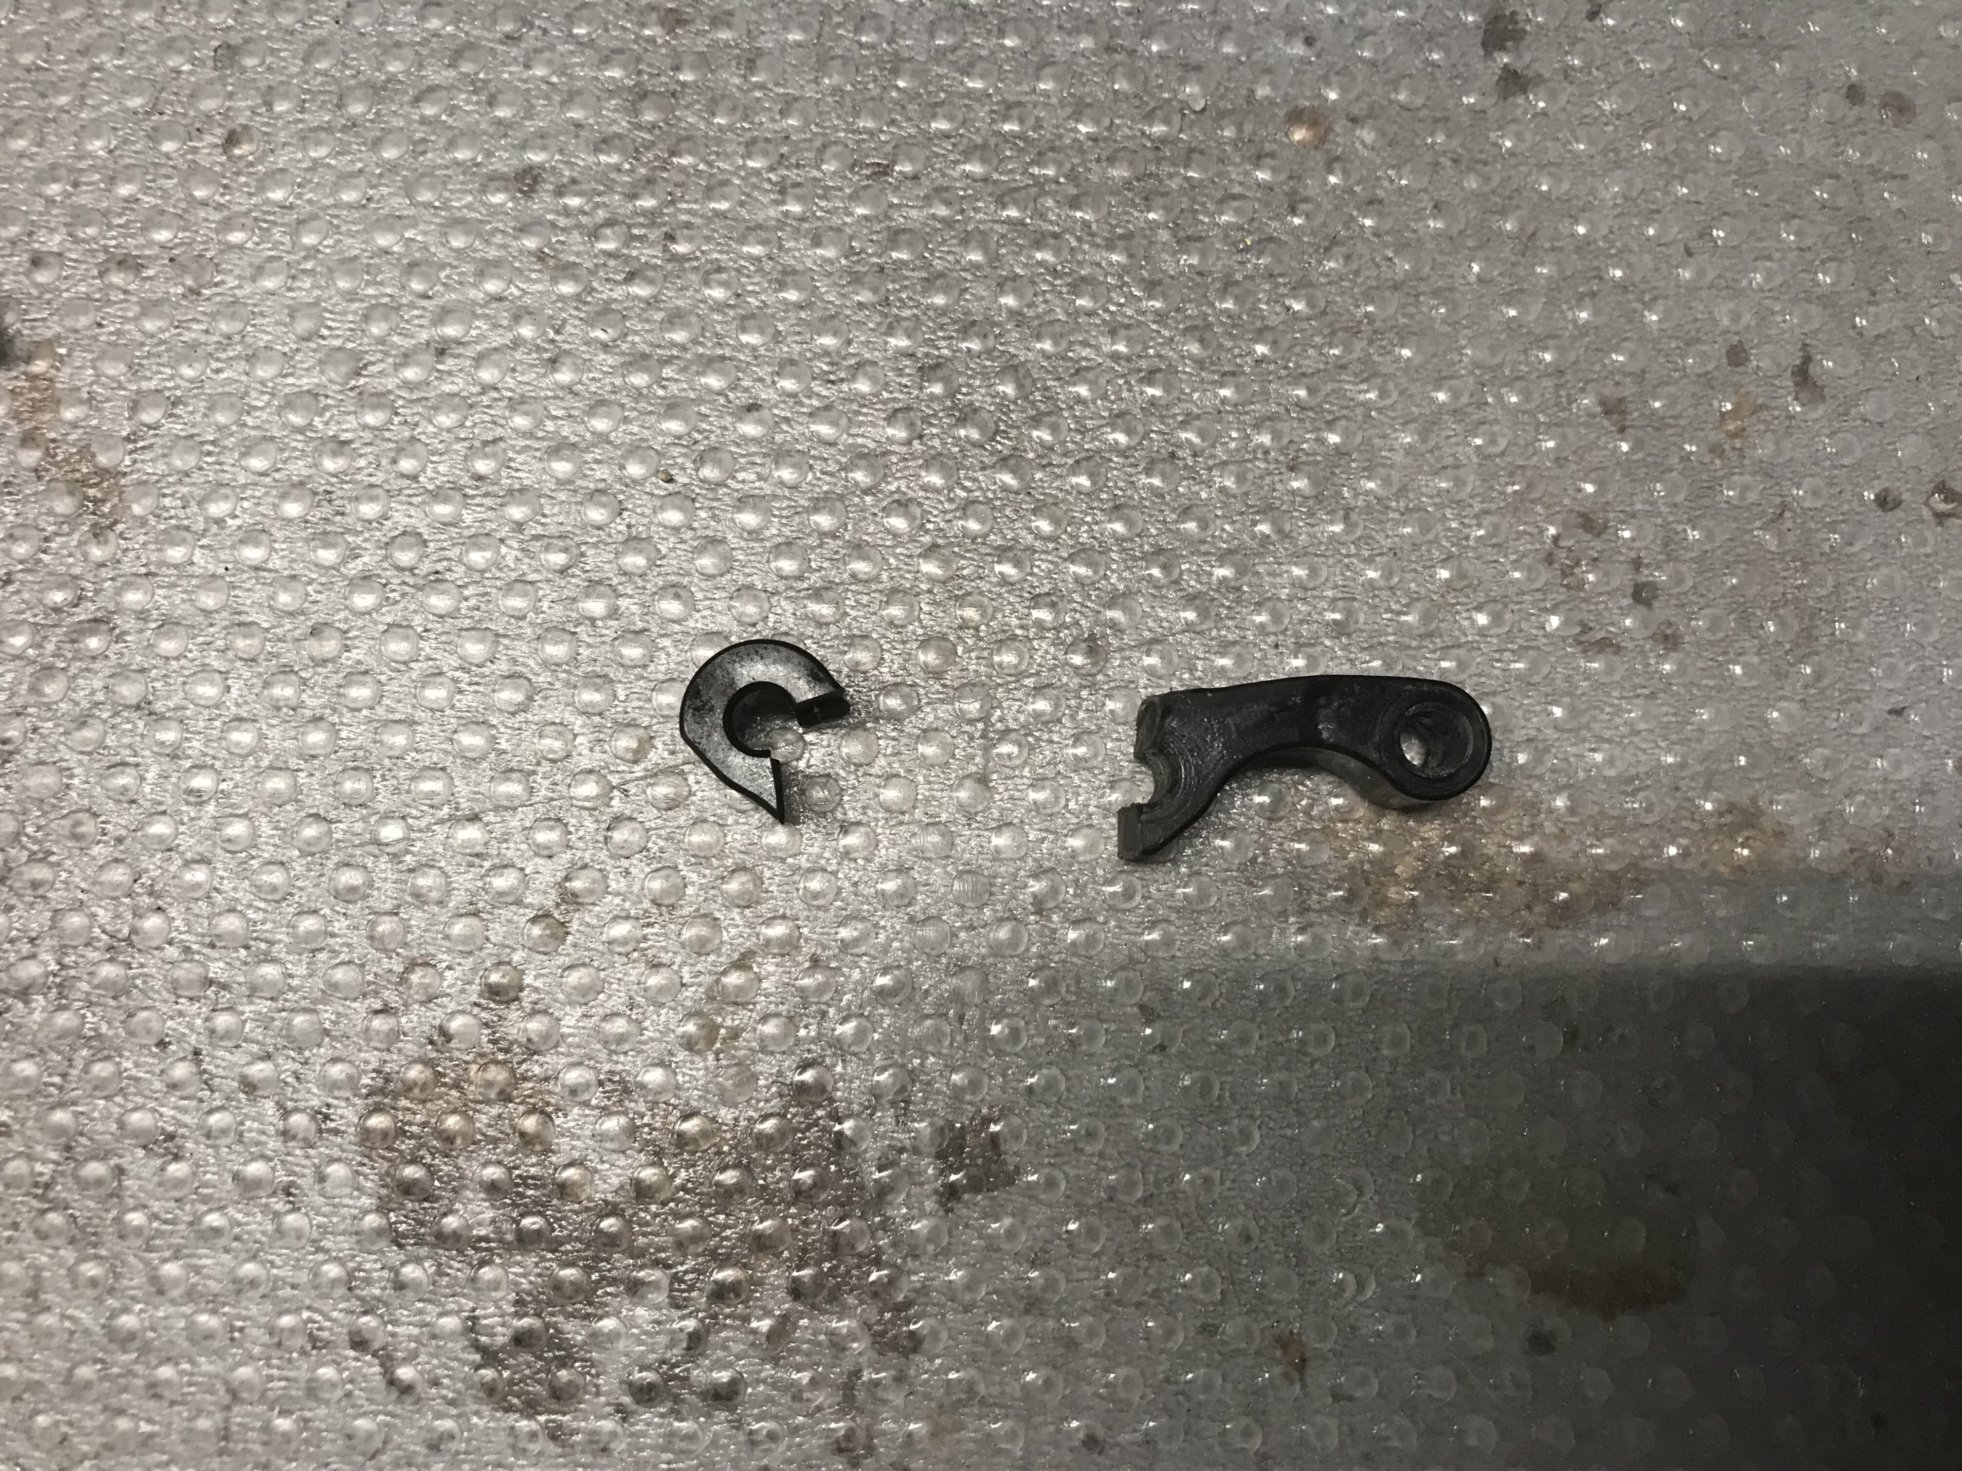
MOD6: Rear window lever replaced. $20
MOD7: remove rust-frozen rear hitch. $100
MOD8: fix droopy head rest.
I removed the headrest cover, got the foam in the right place and taped it, then put the headrest back on. Now it will provide protection in a wreck to our necks.
MOD9: Removed odd lug nuts and got regular ones. $20
MOD10: spare tire tools to lower spare tire. $40
BEDLINER BODY OF TRUCK
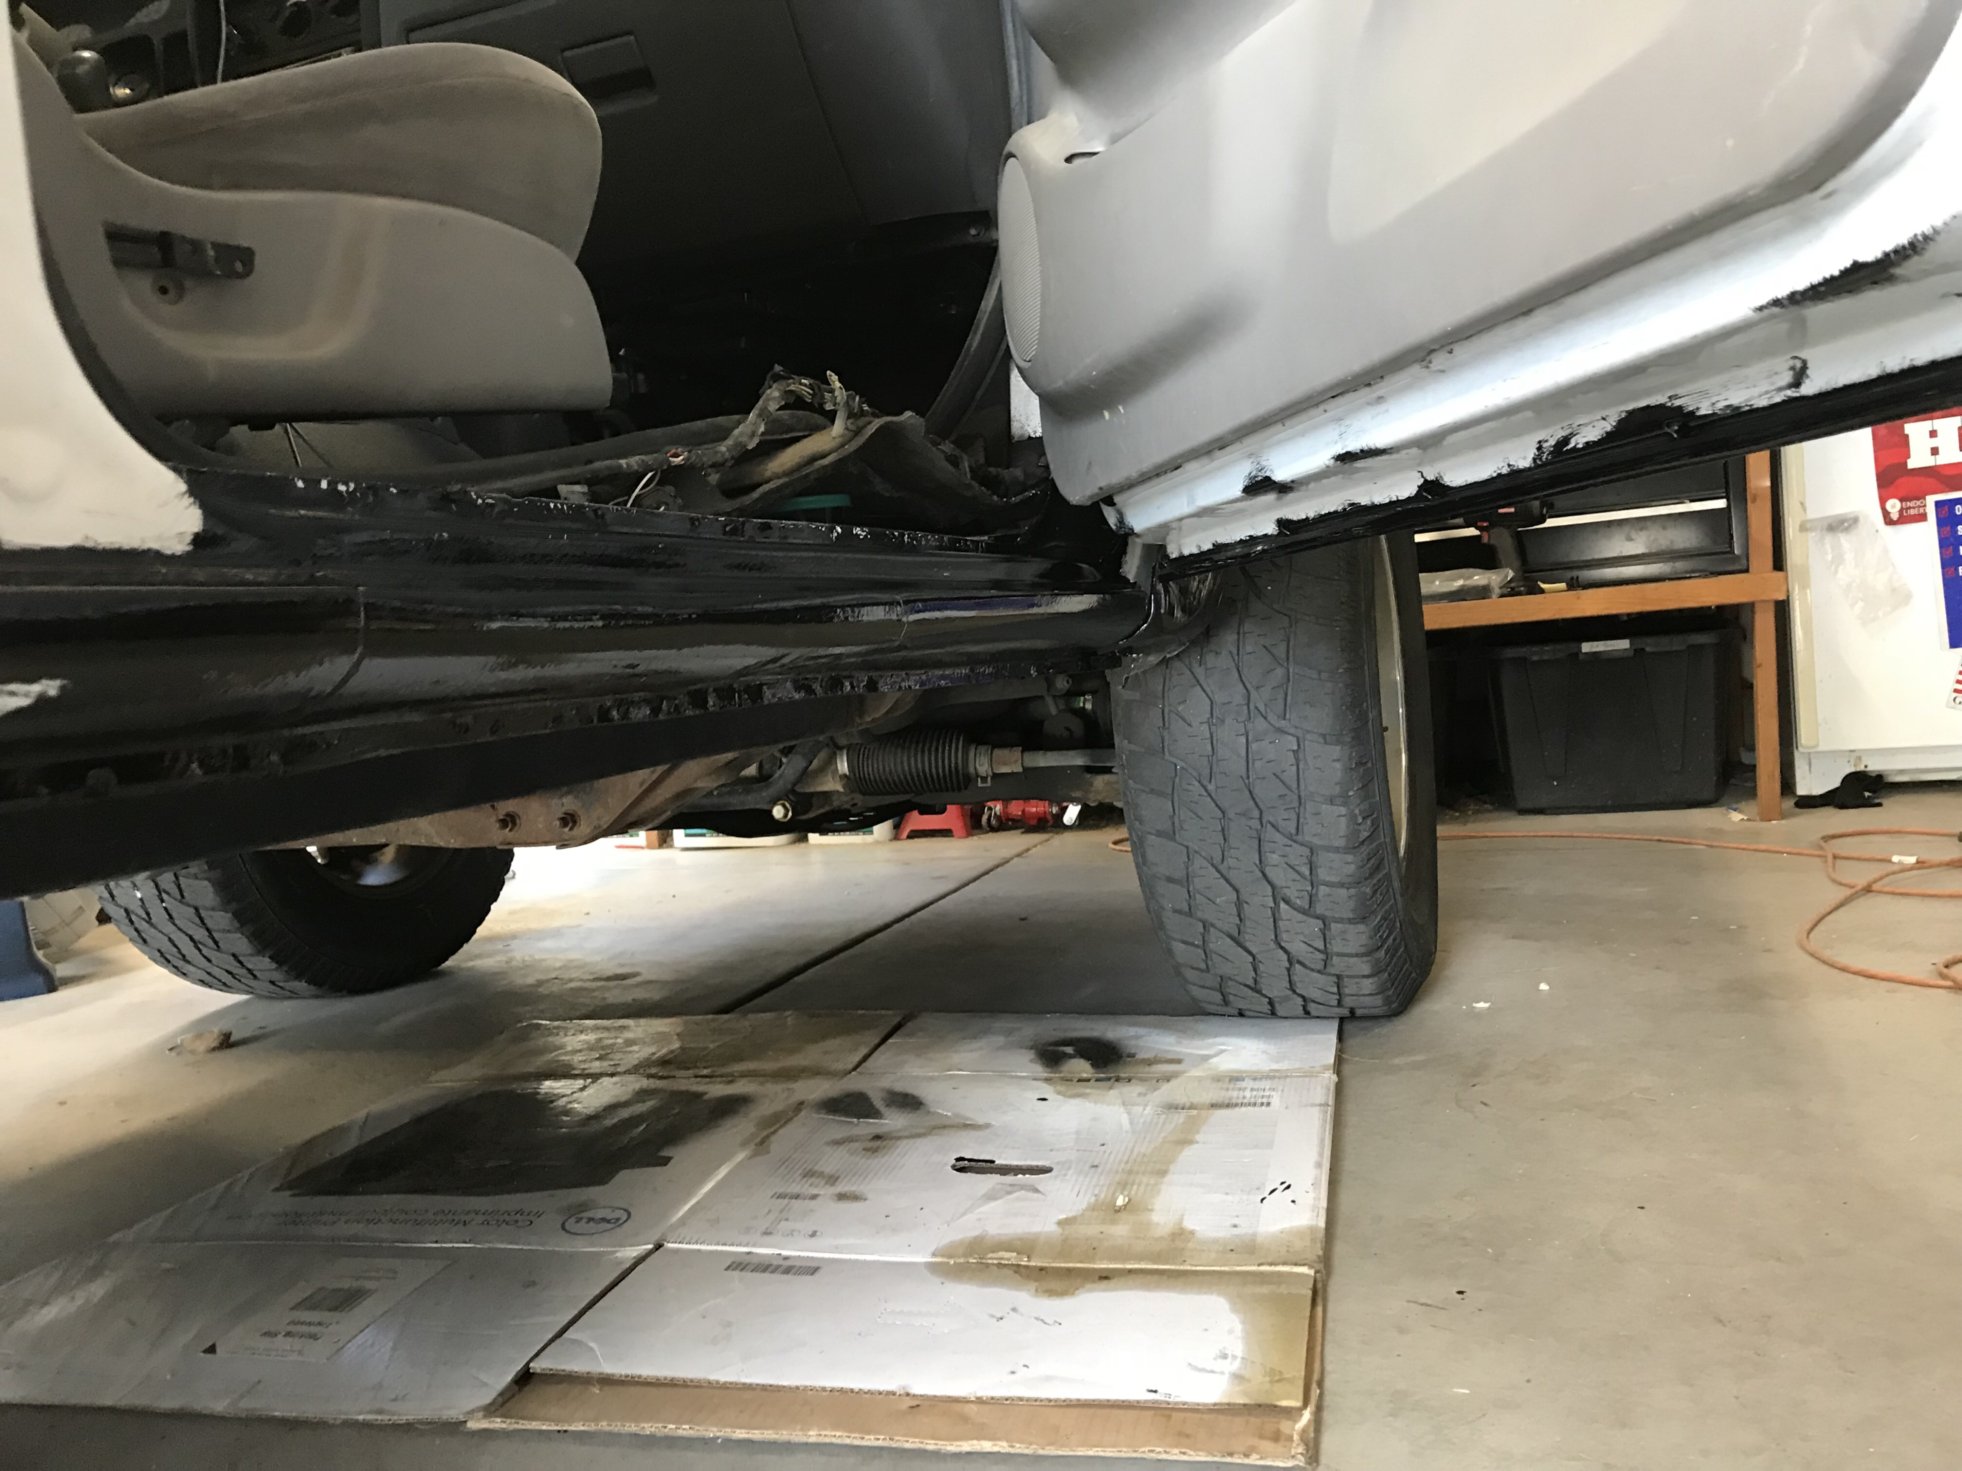
I’ve watched tons of vids and done some research and wanted to try bedlinering the body of a car/truck/jeep. To me, it really seals the metal from the elements and if it is scratched (much harder to scratch), you can repaint without a lot of prep work.
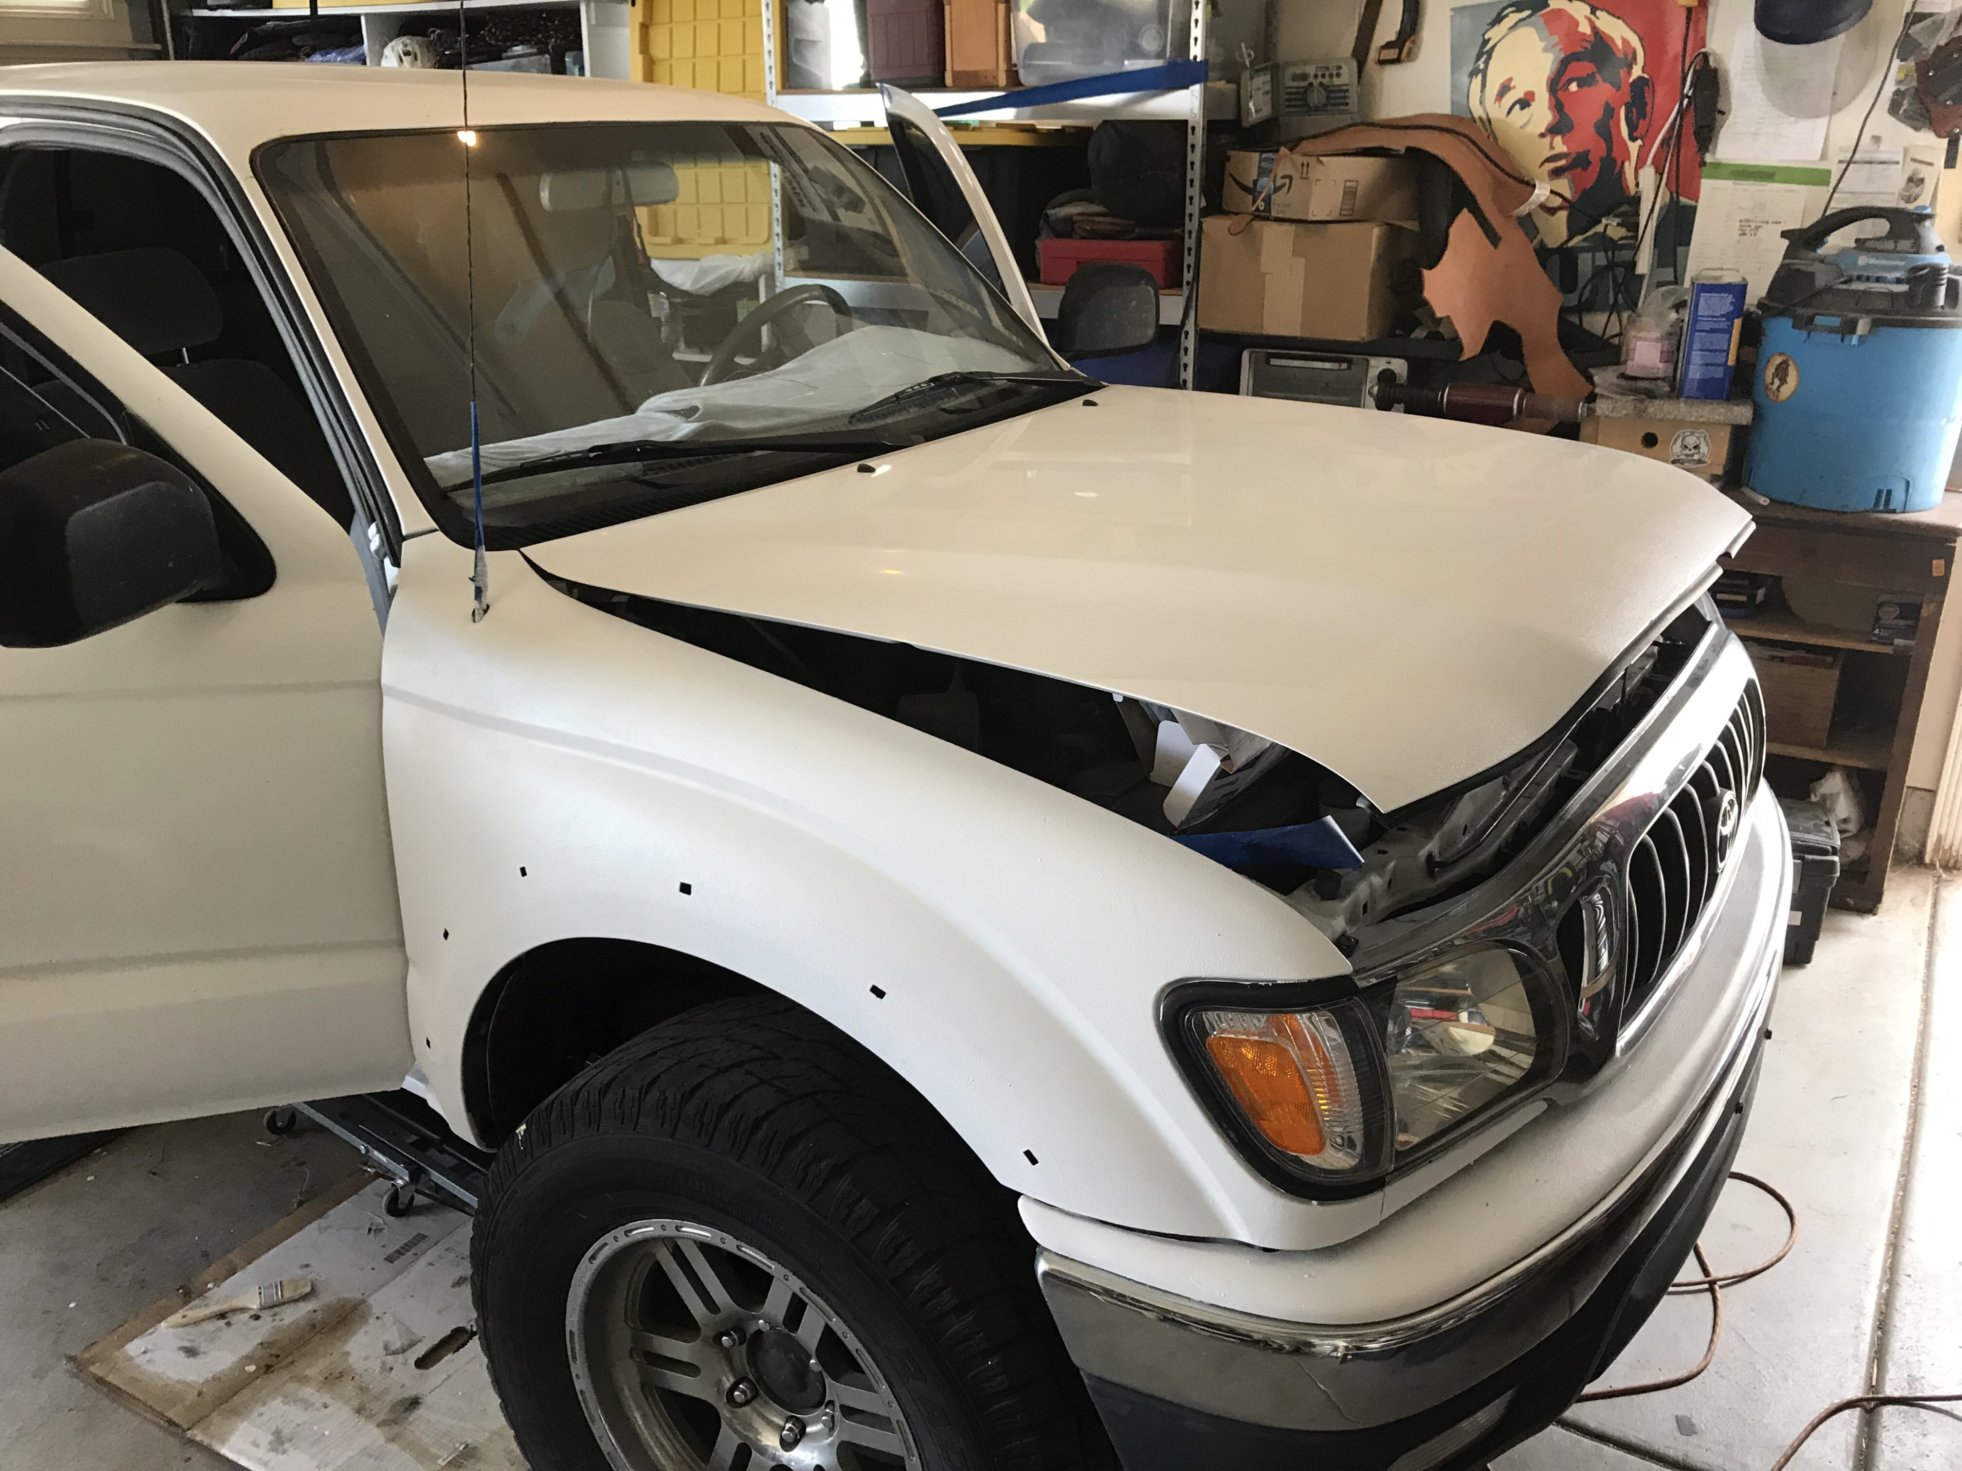
I went with raptor tintable bedliner. I used 2 of 4 bottles for the truck as shown in this project.
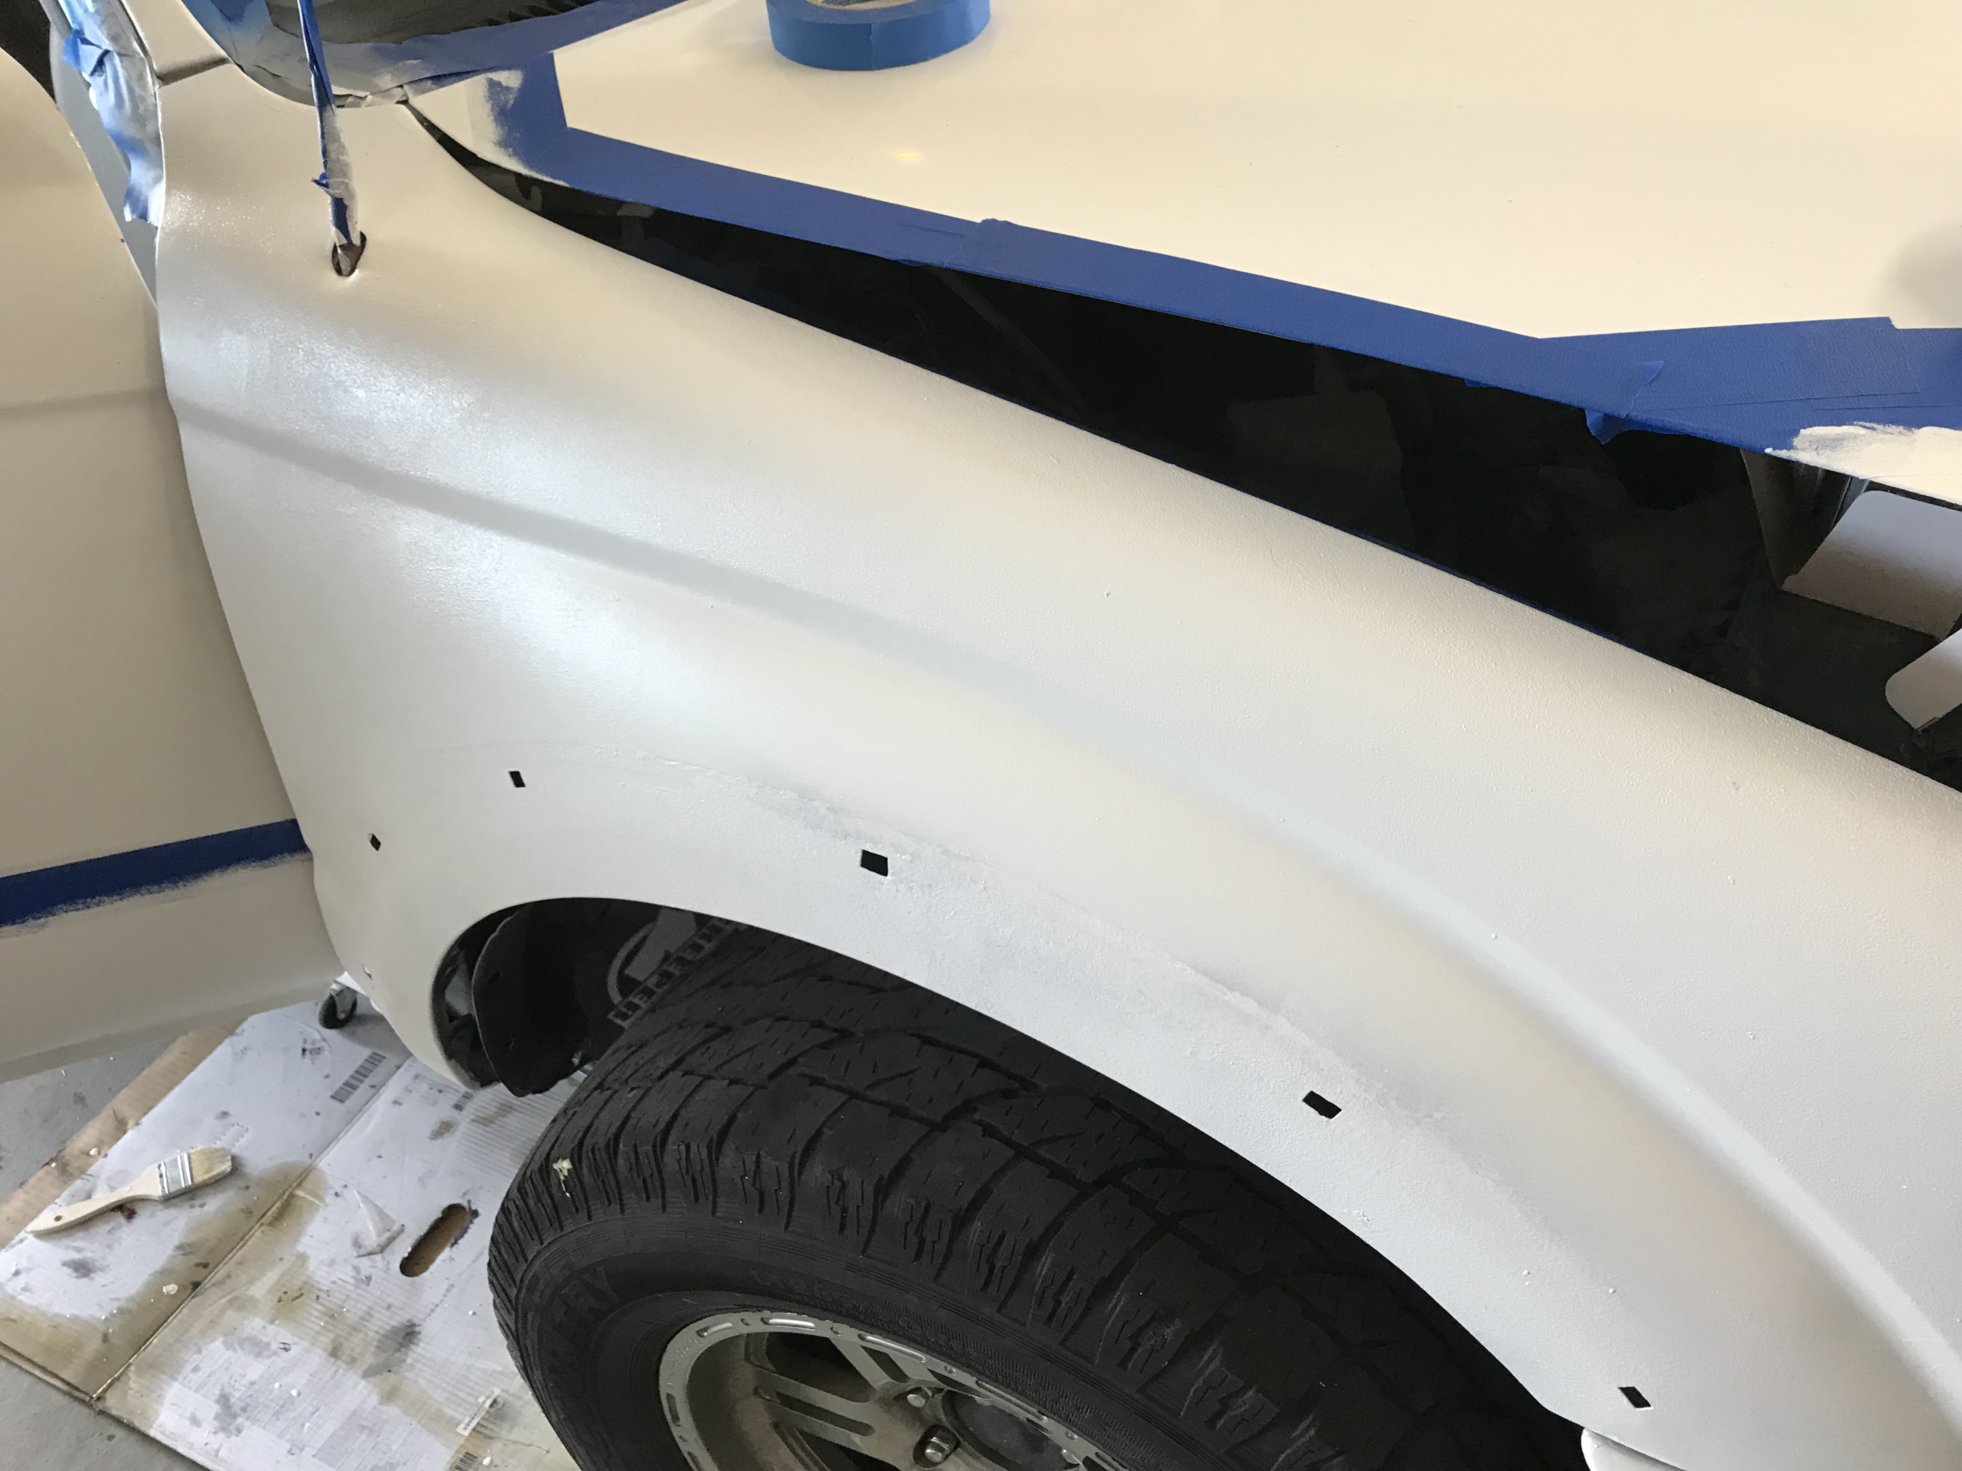
The white is a very good match. For my first attempt, I decided to just do the bottom 1/3 (rock zone, or slider area).
Here is the ratio I did and it worked out really good.
60ML or 2 oz of “reducer”. I read that if you do 10-20% reducer, it will remove some of the rough texture of the bedliner. I purchased this from my local auto parts store. Similar to paint thinner.
414ml or 14 oz of “coat” this is the main product, and includes the white tint in that ratio.
119 ML or 4 oz of “hardener” that was included in the kit.
APPLICATION.
I decided, based on my experience of spraying bedliner on my trailer ramp vs rollering it on the rest of the trailer. Spraying used a whole gallon for a ramp, whereas I had plenty left over rolling it on a 7×16 trailer (with a few other projects like work bench and bed extender for my UTV).
TIP: ensure you have plenty of fine grained foam rollers. After a few minutes, you will wear out the foam and parts of it will stick on your car…so swap foam rollers often!
HIGH LEVEL
- sand down and remove most of the rust.
- use paint thinner or rubbing achohol to clean the area
- put POR15 only on rust spots
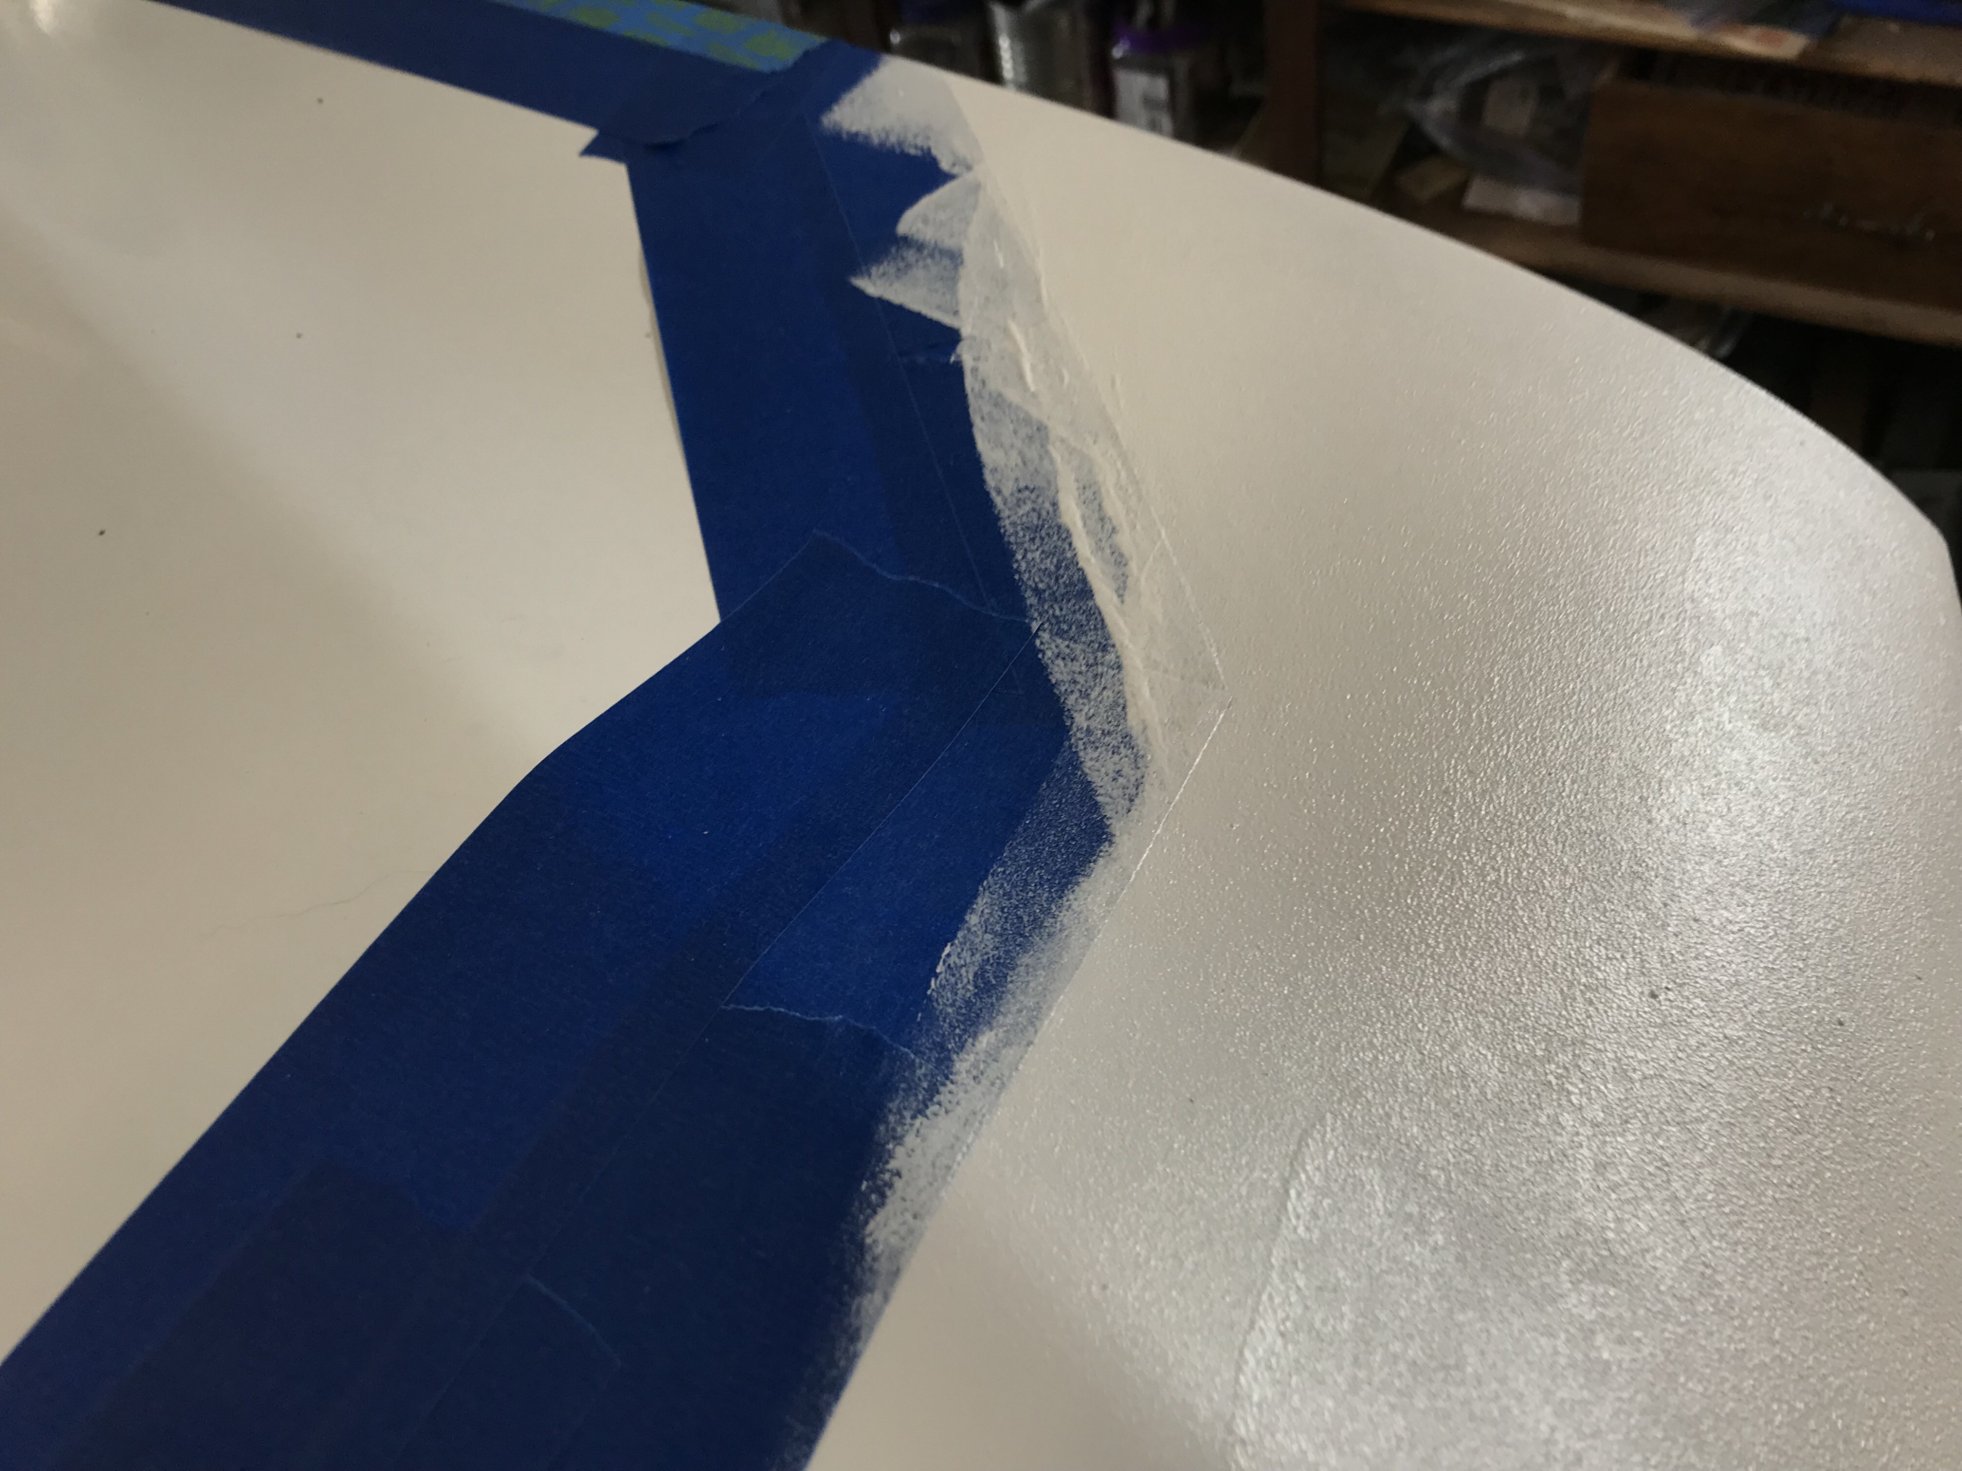
- mask mask mask
- before POR15 drys…like when it is still tacky, put top coat on it (to protect it from the sun). If not top coat, use primer.
- read all the tips on this blog
- ensure your ratios are correct. I did my motorhome rear bumper and it dried too quickly and eat my roller.
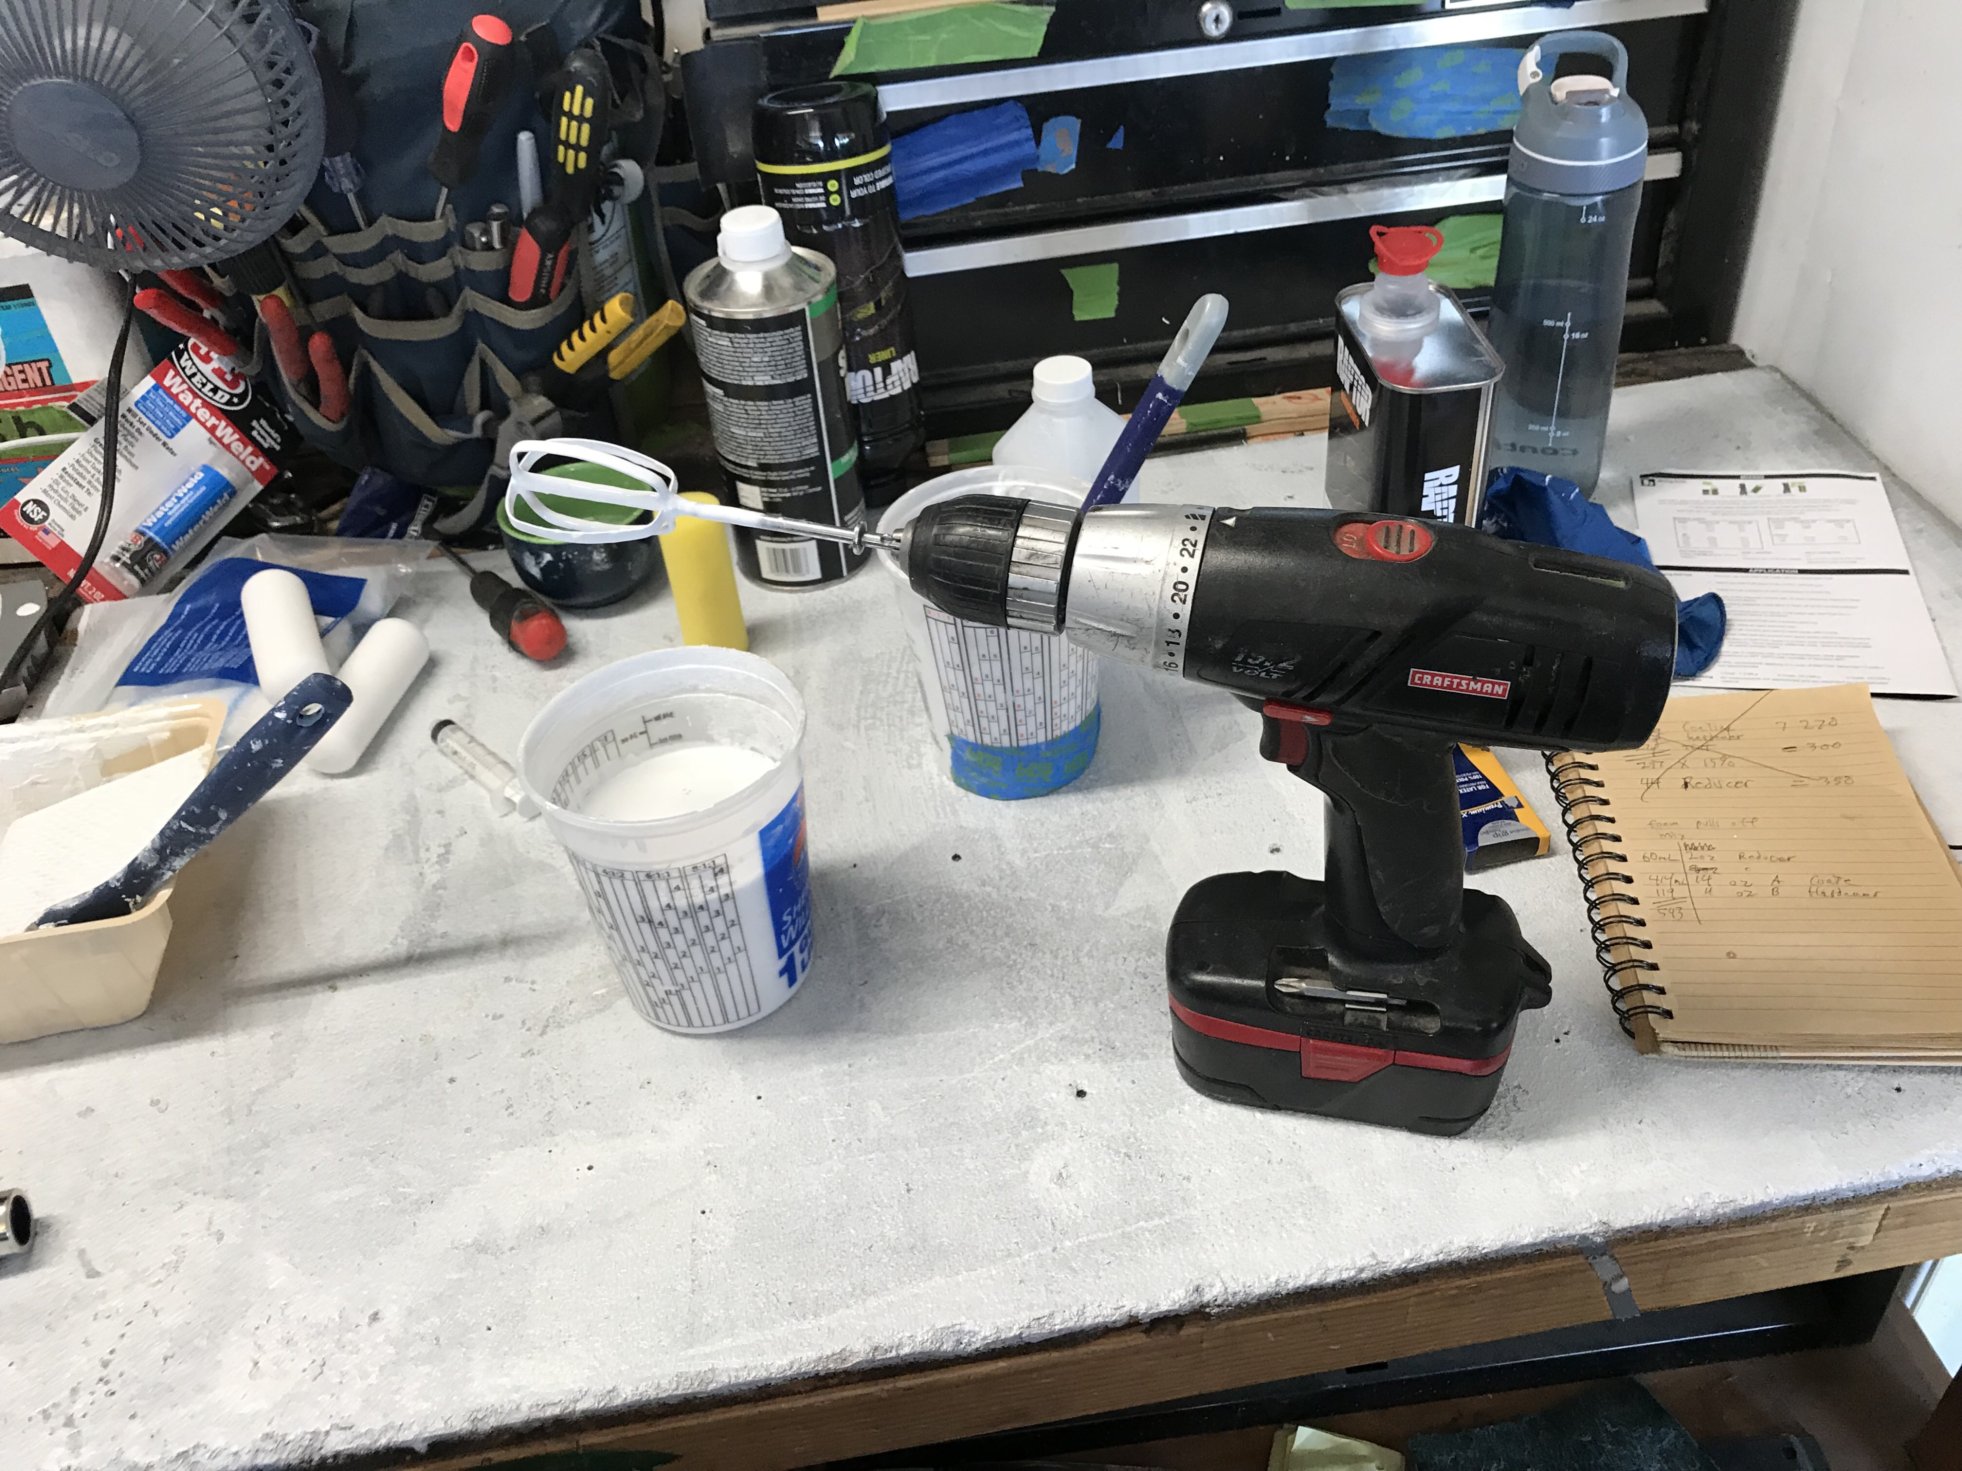
I think these are the rollers (I got mine at home depo).
an DI or old egg beater worked better than the fancy mixing stick.
POR15
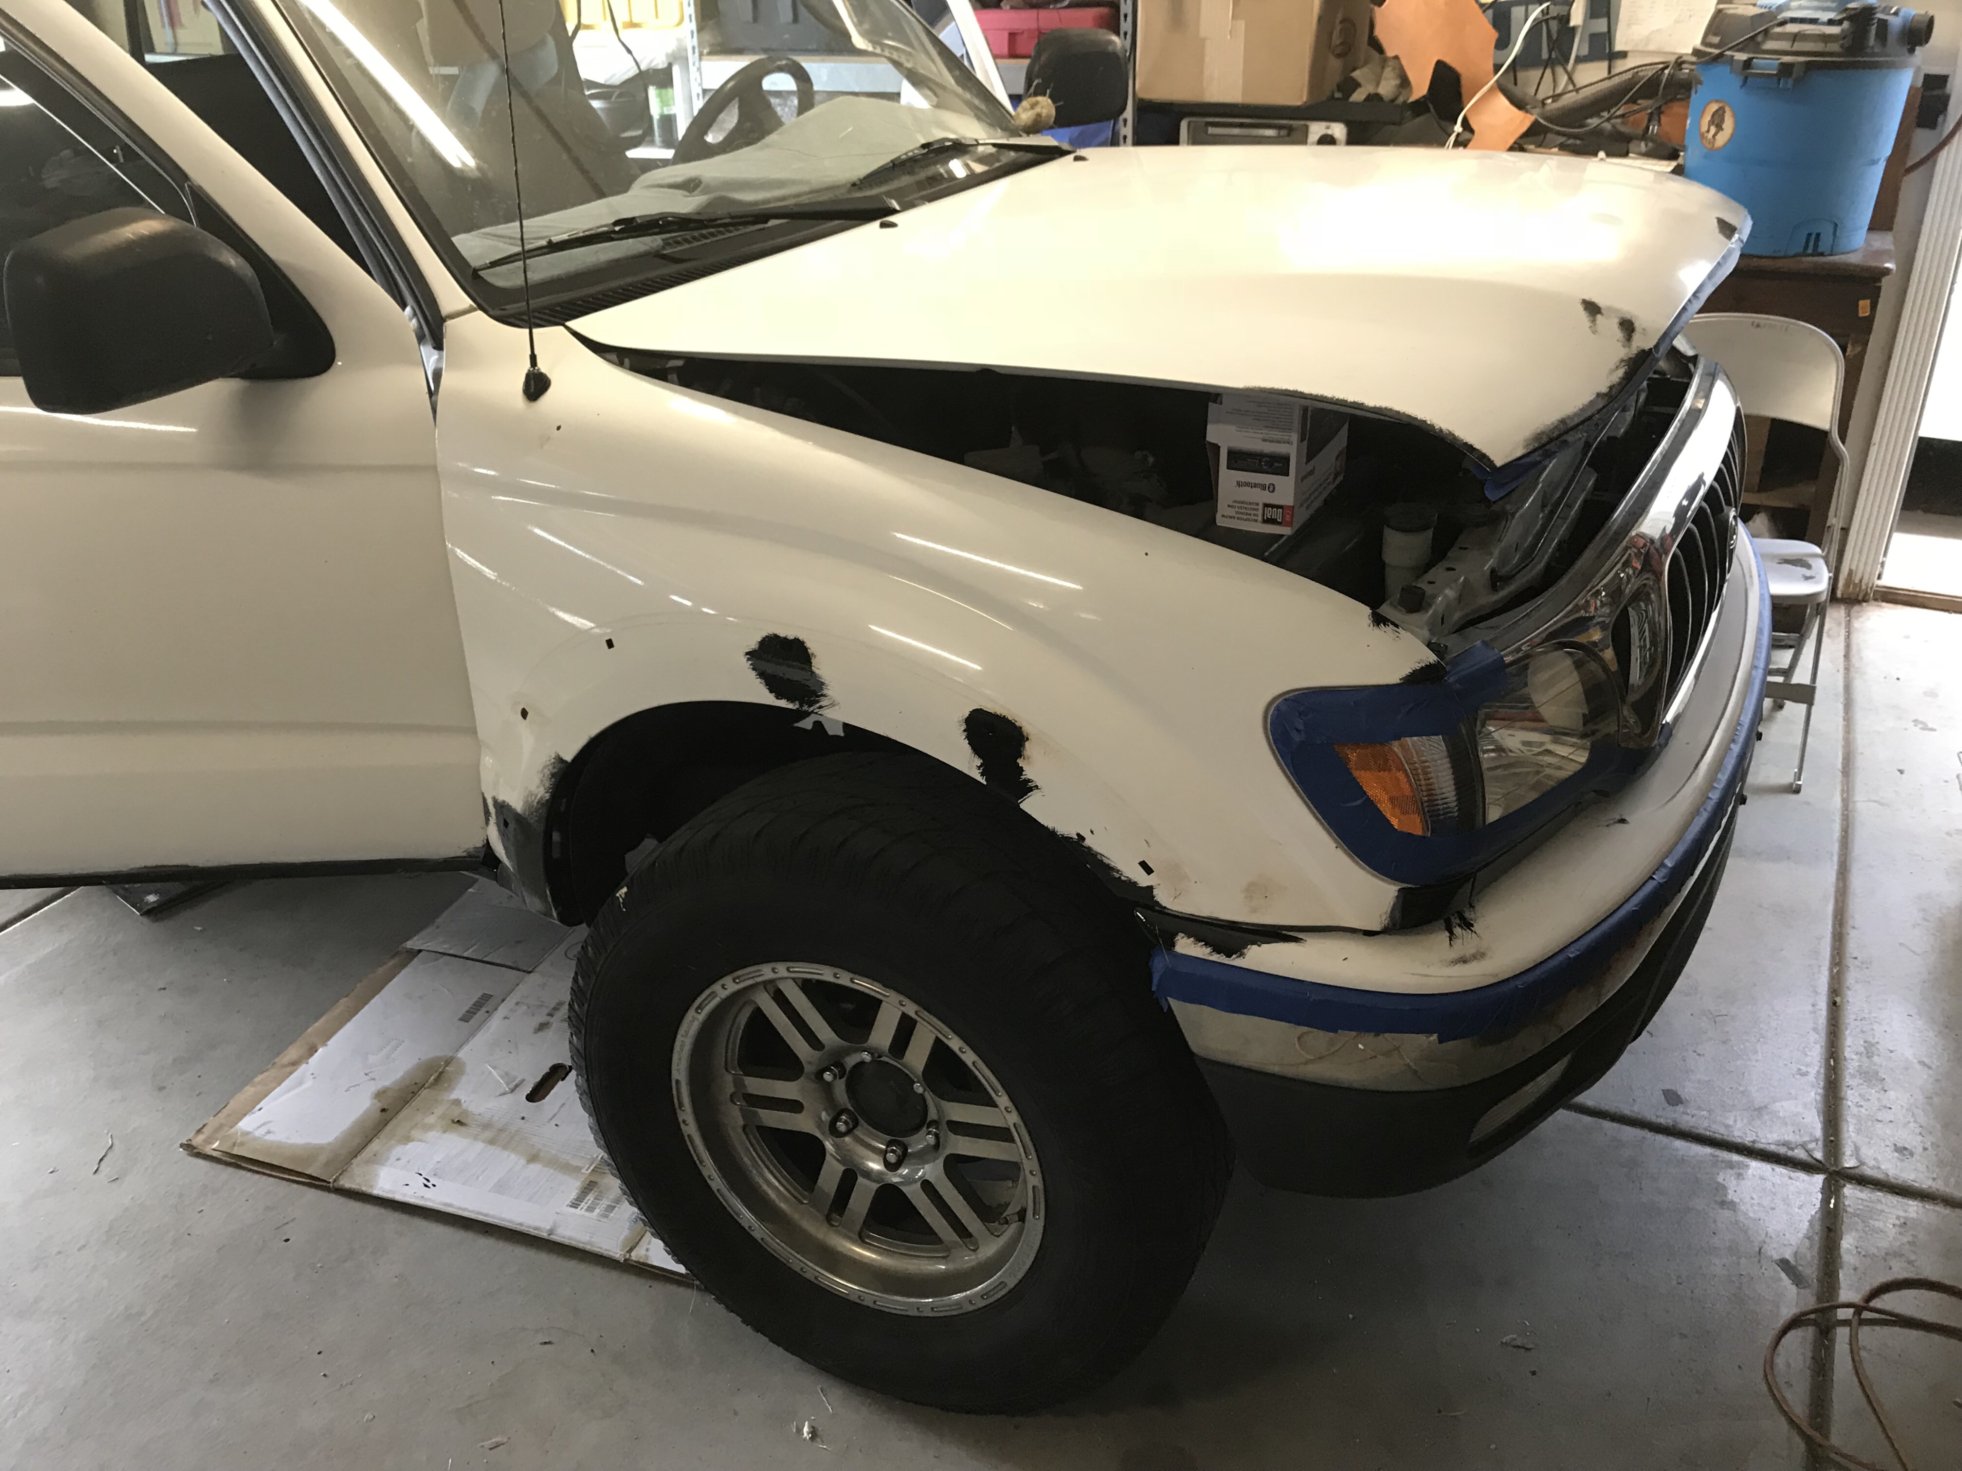
TIP: if you use POR15 to convert the rust, ensure you paint it with your top coat or primer BEFORE it hardens, as it hardens hard as glass and won’t hold paint well, so I primer’d all the POR15 spots.
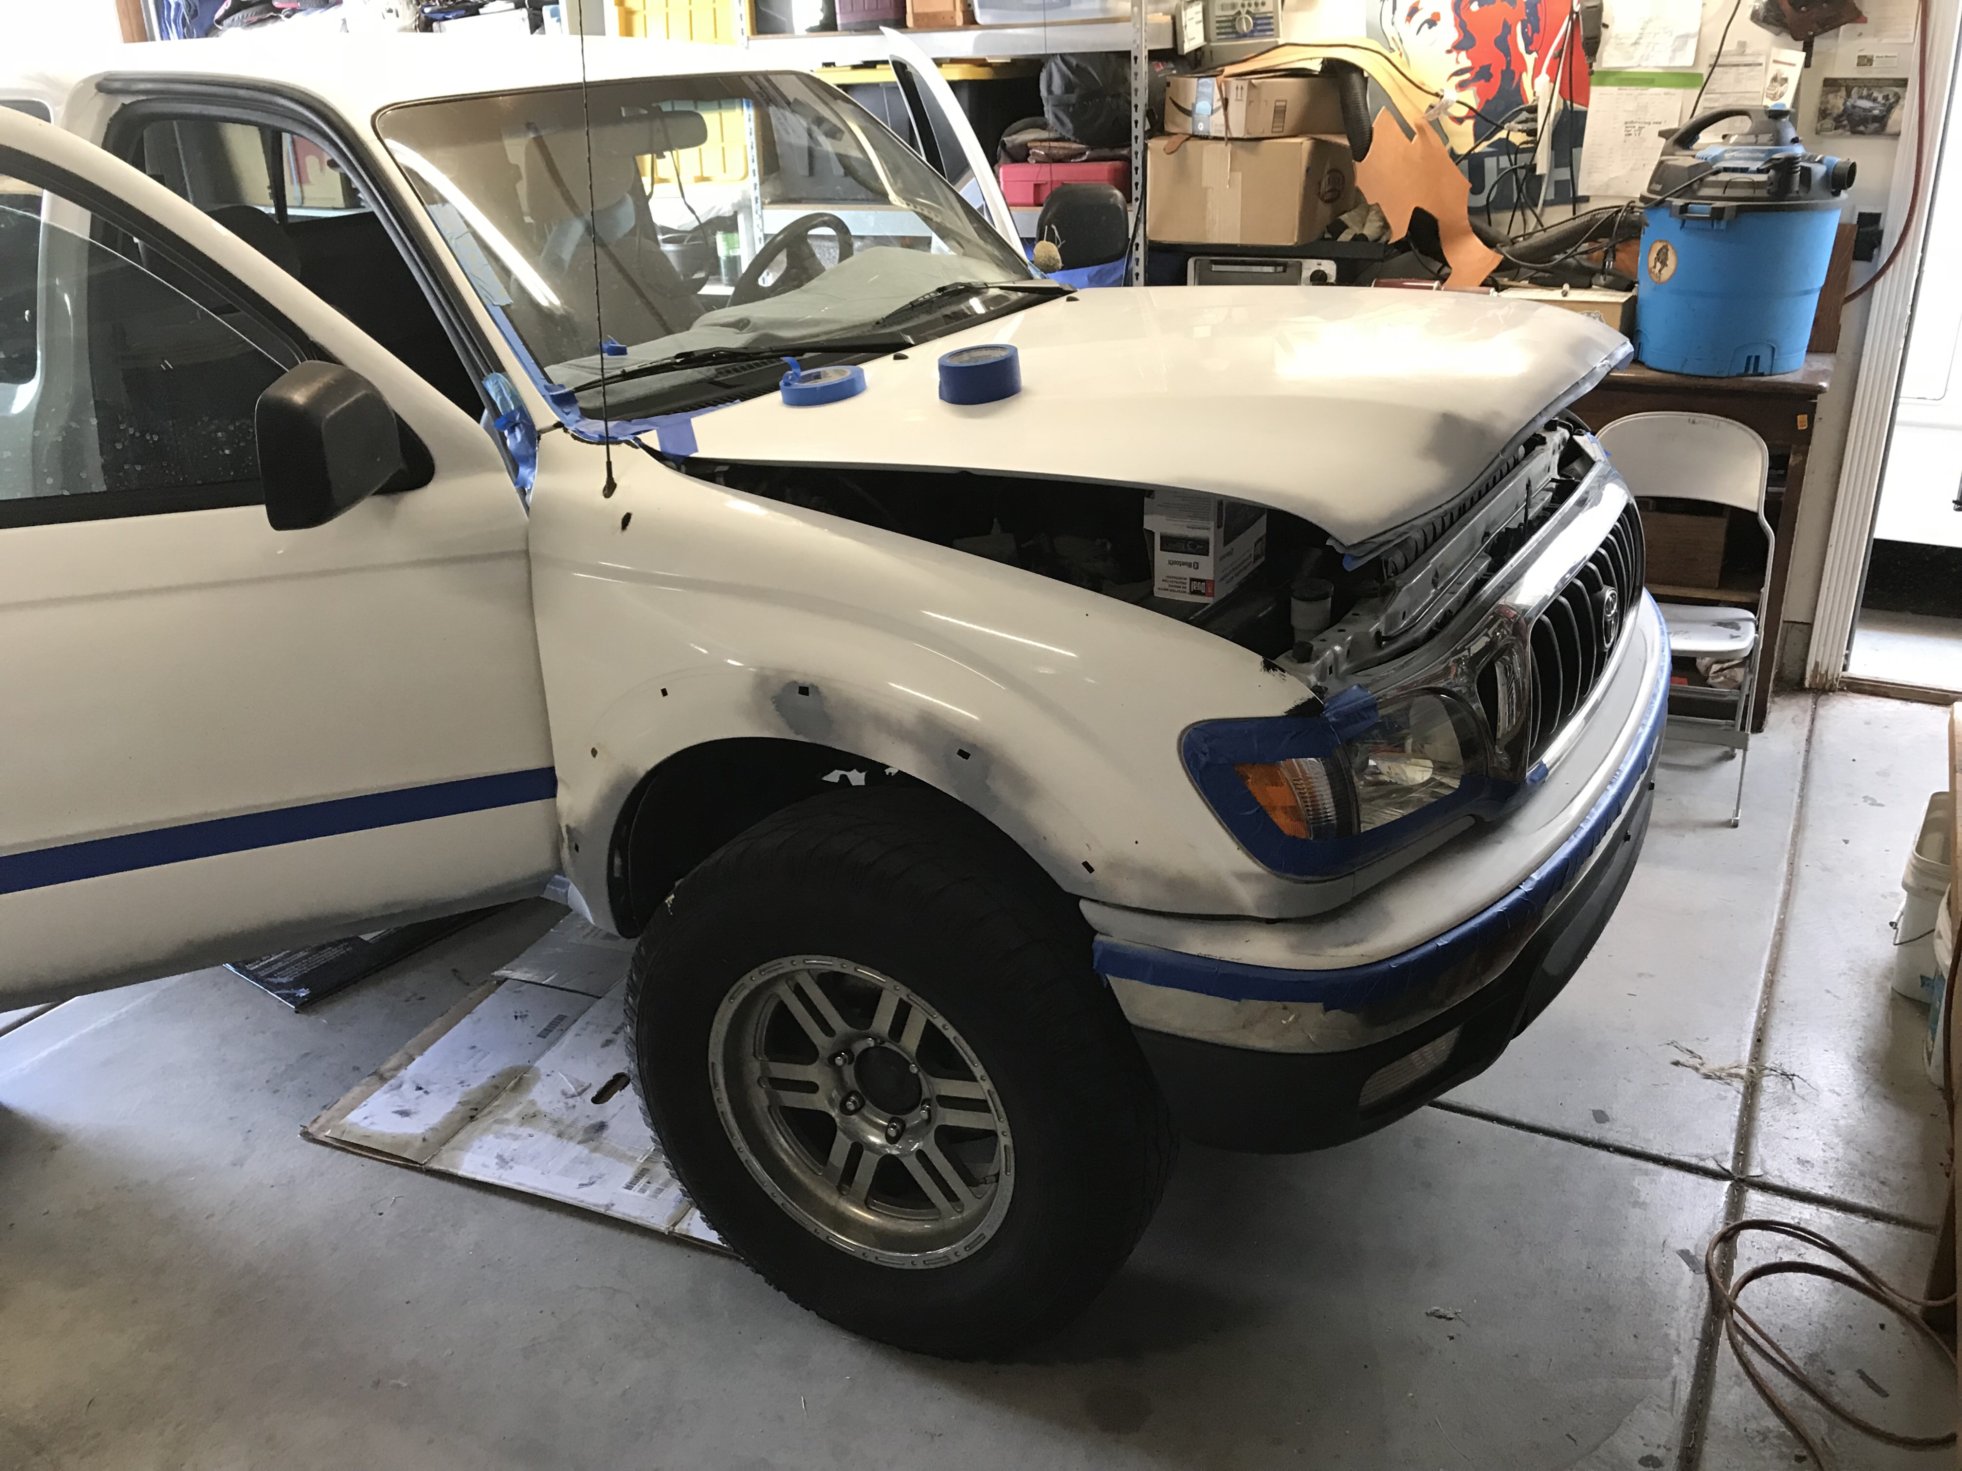
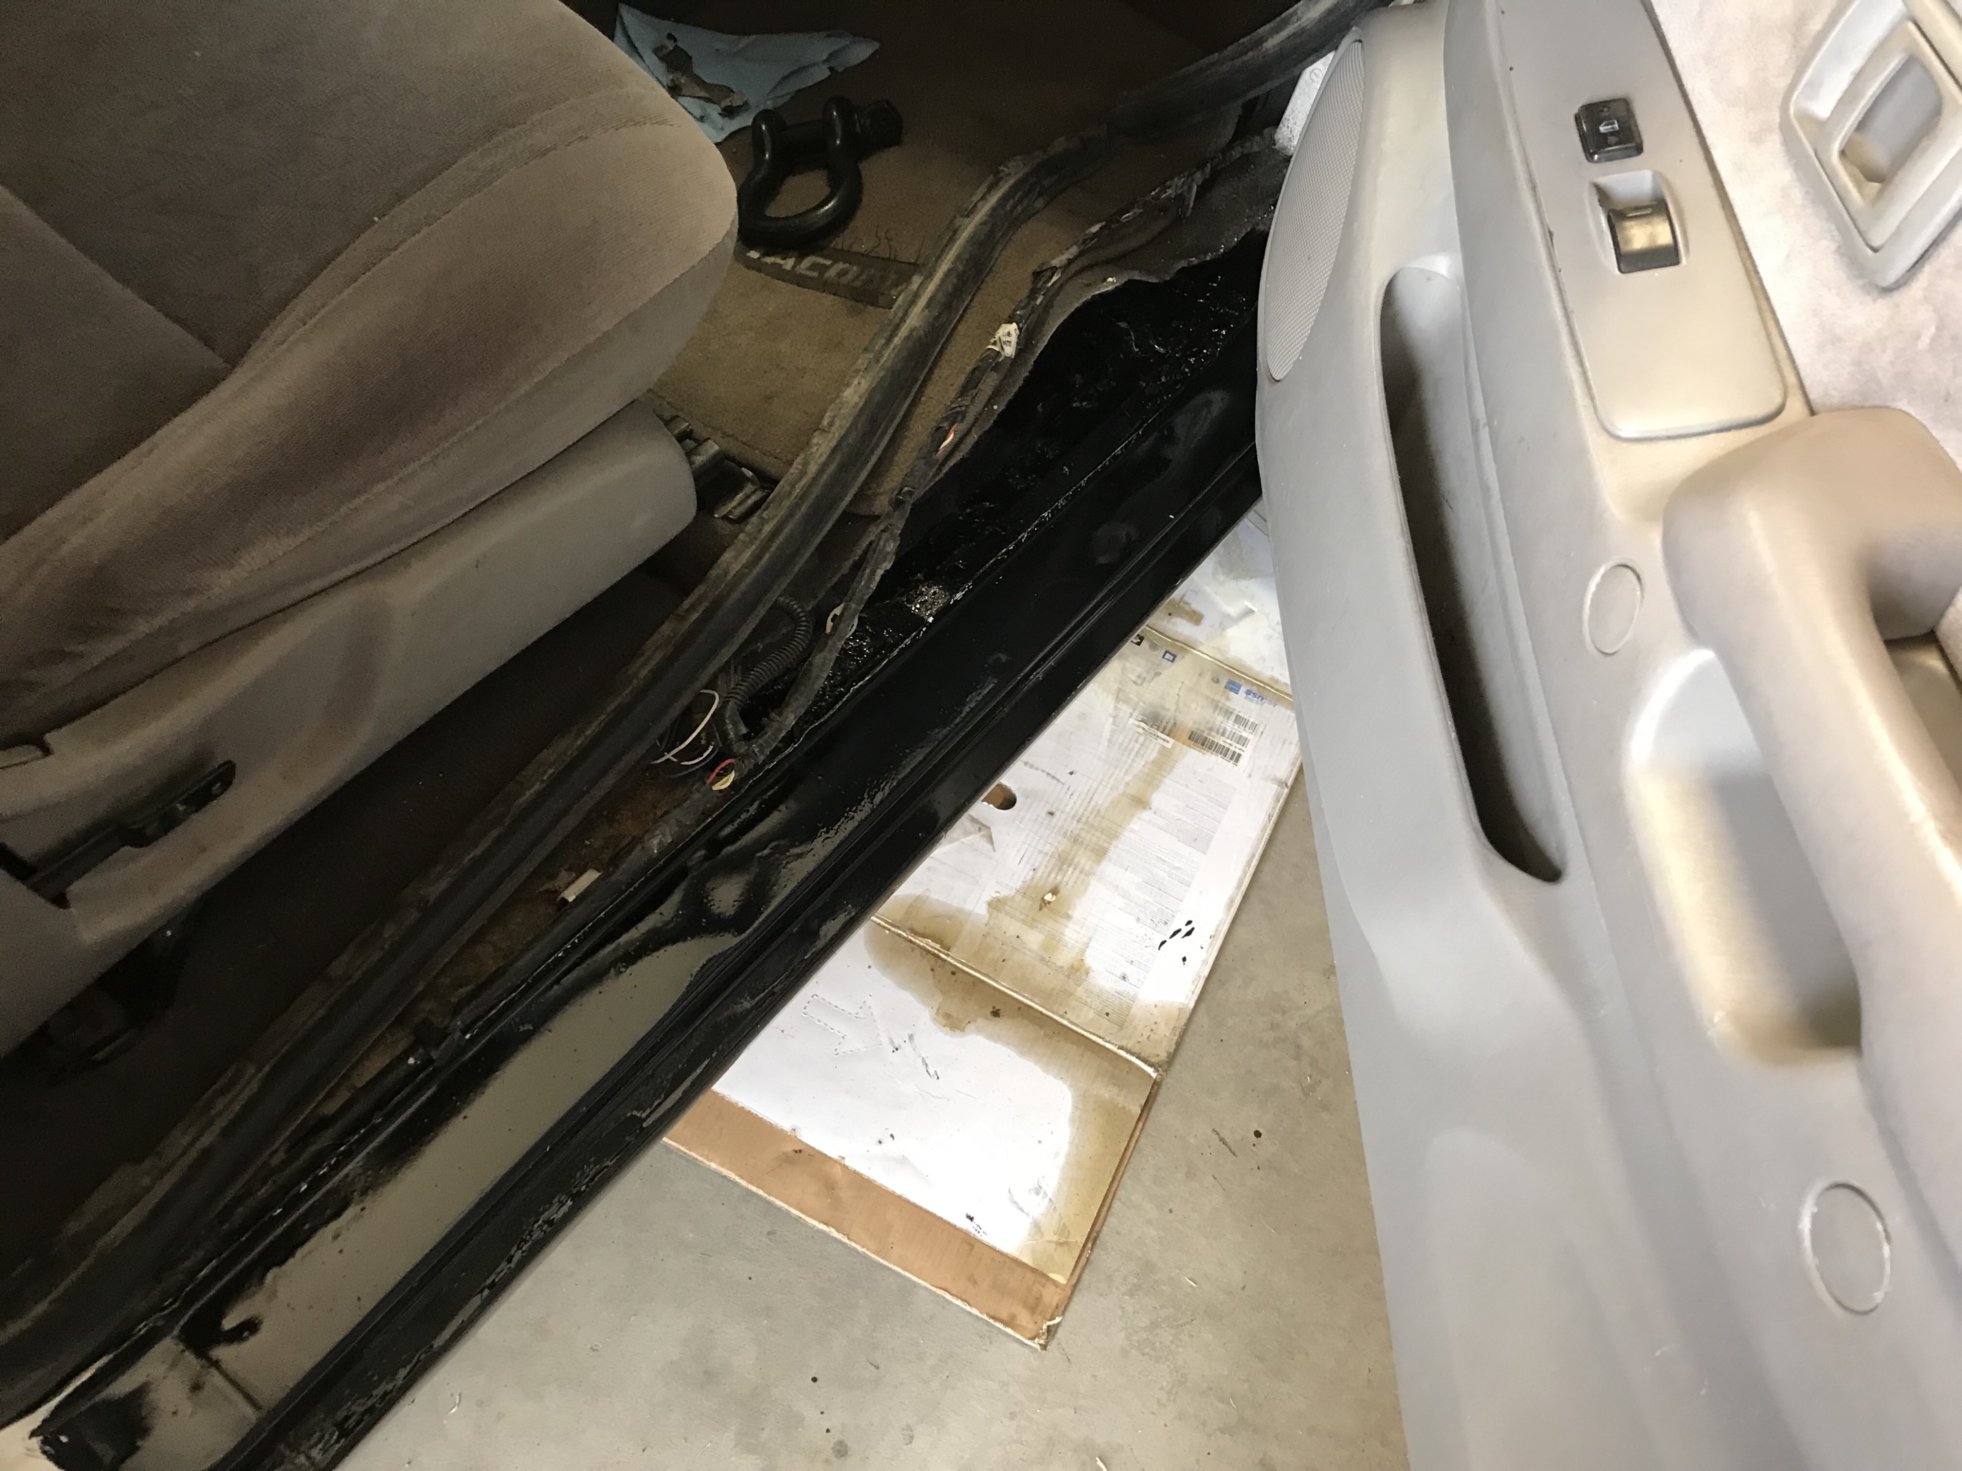
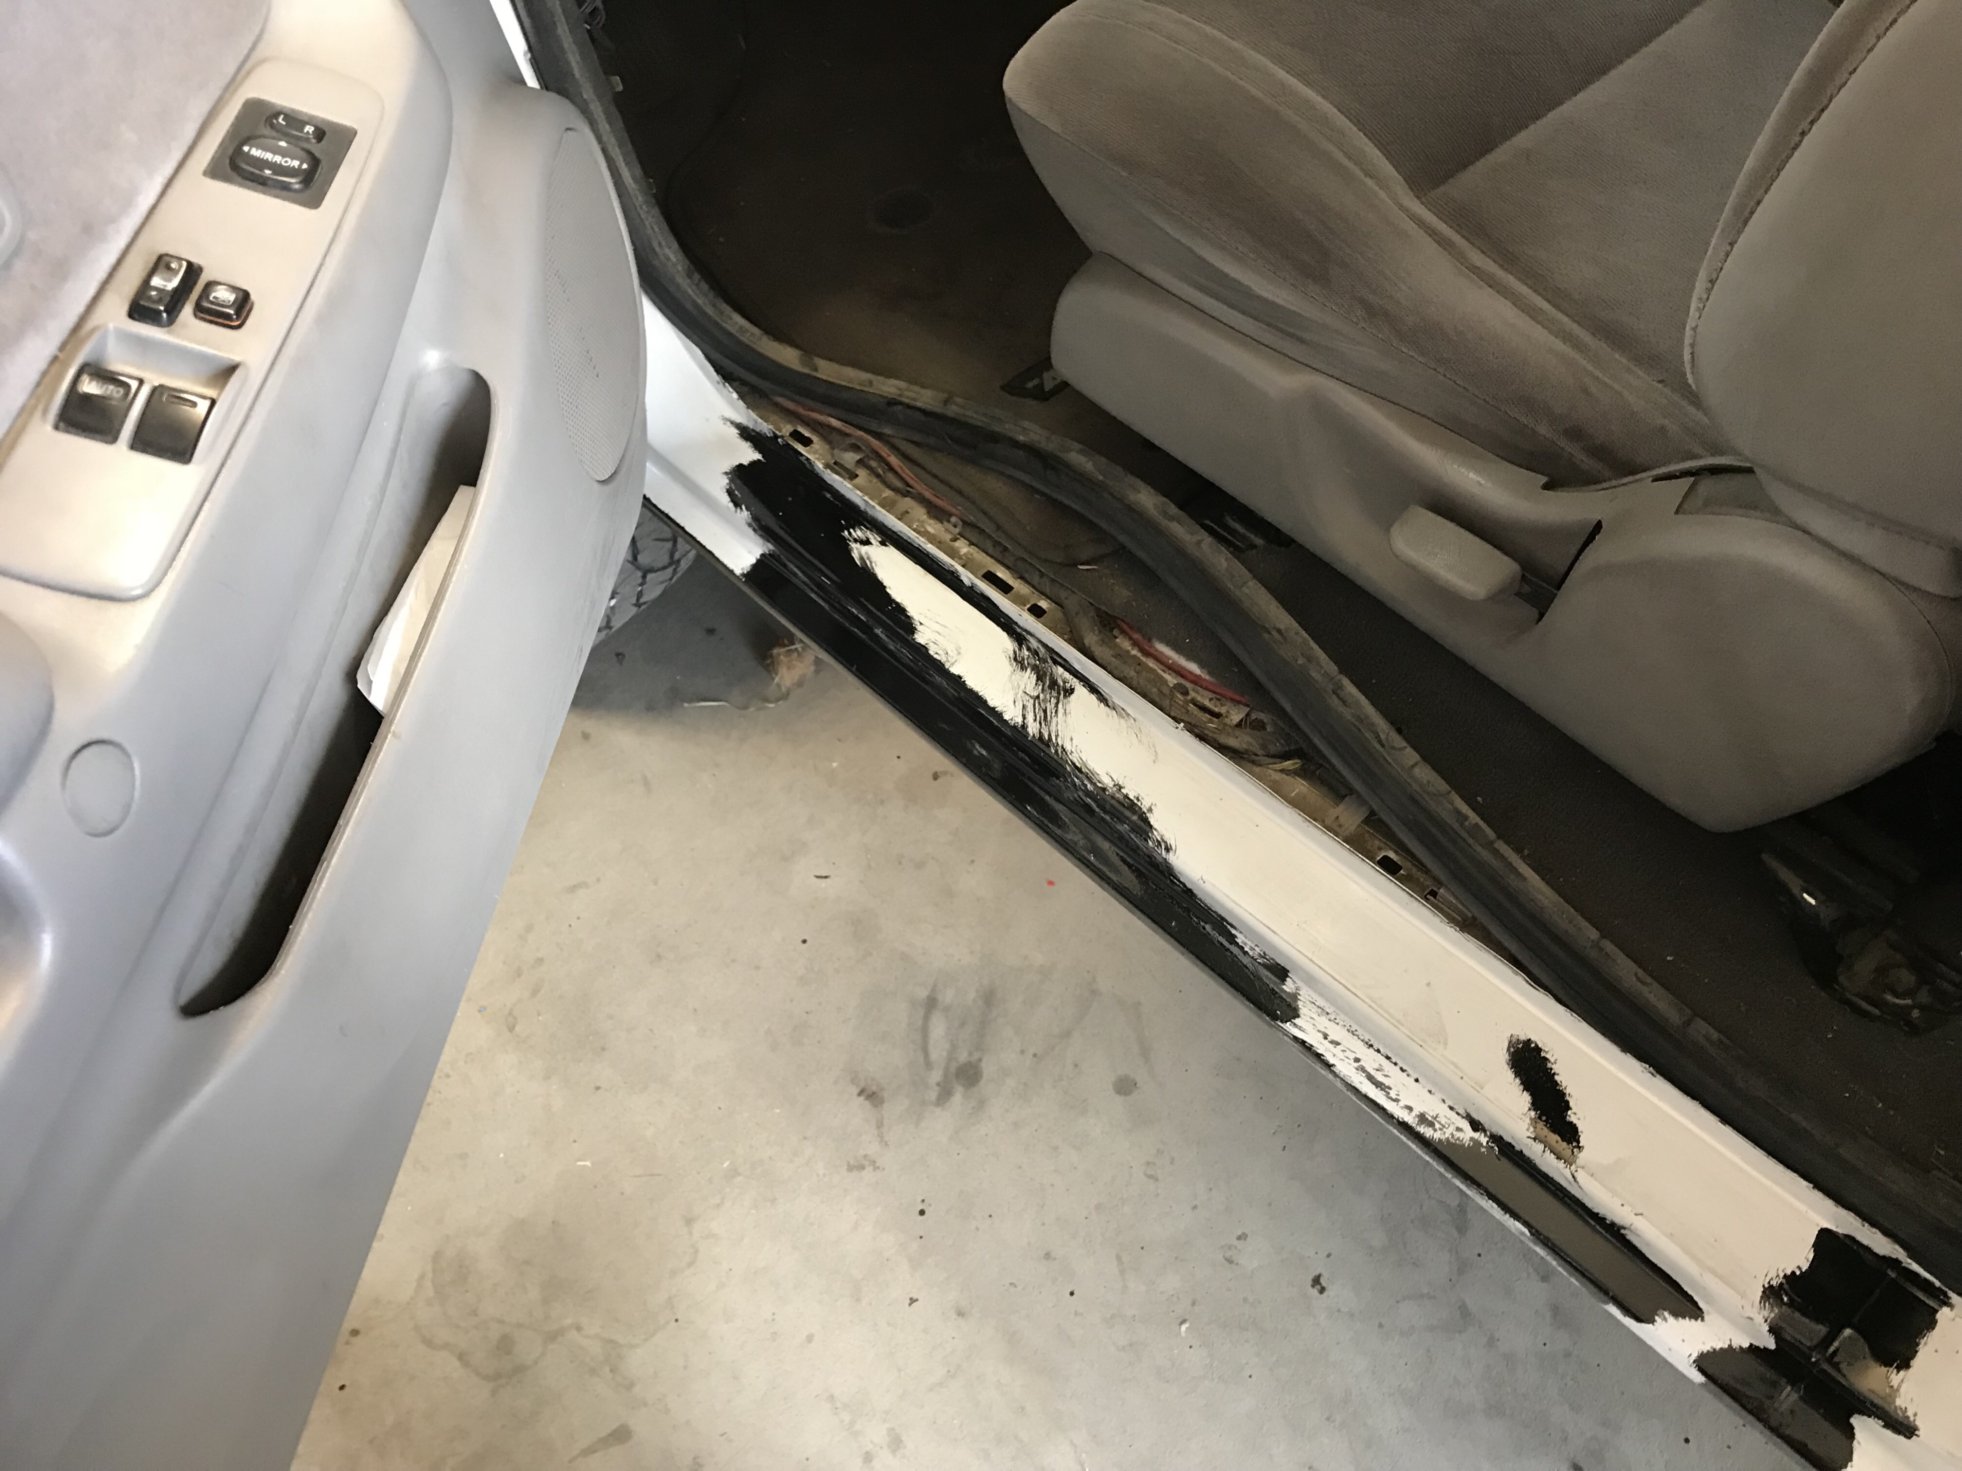
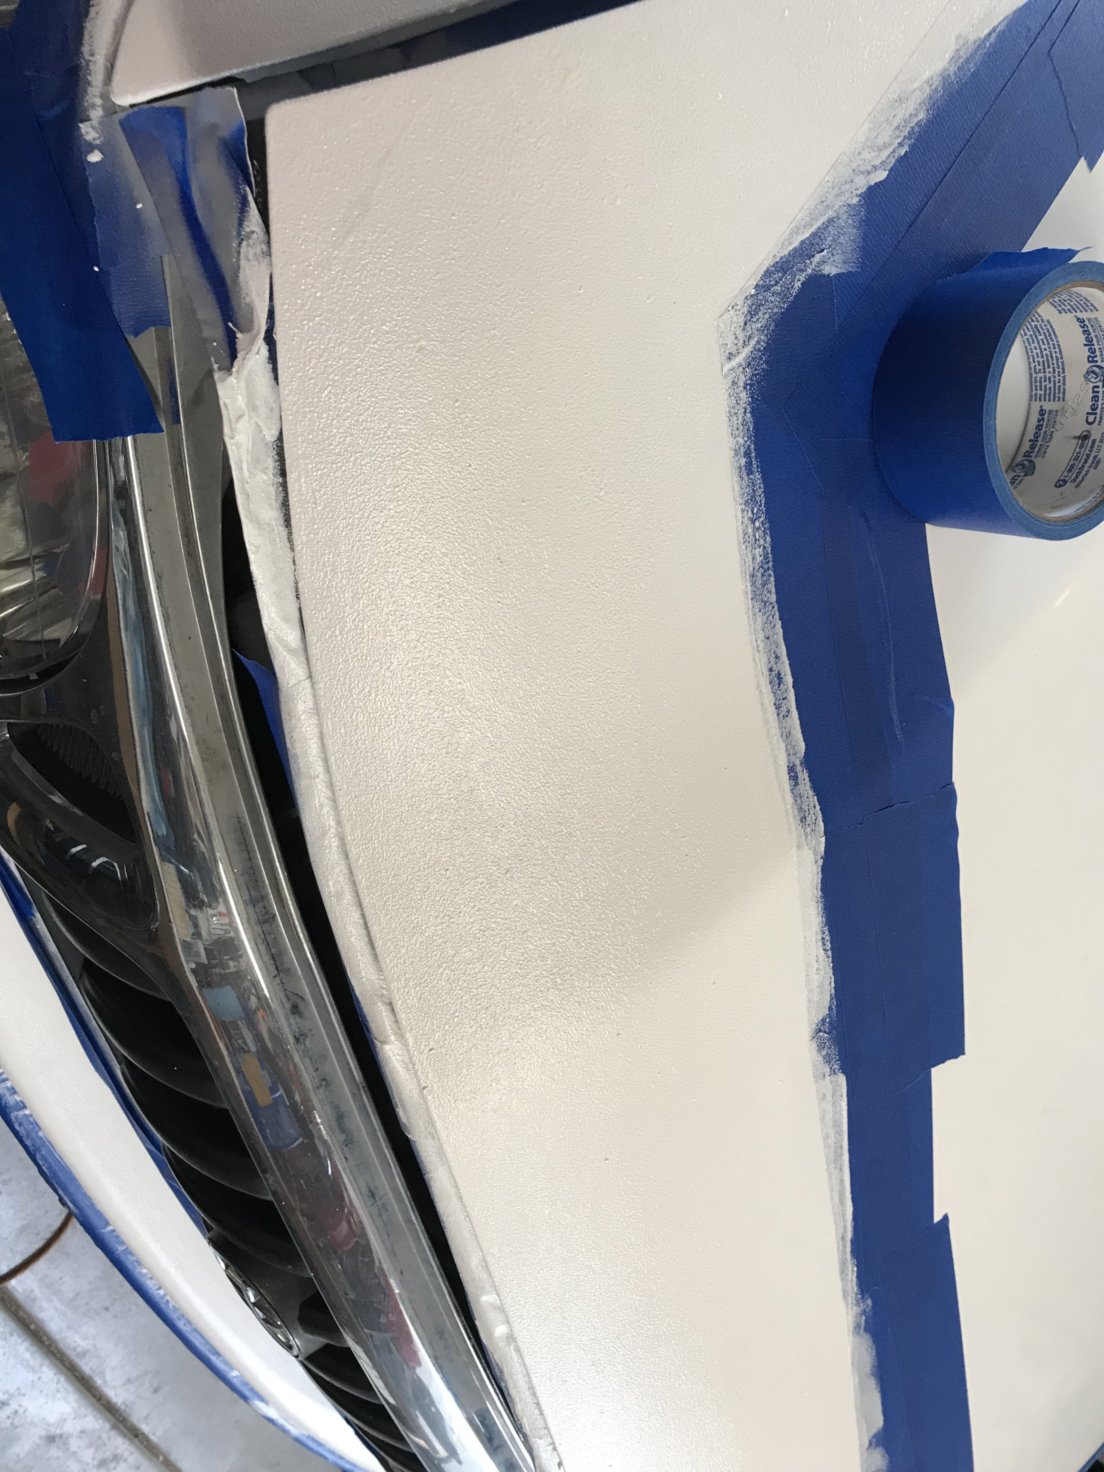
It was a bit tricky to mask the “chip guard”.
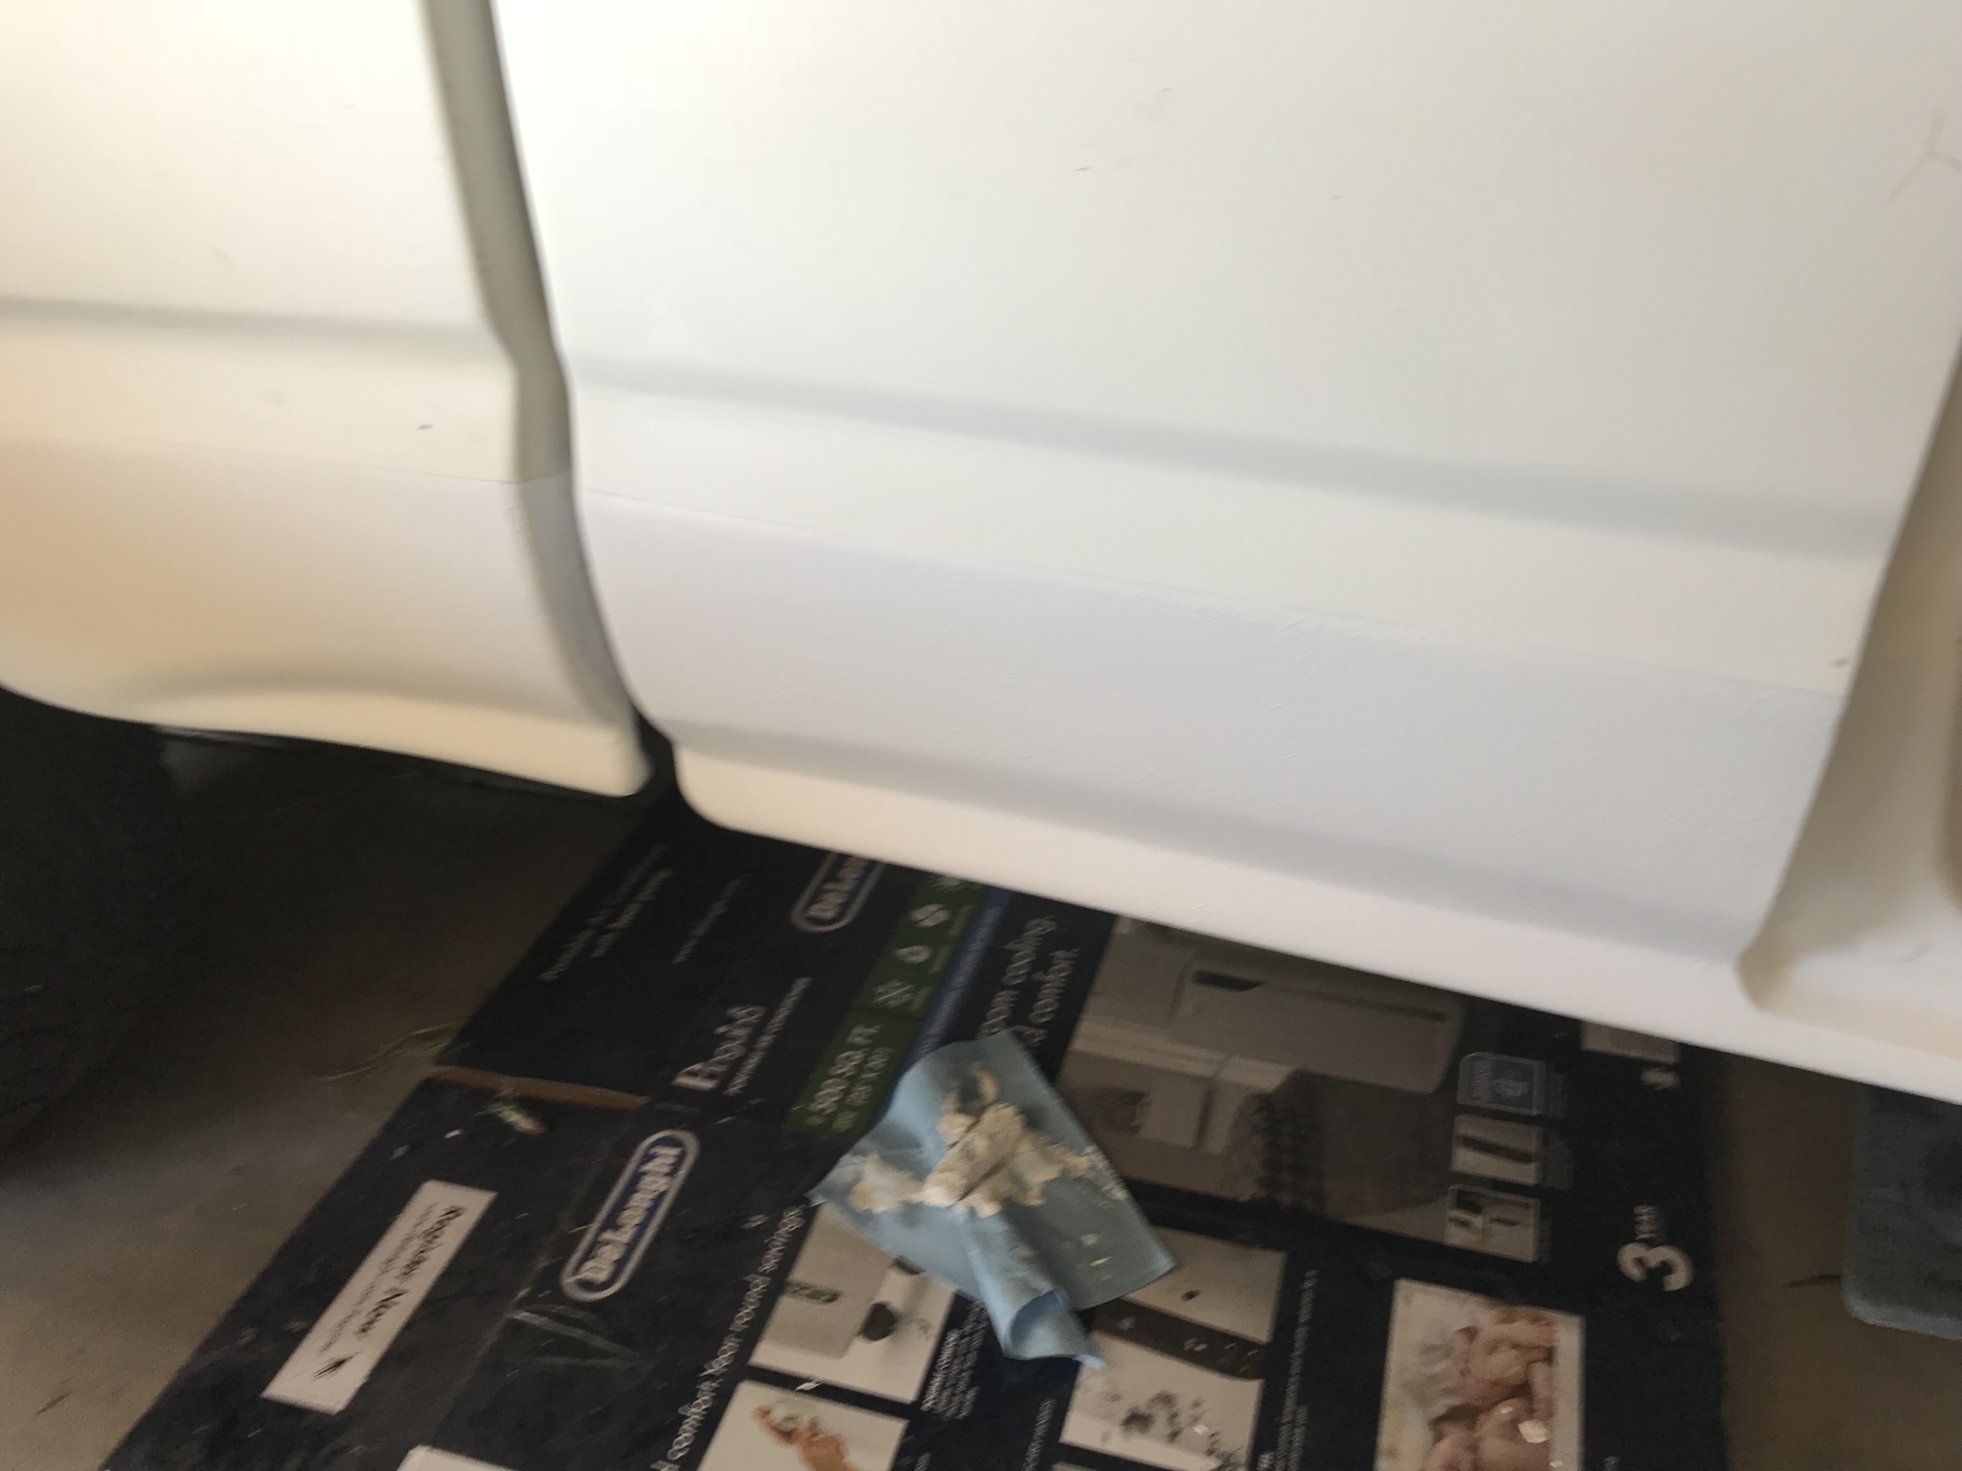
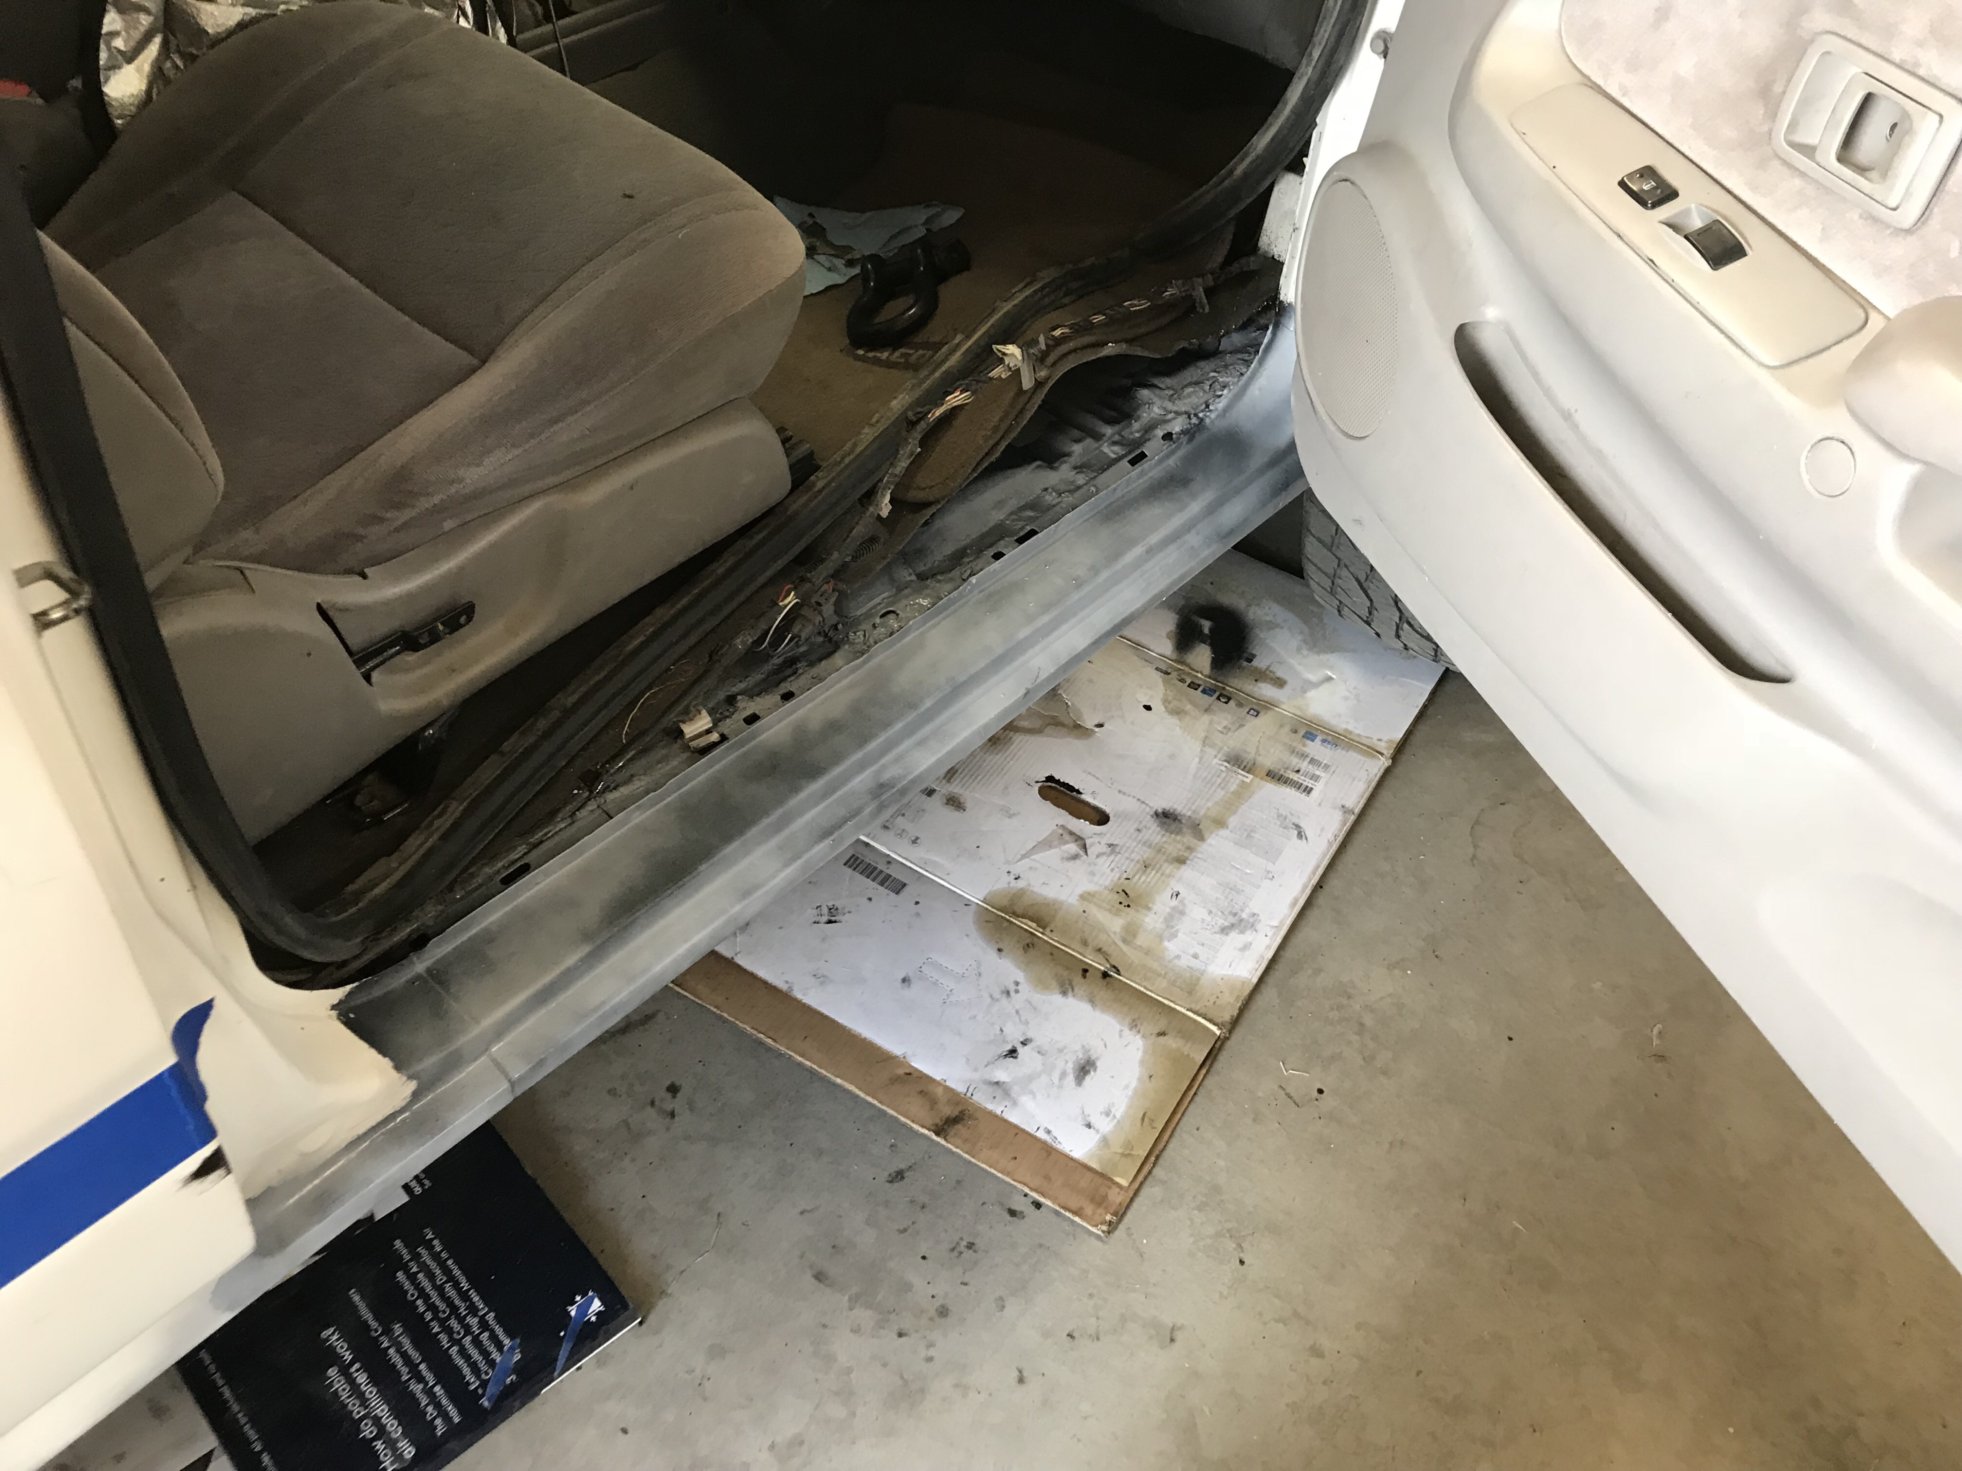
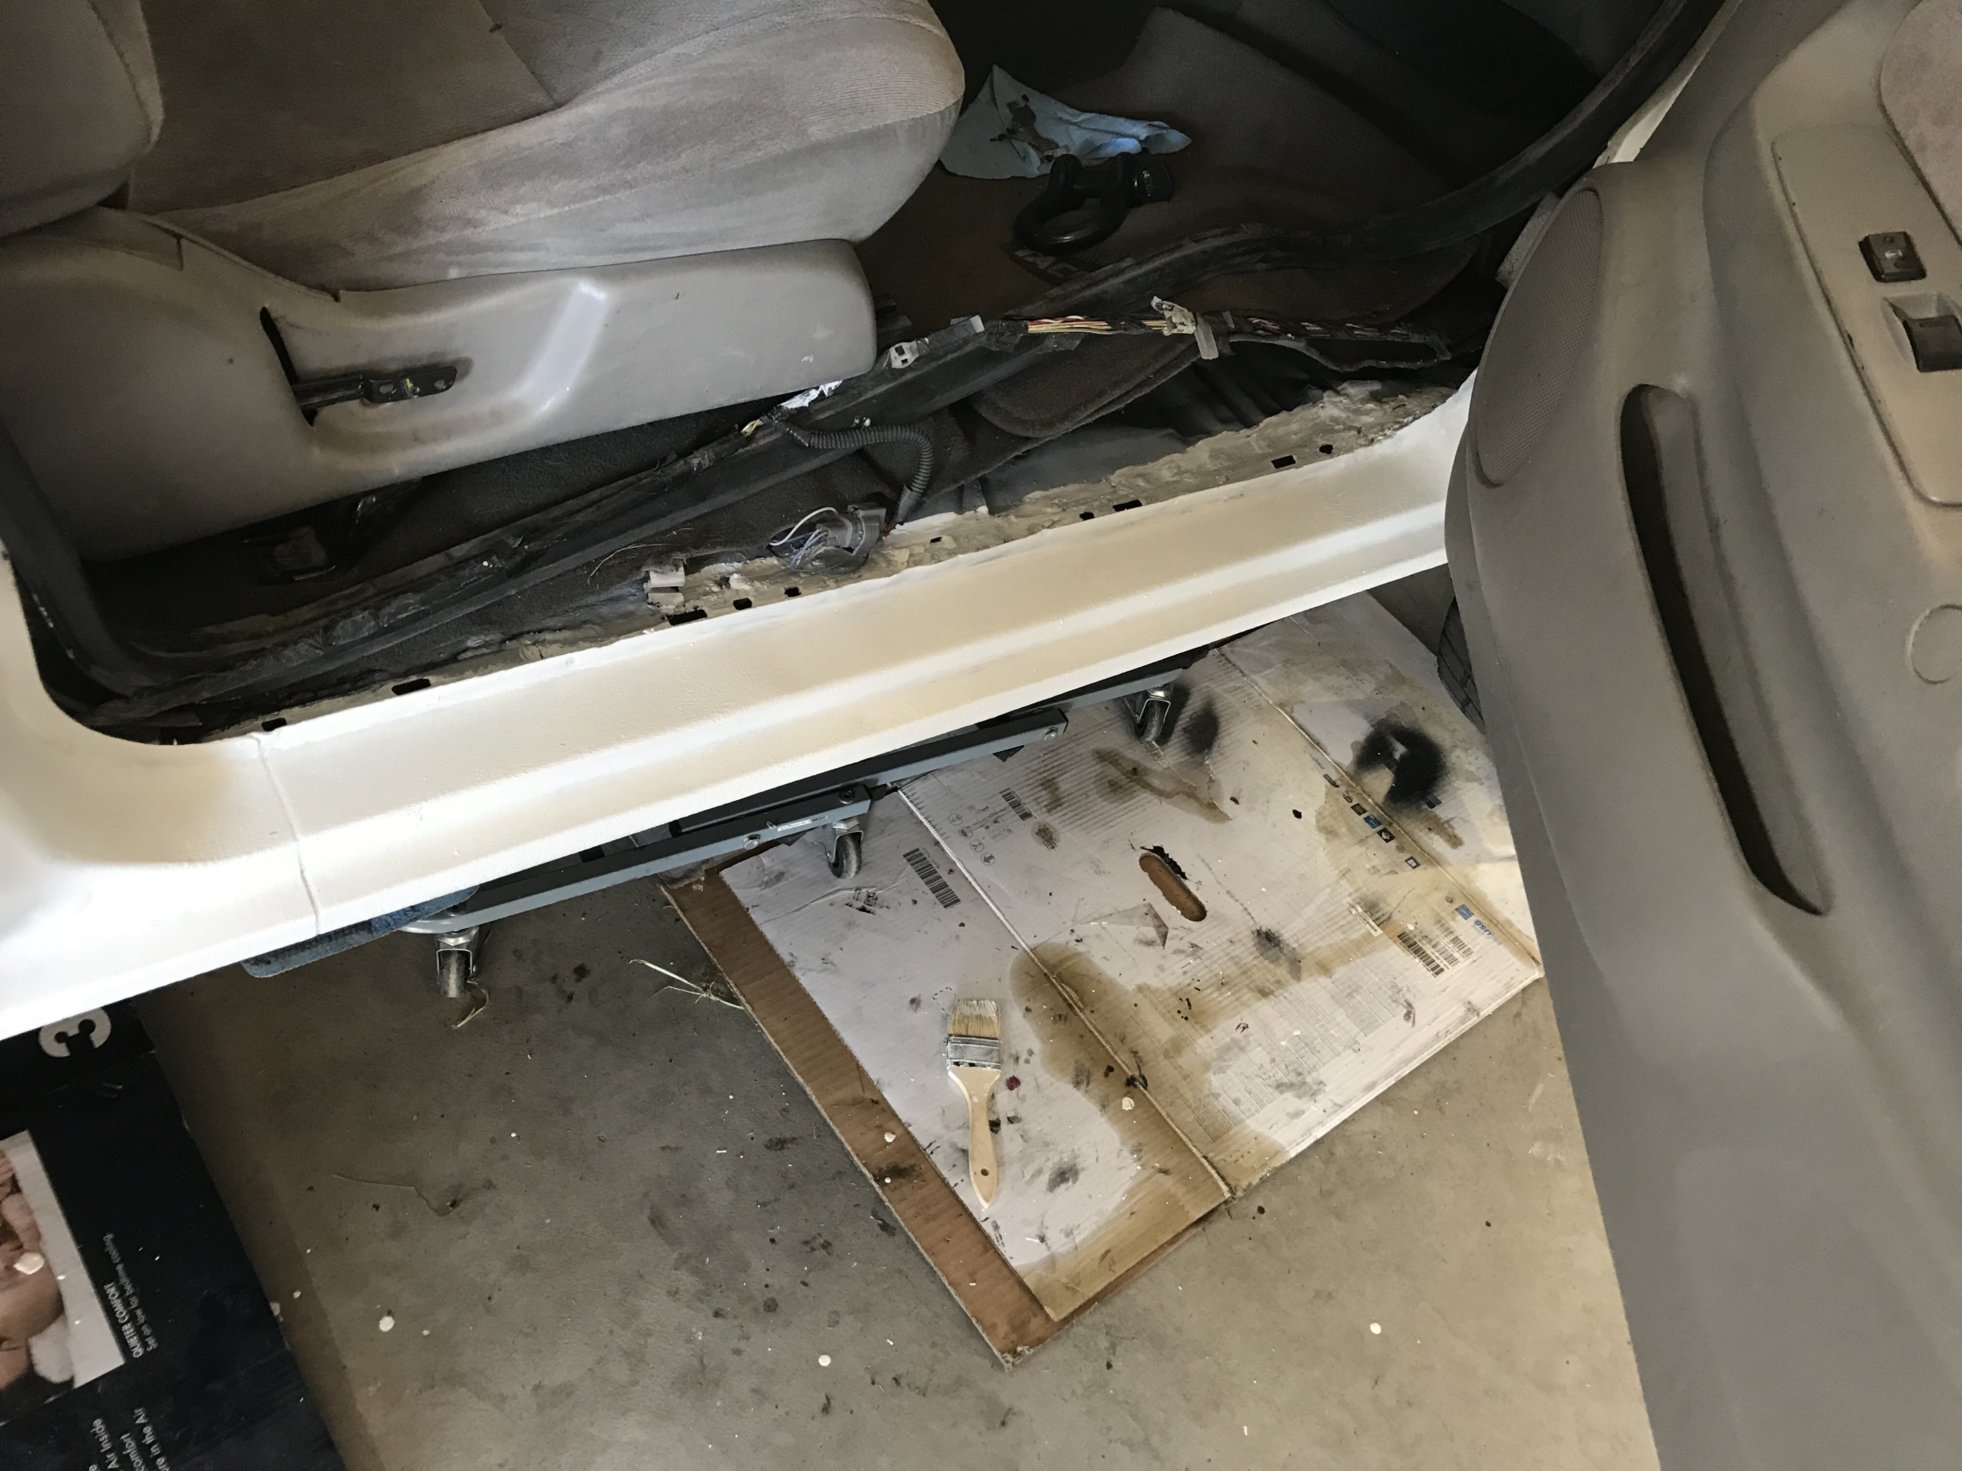
inside door jamb
Almost finished:
Hood chip gaurd


Nice! Great writeup!